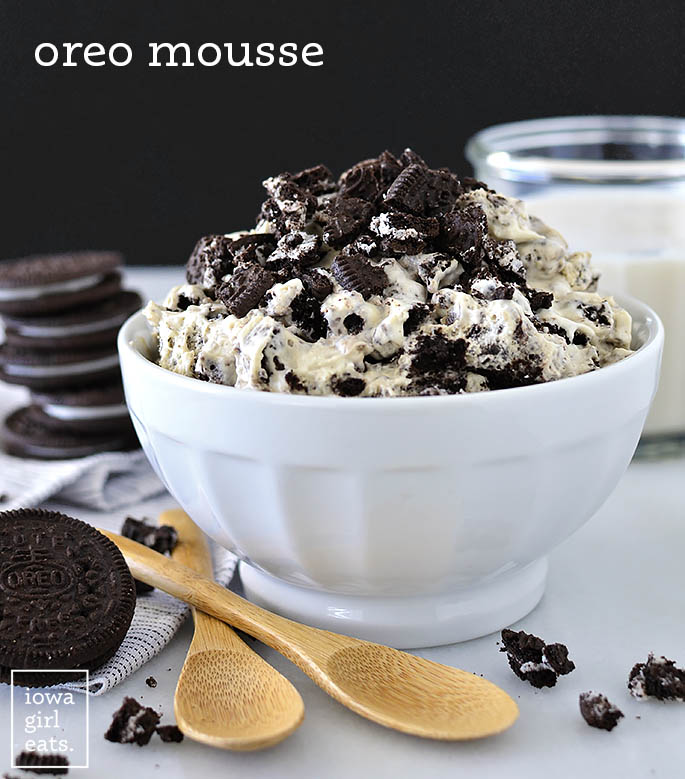
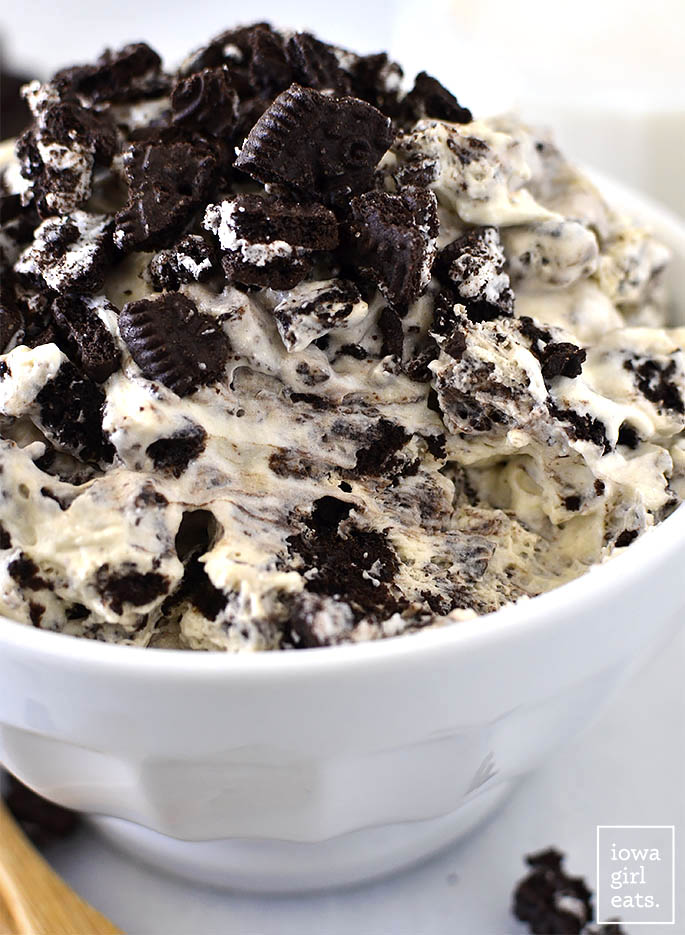
In today’s edition of “Recipes That are So Midwest It Hurts (So Good)”: OREO MOUSSE!
This fluffy, whippy Oreo dessert recipe is so addicting and delicious that I could literally eat the entire bowl in one sitting. Pass the ladle. My boys were practically foaming at the mouth for a bite. We are in LOVE!

Oreo Mousse Dessert
Oreo Mousse is a combination of homemade vanilla pudding, whipped topping, and crushed gluten free Oreo cookies that create a creamy, dreamy mousse-like pudding that just gets better and better as it sits. It’s like a tossed together version of Dirt Cake minus the cream cheese and tedious layering. You know what we call that? An UPGRADE!
If you go into any grocery store in the Midwest, you’re bound to find a giant vat of Oreo Mousse/Oreo Fluff anchoring the end cap of the salad bar. This dessert is nostalgic comfort food and I’m SO excited that I can now make it with gluten free Oreos after they were introduced to the world a few months ago. The other brands of gluten free chocolate sandwich cookies I’d been using over the past 7 years are good, but the ratio of chocolate cookie to cream filling layer was always a bit off.
NOTHING beats the real deal Oreo cookie!
Allergy Friendly Dessert
Not only is my Oreo Mousse recipe gluten free, but it can easily be made dairy free too. Here’s how:
- Oreos are vegan. Yes! My jaw dropped to the floor after learning regular (and gluten free) Oreos do not contain eggs nor dairy several years ago. There is no actual cream in Oreo’s cream filling. Ya heard it here first, folks.
- Make homemade vanilla pudding. Boxed instant pudding mix is convenient, but finding a brand that’s gluten free AND can be made with non-dairy milk is tough. My homemade vanilla pudding is not only made with gluten free ingredients, but it can be prepared with non-dairy milk and vegan butter. Plus it is so, so simple and made with 100% fridge and pantry staples.
- Use Non Dairy Whipped Topping. I like using SoDelicious Cocowhip, which is coconut vs dairy based, in this recipe because it has a cleaner ingredient list that most whipped toppings. Ben is very sensitive to coconut flavors, and he tastes it in this dessert, but I had to really try hard to taste it! All that said, you can use regular whipped topping instead if you like.
How to Make Ahead of Time
Snag a little taste test after preparing the Oreo Mousse but don’t you dare try to serve it until the mousse has sat in the fridge for at least 4 hours! The flavor and texture are completely different after the flavors have melded and the cookies have softened slightly. Tightly covered, the Oreo Mousse will last 3-4 days in the refrigerator.
Ok, less talking, more eating – let’s get to it!
How to Make Oreo Mousse
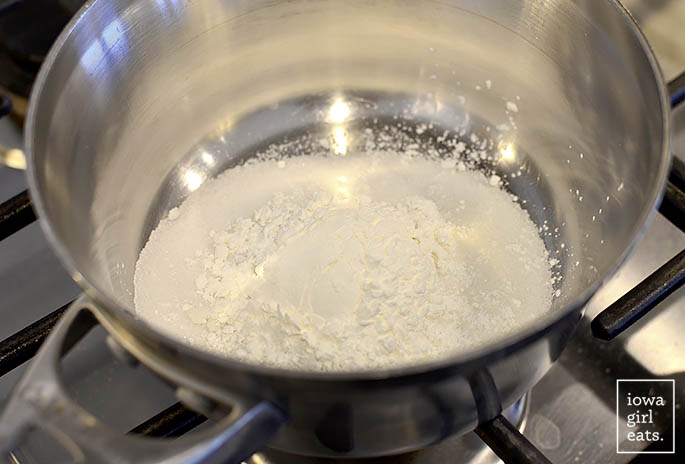
Step 1: Make the Vanilla Pudding. Start by adding sugar, cornstarch, and a pinch of salt to a small saucepan then whisk to combine.
Whisk in a splash of milk (any kind – I use unsweetened almond milk) until smooth then whisk in egg yolks until smooth.

Add more milk then turn the heat up to medium and cook, whisking slowly and constantly, until the pudding thickens. This will happen all of the sudden around the 6 minute mark. Turn the heat down to low then switch to a spatula and continue cooking until the pudding is very thick, 2 minutes.

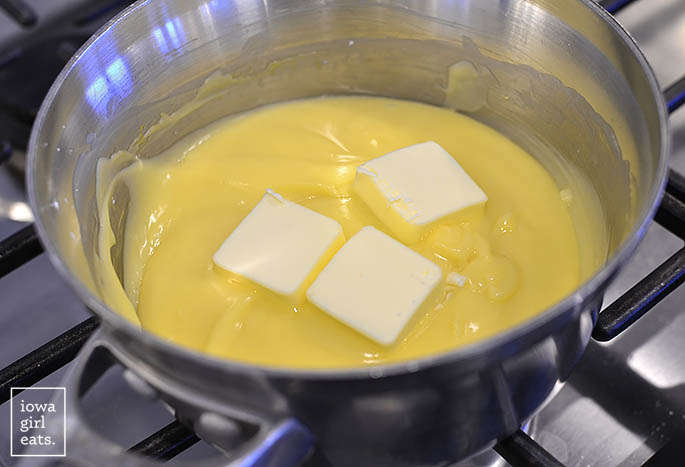
Remove the pan from the heat then stir in butter (or vegan butter) and vanilla extract.
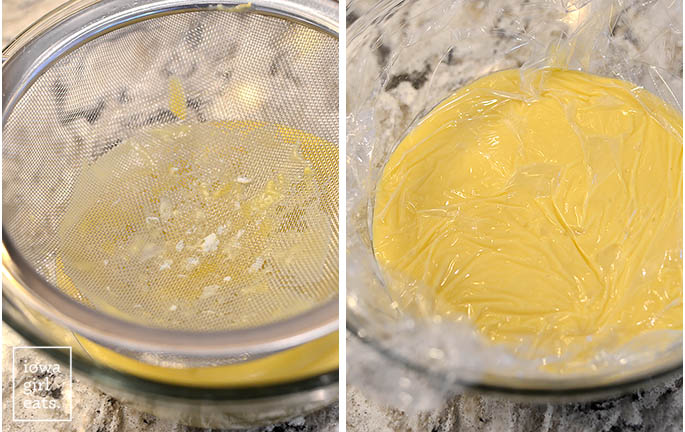
Pour the pudding through a fine mesh sieve set atop a bowl, to catch any bits of cooked egg white that mighta snuck in there, then place a piece of plastic wrap directly on top of the pudding to prevent a skin from forming. Refrigerate until fully chilled – you can make the pudding a few days ahead of time, if you like!
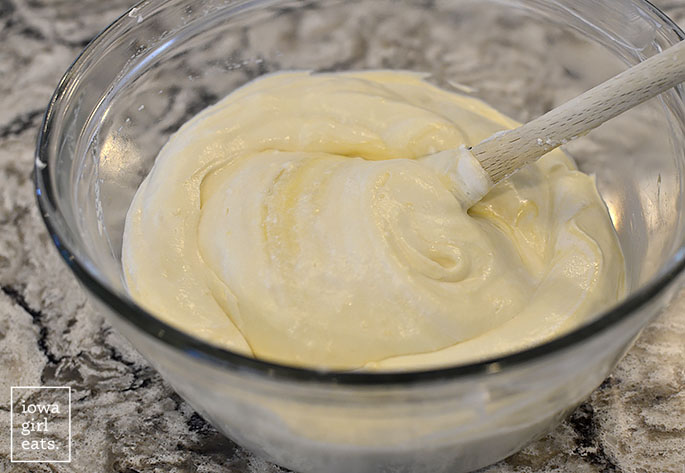
Step 2: Fold in Whipped Topping. Once the pudding is completely chilled, fold in a tub of whipped topping until smooth. Like I said, I like using SoDelicious Cocowhip but if you’re very sensitive to coconut flavor, or have an allergy, you can use regular whipped topping.
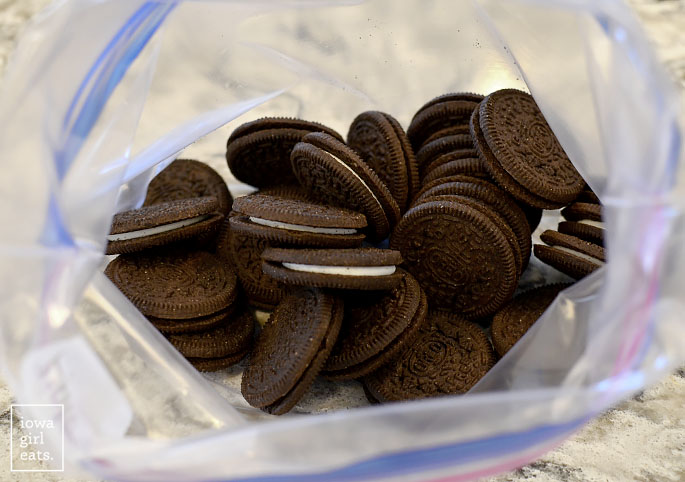
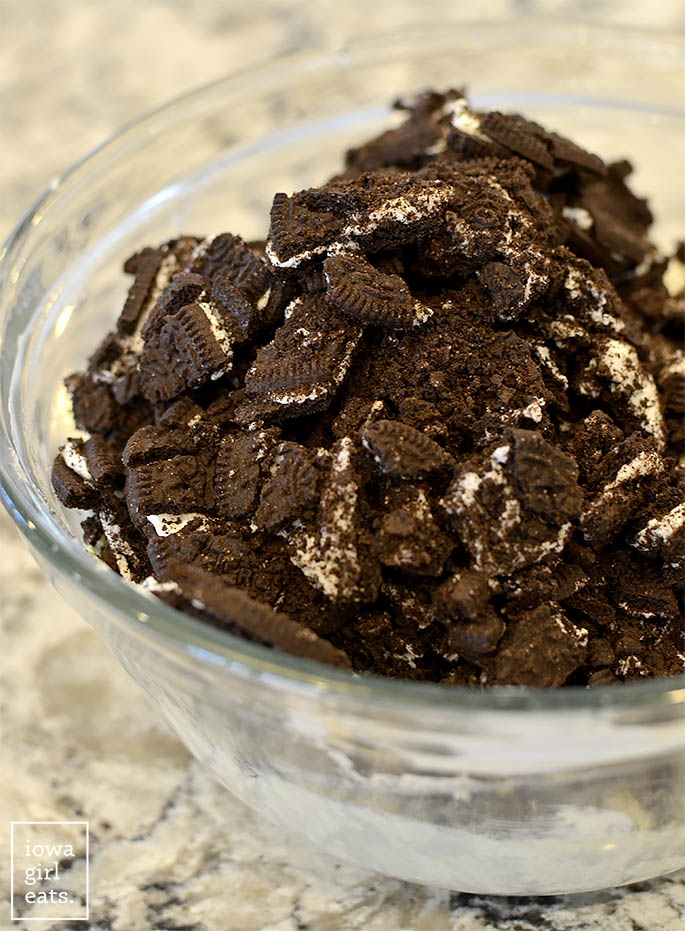
Step 3: Crush Gluten Free Oreos. Add gluten free Oreos to a gallon size Ziplock bag then use a meat mallet or rolling pin to crush the cookies. We’re not looking for a fine crush – big chunks are great in this dessert.
Add the crushed Oreos to the mousse mixture then fold to combine.
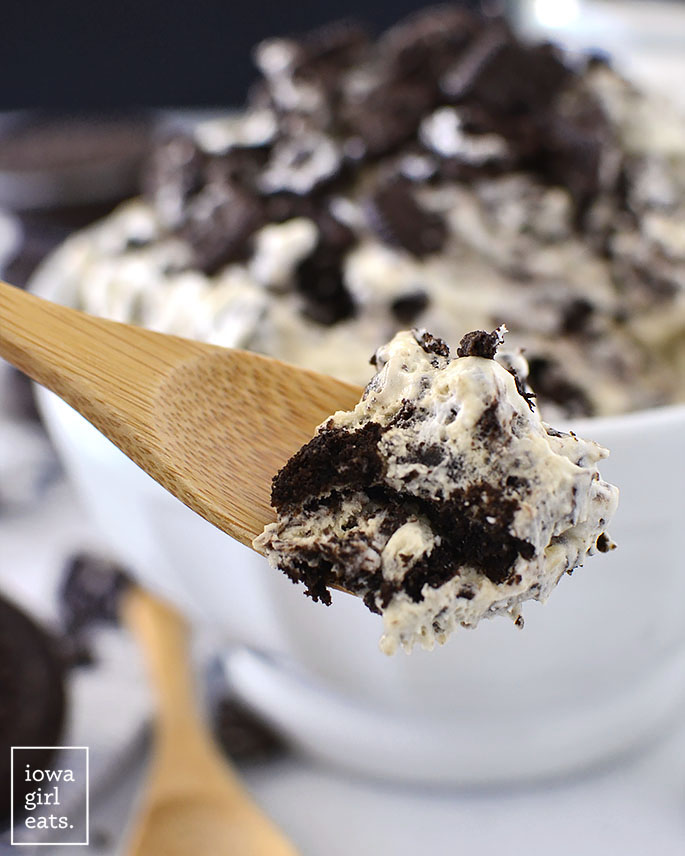
That’s all she wrote! Refrigerate the Oreo Mousse for at least 4 hours – trust me, the taste and texture are completely different after chilling! – then dish up and dig in. I hope you love this simple, gluten free dessert recipe as much as we do – enjoy!
More Sweet Treats You’ll Adore
- Gluten Free Chocolate Cupcakes
- Gluten Free Dairy Free Dirt Cake
- S’Mores Icebox Cake
- Gluten Free Chocolate Chip Cookies
- The BEST Fruit Dip
- Triple Berry Crumb Bars
- Peanut Buster Parfait
free email bonus
Dinner Made EASY
5 days of simple yet flavorful recipes that take the stress out of dinnertime!

Oreo Mousse
Description
Oreo Mousse is a fluffy and whippy gluten free dessert recipe that's calls for just 3 main ingredients. Beyond yummy, and make ahead too!
Ingredients
- 9oz tub whipped topping (I use SoDelicious Cocowhip)
- 26 gluten free Oreos, roughly chopped or crushed
- For the Vanilla Pudding (makes 1-1/2 cups):
- 1/3 cup sugar
- 2 Tablespoons cornstarch
- 1/4 teaspoon salt
- 1-1/4 cups milk (and kind - I use unsweetened almond milk)
- 3 large egg yolks
- 3 Tablespoons butter or vegan butter
- 1 Tablespoons vanilla
Directions
- For the Vanilla Pudding: Place a fine mesh sieve over a bowl then set aside. Add sugar, cornstarch, and salt to a saucepan then whisk to combine. Add 1/4 cup milk then whisk until smooth. Add egg yolks then whisk until smooth. Add remaining 1 cup milk then whisk to combine. Turn heat to medium then cook while slowly whisking until pudding thickens and starts to barely bubble, 6 minutes - this will happen all of the sudden. Turn heat down to low then switch to a spatula and continue to cook while stirring until pudding is very thick, 2 minutes. Take pan off heat then stir in butter and vanilla until melted.
- Pour pudding through the fine mesh sieve to catch any bits of cooked egg. Cover the top of the pudding with plastic wrap to prevent a skin from forming on top then refrigerate until completely chilled. Can be made several days ahead of time.
- Add whipped topping to the chilled pudding then fold to combine. Add crushed Oreos then fold to combine. Refrigerate for at least 4 hours before serving. Oreo Mousse will last for 3-4 days in the refrigerator - cookies will continue to soften as the Oreo Mousse sits.
This recipe is courtesy of Iowa Girl Eats, http://iowagirleats.com.


a picture on the print version would be nice:)
Hi Kathleen! There should be an image that prints with each recipe even though it doesn’t appear on the website – it will appear on your print out!
a long-gone local restaurant my family used to go to often when I was a kid had this on the kids’ menu, and called it “poodle fluff” since the restaurant had a lot of dog theming. somehow the memory hit me today and I just had to find a recipe. I’m excited to see that there’s not only a recipe for it, but that I can make it vegan and still get to indulge a childhood memory!
do you have a suggestion for what to do about egg yolks in the pudding to make it vegan? would you just skip them or is there something that might be a replacement? in my case I don’t need to keep GF but just can’t do the egg.
Ah, love that, Aubrey! I might try and find a vegan vanilla pudding recipe to use instead, or store-bought vegan pudding. I believe Jell-O brand instant pudding is vegan, though they do require you to mix with cow’s milk (plant based milk won’t work with their mix) if you’re able to eat dairy!
I have made this with soy milk and almond milk. You have to reduce the amount of “milk” used. I think I used roughly 2/3 to 3/4 of the amount called for. Worked well!
Can I buy the boxed pudding instead of making homemade?
I’m sure that would be fine! :D
Delicious as written! I used cocowhip, earth balance soy free vegan butter, and unsweetened cashew milk. I’m the only one in my family gluten- and dairy-free, but everyone loved it and requested I make again. Thanks for the great recipe! I didn’t even know they had gluten free oreos until I saw your post, and luckily my local Winco had them in stock.
Perfect!! I’m so glad you – and everyone else – loved it. Really appreciate your feedback and recipe rating!
This was a delicious dairy free and gluten free dessert! Very rich
So glad you enjoyed, Amy! Yes – super rich!
This was super easy to make and everything this mama-to-be needed to fill a craving. I let my husband and son try one bite but that’s it – it’s all mine! ;) As always, Iowa Girl Eats saves the day!
Hehehe, relatable! Get yours, Mama!! Thank you so much for your rating and recipe review!!
Hi Kristin! Do you think this recipe could be made with homemade whipped cream?
Hi Kate! I’m sure! Homemade whipped cream can separate after sitting in the fridge, so just be aware that may happen!
Hi,
I am not seeing where the vanilla and butter are added in? I’m in the middle of making this and I’m stuck. ?
Thank you so much for the heads up, Stephanie! It was in the post/photo directions, but not the actual recipe card. Fixed that for you. I hope everything worked out ok!
Thank you! I did end up seeing it in the post, so I was able to make the mousse. Delicious!!
Oh good! I hope you loved it!
I make this often but also add a can of drained mandarin oranges. It’s my go to potluck recipe.
I bet the pops of freshness from the mandarin oranges are great in here!
If I’m making this with boxed pudding, do I still need the butter or vanilla? I’m guessing not. :) Also — instant or cook’n’serve pudding, if I’m taking the shortcut and using boxed? Thanks! I can’t wait to make this… my kids devour this stuff from HyVee deli.
You’re right – you can skip the butter/vanilla if using a box mix. I’d go with instant and I think the box mix makes around 2-1/2 cups, so measure out 1-1/2 cups to add to this recipe!
How do you always know what I’ve craving!?!? I’m making this tomorrow!! YUM!
I’m glad the timing is right!! Hope you love it, Lindsey!
Not homemade pudding, but substituting cheesecake flavored pudding is delicious! So addicting! lol
Yessss – so good! You could go crazy with the boxed mix flavors!
Carrie and Kristin,
I think cheesecake pudding is not gluten free though (at least not Jello brand)? Just so readers know. (I could be wrong though!)
So glad for this recipe! I’m making gluten free soups and desserts for my church family and it’s great to have something easy to make!
Jello brand cheesecake pudding does not include gluten containing ingredients but Kraft has not labeled it as GF so no, it would not be advisable for someone with Celiac Disease to eat. If you don’t need to follow a strict GF diet, you could use a boxed pudding in place of my homemade pudding.
The only thing that could make this MORE Midwestern is if you called it “Oreo salad” which is something all our local restaurants inexplicably do. ?
Us Midwesterners and our “salads”!!!