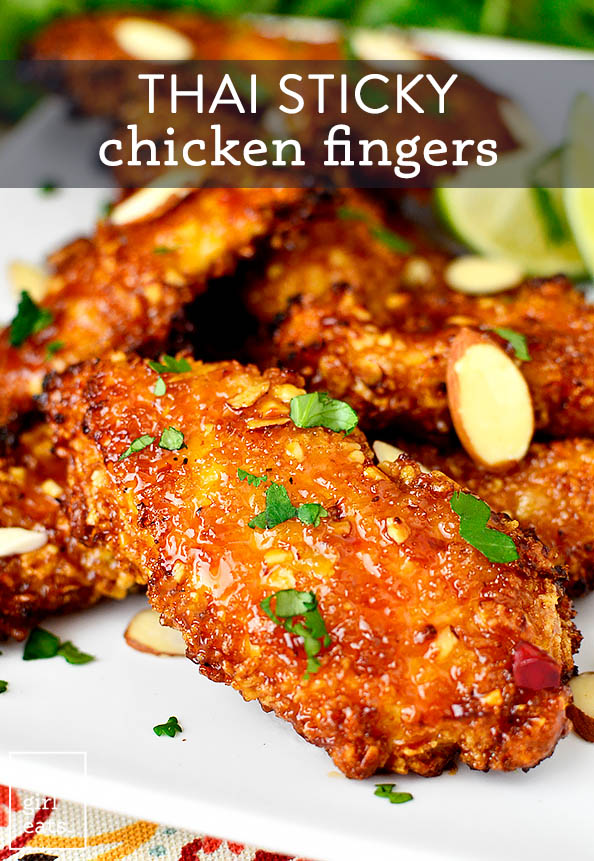
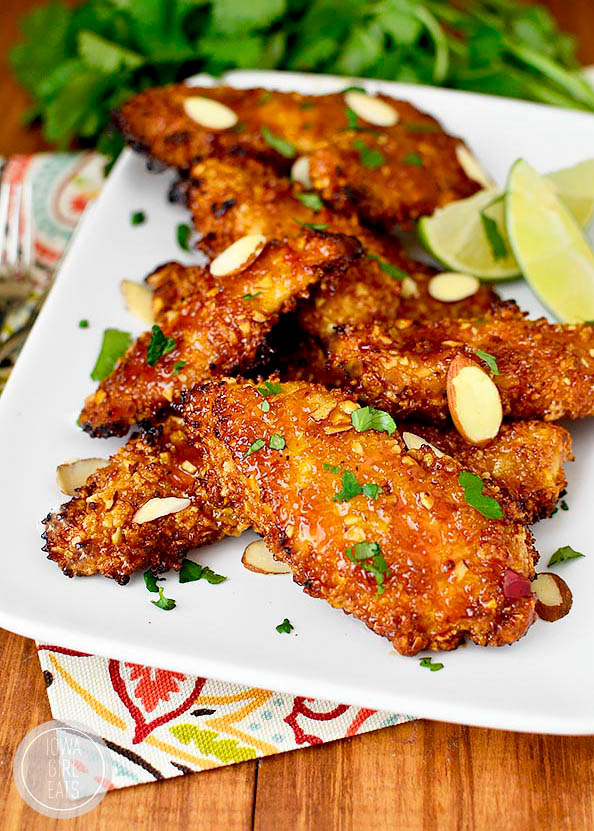
Capital Duh-eyeing over today’s recipe for Thai Sticky Chicken Fingers, which are going to be a smash hit at your Super Bowl watch party this weekend (or like, dinner tonight!)
After learning which teams are going to the Super Bowl this year (and totally guilty of asking Ben for the sole purpose of creating a themed dish for you) I decided to throw a theme out the window and instead concentrate on creating a dish that you’re going to crave until you physically make then sink your teeth into, because that’s exactly how I’d describe Thai Sticky Chicken Fingers – craveable!
Watch How to Make Them!
What are Thai Sticky Chicken Fingers?
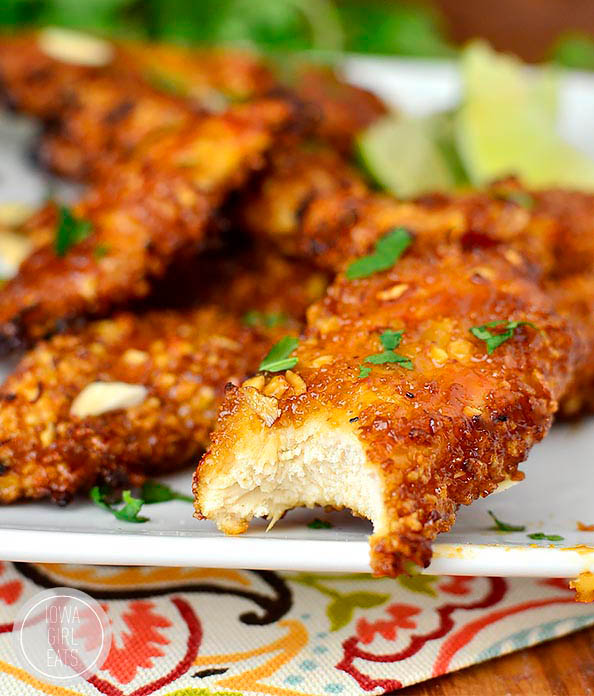
Chicken breasts sliced into strips are coated in a gluten-free breading that’s spiked with sliced almonds for a spectacular taste and crunch that, get this, actually stays on the chicken fingers! How many times have you made homemade chicken fingers or chicken breasts only to have the breading fall off after pulling them out of the oven? I’ll show you my secret to making sure it stays firmly in place.
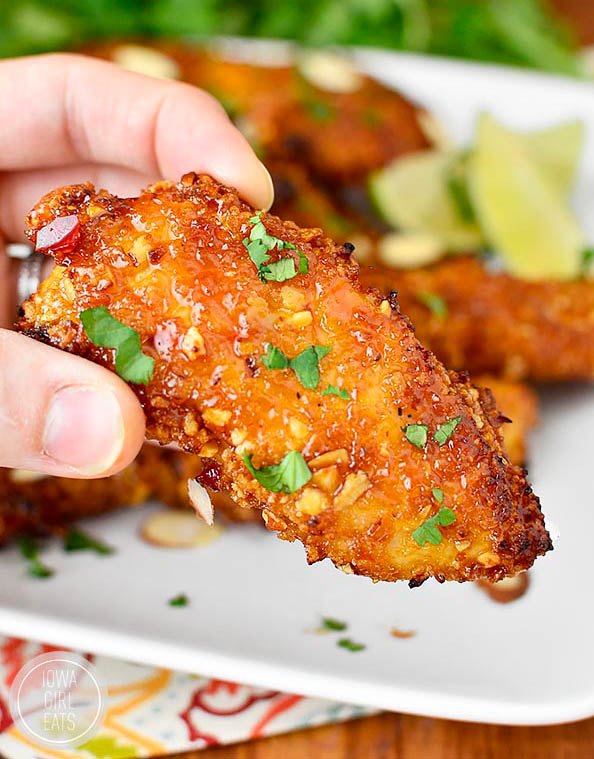
After baking, the chicken strips are tossed in a sticky-savory-sweet, Thai-inspired sauce then placed back in the oven for a few minutes to create a fabulous tacky coating. And good tacky. Not like, blatantly cutting someone in line at the fish market, which I’ve been fuming over for the past four days. COME ON! Anyway, these chicken fingers are going to knock your socks off. A little sweet, a little heat, and perfectly crunchy and sticky. Grab a wet wipe.
I recently heard that pizza is the #1 food people eat during the Super Bowl but seriously, ditch the grease and make a batch of these bad boys instead. You won’t regret it!
How to Make This Recipe
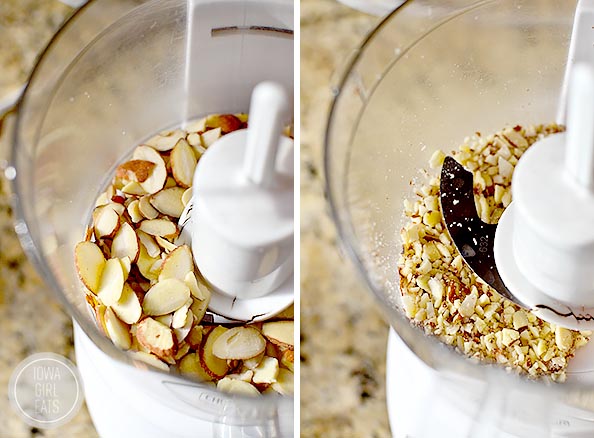
Start by pulverizing 1/2 cup sliced almonds in a food processor or chopper until they’re mostly crumby, like the picture below, then add to a shallow dish like an 8×8 baking dish.
I originally made these chicken fingers with just gluten-free bread crumbs but added almonds into the breading mix after Ben suggested it.
He said, and I quote, “You should put almonds in there. They used to do it at Jimmy’s (the restaurant he worked at in high school,) and they won awards like, all the time, or whatever.” Love it. Anyway, they were a great addition for not only amping up the Thai-inspired taste, but also giving the chicken fingers a deep, satisfying crunch.
Next, process 4 cups gluten-free Rice Chex to create 2 cups crumbs OR measure out 2 cups panko bread crumbs (dish WILL NOT be GF if using normal panko bread crumbs.) Alternatively, you could add the Rice Chex to a big Ziplock bag then roll over it with a rolling pin until pulverized.
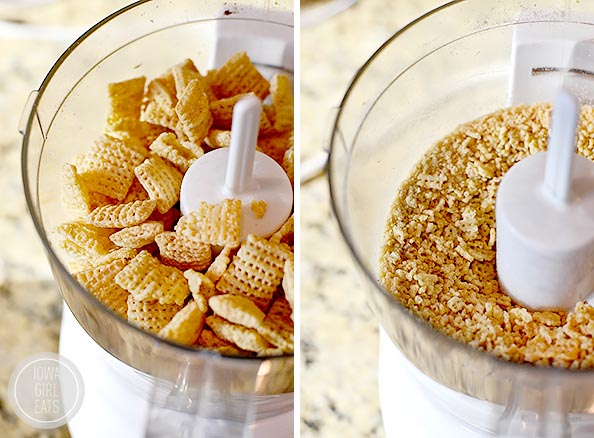
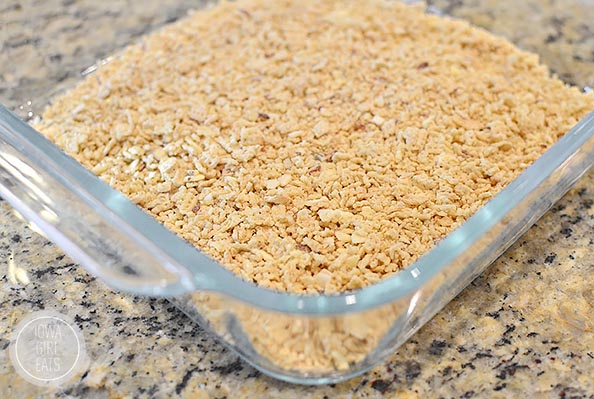
Add the crumbs to the almond crumbs in a shallow dish then season lightly with salt and pepper and set aside.
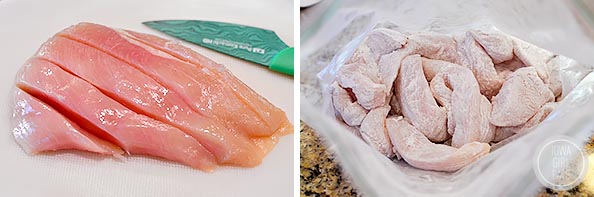
Next get the chicken ready. As I mentioned, I made my own chicken fingers by slicing 1-3/4lbs chicken breasts into 1″ strips. This is a much more economical way to get chicken fingers vs buying chicken tenderloins which usually cost a couple bucks more.
Toss the chicken strips in a bag with 1/2 cup gluten-free (or all-purpose flour if you do not need to eat GF) plus 3/4 teaspoon salt and 1/2 teaspoon pepper then shake until well coated.
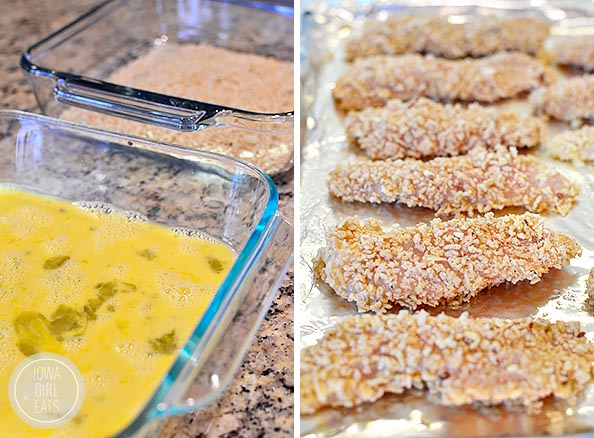
Working in batches, shake any excess flour from the chicken strips then dunk them in a shallow dish with 2 eggs whisked with 2 Tablespoons milk (any kind – I used unsweetened almond milk) then roll in the crumbs, pressing to make sure they stick to the chicken strips. Place the chicken strips on 2 baking sheets that have been lined with foil and sprayed VERY well with nonstick spray.
How to Make Your Chicken Breading Stick
Now, this is the important part! Place the baking sheets into the refrigerator for 20-30 minutes to give the breading a chance to adhere to the chicken strips. This is what will prevent it from falling off the chicken fingers once they’re baked. Miracle secret revealed!
After the resting period, spray the tops of the chicken strips with nonstick spray or olive oil then bake for 10 minutes at 425 degrees. Turn the strips over, spray the tops with nonstick spray, then place back into the oven, flipping and rotating the baking sheets to ensure even cooking. Bake for 7-9 more minutes or until the chicken fingers are golden brown and cooked through.
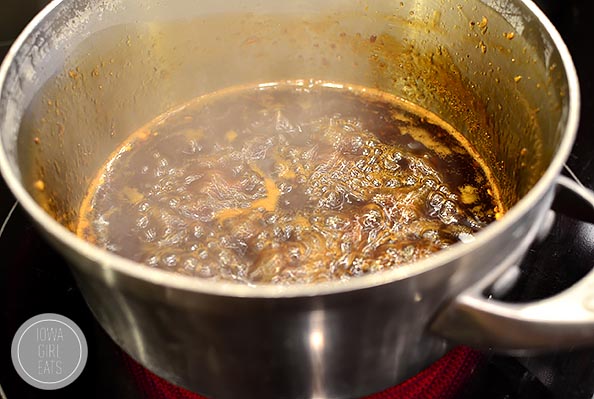
Meanwhile, get the sticky Thai sauce cooking! To a saucepan add 1/2 cup each sweet chili sauce and water, 1/4 cup each brown sugar and gluten-free Tamari, 2 Tablespoons each rice vinegar and lime juice, 1/2 teaspoon ground ginger, 1/4 teaspoon red chili pepper flakes, and 1 microplaned or minced garlic clove (and a partridge in a pear tree.) Honestly it sounds like a lot of ingredients but I had 99% of them already on hand. Bring the sauce to a boil then reduce the heat to medium and simmer until slightly thickened and reduced, 5-6 minutes.
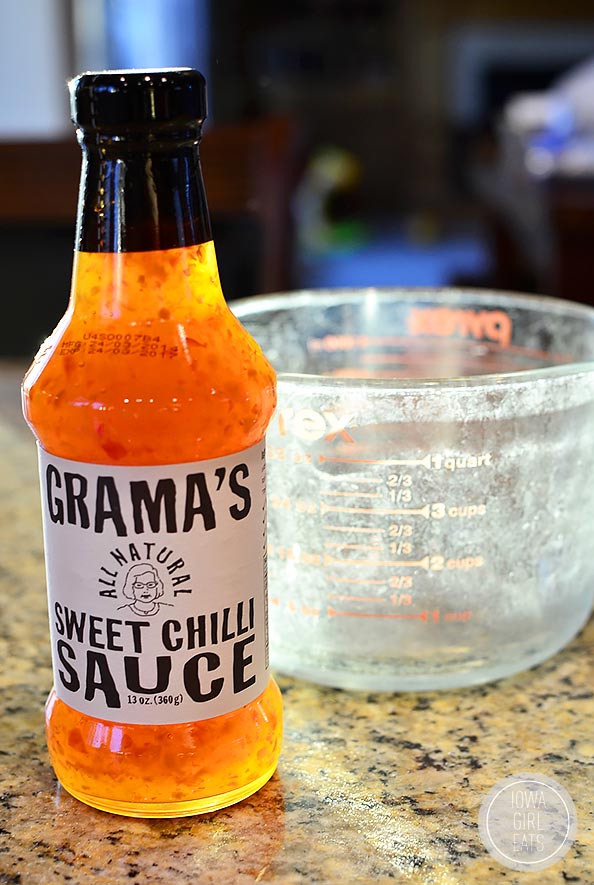
Ok I have to show you the sweet chili sauce I used. I found this in the health food section at the grocery store and it is sooooo good! Frank’s also has a version but this is the most homemade-tasting sweet chili sauce I’ve ever had. Definitely not tooth-achingly sweet like some other bottles I’ve tried!
Pour the sauce into a large bowl then dunk the chicken fingers in using tongs until well coated and place back onto the baking sheet. Bake for 4-5 more minutes, watching carefully to avoid burning, then pull them out.
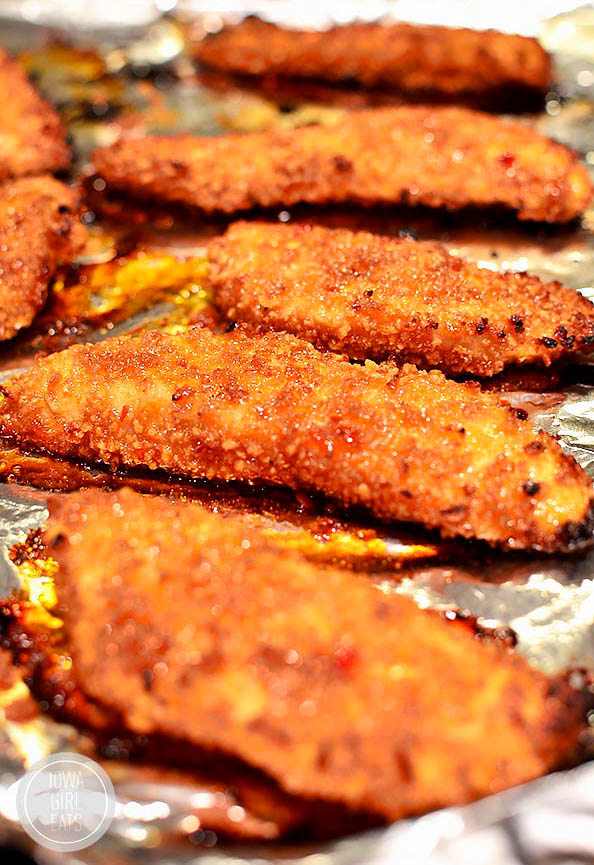
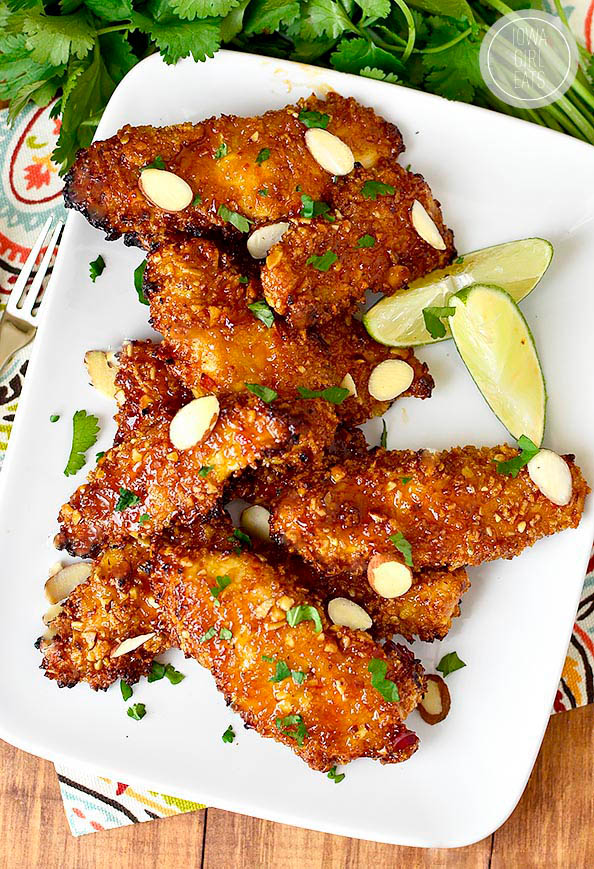
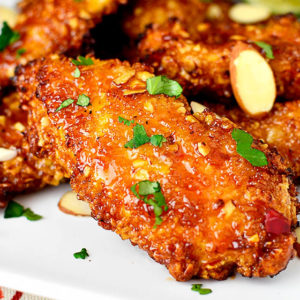
Transfer the chicken fingers to a platter then sprinkle with more sliced almonds and chopped cilantro for freshness and color, then feast!
More Craveable Chicken Recipes
- Chicken Pad Thai
- Chicken Fried Rice
- Gnocchi Chicken Pot Pie
- Pizza Chicken
- BBQ Chicken Quesadillas
- Baked Chicken Thighs
free email bonus
Dinner Made EASY
5 days of simple yet flavorful recipes that take the stress out of dinnertime!
Thai Sticky Chicken Fingers
Description
Gluten-Free Thai Sticky Chicken Fingers are crunchy, sticky, and irresistible - perfect for game day!
Ingredients
- 1-3/4lbs chicken breasts cut into 1” thick strips
- 1/2 cup gluten-free or all-purpose flour (dish will not be GF if using AP flour)
- salt and pepper
- 2 eggs
- 2 Tablespoons milk (any kind, I used unsweetened almond milk)
- 4 cups gluten-free Rice Chex pulverized into 2 cups crumbs OR 2 cups panko bread crumbs (dish will not be GF if using panko)
- 3/4 cup sliced almonds, divided
- 1/4 cup cilantro, chopped
- For the sauce:
- 1/2 cup sweet chili sauce
- 1/2 cup water
- 1/4 cup brown sugar
- 1/4 cup gluten-free Tamari or soy sauce (dish will not be GF if using soy sauce)
- 2 Tablespoons rice vinegar
- 2 Tablespoons fresh lime juice
- 1/2 teaspoon ground ginger
- 1 glove garlic, microplaned or minced
- 1/4 teaspoon red chili pepper flakes (or more or less)
Directions
- Line 2 baking sheets with foil then spray very well with nonstick spray and set aside.
- Whisk eggs and milk in a shallow dish. Add 1/2 cup almond slices to a food processor then process until mostly fine crumbs and then pour into another shallow dish. Add Rice Chex to food processor then process until fine crumbs and then add to almond crumbs. (Alternatively you could add Rice Chex to a large Ziplock bag then pulverize by rolling over the bag with a rolling pin.) Season almond + bread crumb mixture lightly with salt and pepper.
- Add flour, 3/4 teaspoon salt, and 1/2 teaspoon pepper to a large Ziplock bag then toss with chicken fingers until well coated. In batches, shake excess flour from chicken fingers then dunk into egg mixture, and then roll in almond + bread crumb mixture, pressing to make sure crumbs stick. Place onto prepared baking sheets then refrigerate for 20-30 minutes to let breading fully adhere - don’t skip this step or breading will fall off. Preheat oven to 425 degrees.
- Spray tops of chicken fingers with extra virgin olive oil or nonstick spray then bake for 10 minutes. Flip then spray tops of chicken fingers again with nonstick spray. Place back into the oven, flipping and rotating baking sheets, and then bake for 7-9 more minutes or until chicken fingers are golden brown and cooked through.
- Meanwhile combine ingredients for sauce in a small saucepan then bring to a boil over medium-high heat. Lower heat to medium then cook until sauce is reduced and slightly thickened, 5-6 minutes. Pour into a wide bowl then dunk baked chicken fingers into sauce using tongs and place back onto baking sheets. Bake for 4-5 more minutes, watching closely to avoid burning, then serve sprinkled with remaining 1/4 cup sliced almonds and chopped cilantro.
Notes
Sauce slightly adapted from Simple Comfort Food.
This recipe is courtesy of Iowa Girl Eats, http://iowagirleats.com.
Video
Crunchy, sweet, salty, STICKY – you’re going to love these chicken fingers on game day or any day! Serve with rice and steamed broccoli to make it a meal or place on a platter to nibble on throughout the game. Enjoy!


[…] but there are a number of her recipes that are on a regular rotation in our household, including Thai Sticky Chicken Fingers and Baked Blueberry Almond Oatmeal […]
[…] second recipe from Lynnie, and another winner. This was linked from a blog and I changed it a bit, but the general idea is all hers. These made for a tasty dinner (with peas […]
Made these for my family last night with rice and veggies. Four of the five of us loved them. The holdout was my youngest (he’s 8) who said they tasted like pterodactyl. So, ya know….kuddos for a recipe that brings out the dinosaur! 4 outta 5 means this goes into the menu rotation. :)
I’ve been following your blog since before Lincoln was born and I just love it. Your family is adorable and you remind me of my “little” sis (she’s almost 31) who has an 18 month old who needs gluten & dairy-free everything. Your blog has been a god-send as he grows and she tries to make just one meal for her family. THANK YOU!
HA! I’m just waiting for the day when those types of comments start coming out of my almost three year old’s mouth. ;) So glad to be of some help to your sister, too – I know how frustrating it can be to cook and meal plan when having to deal with food allergies. Thank YOU for passing the word on!! :)
Great recipe, beautiful pictures and finally you solved my oven “fried” chicken problem, the fall off breading! – Love, Anna
These Thai Sticky Chicken Fingers were absolutely fabulous. Tons of flavor and really easy to put together. Thanks for sharing!
These were really good. Tender and lots of flavor.
[…] how do I hope the AFC championship game is over before we leave but doubtful). Found a recipe for Thai sticky chicken fingers that you bake and while there are a lot of ingredients and steps, it looks simple. That will be our […]
I am the gluten version of this for my family last night. Thank you so much for sharing, the sauce on this was amazing. I thought the sauce would be great on a chicken, veggie, and noodle stir fry or with a Thai inspired panini as a dipping sauce.
I think you’re on the right track, Shar, that sauce would be good with tons of stuff!
Hi! So my husband and I LOVE this recipe, as it seems like everyone else does :) but I was wondering: would the sticky sauce be ok if I cooked it ahead of time? As in preparing it before the chicken is even crusted? We have a one year old and I try to have things prepared during his naps so dinner can be as quick and easy as ppossible. Thank you!
I think that could work! I’d just zap it for 30 seconds – 1 minute in the microwave before coating!
I made these for the Super Bowl this year and this recipe has become a favorite! I just made them again tonight, we needed something other than the grill, and my husband said, “this is better than Chinese takeout.” Now that is the best compliment. Thank you for all your great recipes!! And I love hearing about my home state.
From an Iowa girl transplanted in Plymouth, MA.
YESSSS – just want I want to hear. Thanks so much for the great feedback, Lori! :)
[…] – Thai Sticky Chicken Fingers – The second I saw this post go up on Iowa Girl Eats blog last week, I knew I had to make […]
[…] Thai Sticky Chicken Fingers from Iowa Girl Eats […]
I just made these…they are awesome!! Like “boneless wings” but healthier!
[…] Recipe inspired by Iowa Girl Eats […]
We made these tonight and they are amazing! LOVED the sauce. It was great to leave the sauce off of some for my daughter who can’t stand any sort of spice. Loved the crunch and that the breading actually stuck! I did put them in the refrigerator for 20 minutes even though I didn’t want to! :)
[…] weekend we tried a new recipe: Thai Sticky Chicken Fingers from Iowa Girl Eats. The verdict? Spicy and delicious! They aren’t too hot but there is […]
I’ve made these twice now. I had extra sauce so I went back on the second batch and dipped the tenders in the sauce for a second time… AMAZING! Sooo good and is totally worth the prep time. I’ve looked at my Hy-Vee in Johnston and they didn’t have that particular sauce so I’ll try somewhere in WDM.
We are not a gluten free family so I made some adjustments to the breading, but these were so tasty! We loved them! I have tried similar recipes and the breading always falls off. It stayed on with this recipe! Thank you for sharing!
made these last night using panko. they got rave reviews from everyone in the family. thanks for the recipe!
Made these for the super bowl and they were GONE in the first five minutes of bringing them. I had some leftover marinade and used it on some ground beef later in the week, which was also fantastic! Definitely my favorite new recipe :)