No smoker? No problem! Easy Baked Ribs are succulent, juicy, fall-off-the-bone-tender, and baked vs smoked. Follow my tips for selecting the best type and rack of ribs for baking, plus FAQs for baking super tender ribs.
“This is the best rib recipe I’ve ever made! They were fall off the bone tender and seasoned perfectly. Thanks for the great recipe.”
One of my husband’s love languages is smoking meat, and I can’t deny that a rack of ribs smoked low and slow over hickory wood chips is a total treat.
Since most people don’t own a smoker though, I’m sharing my recipe for oven-baked ribs that is BEYOND delicious and easy. Yes, you can get lip-smackin’, finger-lickin’-good ribs that fall off the bone from your oven.
Every time I make these I’m stunned over how delicious they are. They come out perfect every single time!
Watch How to Make Them
Ribs in the Oven
I place Easy Baked Ribs in the same category as slow cooker recipes because they’re completely prep-ahead then bake low and slow in the oven so I’m free to do just about anything else. They’re a hit for busy sports nights when the kids come home starving, or have activities at different times and need to stagger dinner, as the ribs are good hot or warm.
Seasoned with everyday spices, baked for hours, then slathered with BBQ sauce — these oven ribs are succulent, fall apart-tender, and truly the easiest rib recipe you’ll ever make.
4 Main Types of Ribs: Which to Use
This method for baking ribs in the oven is for pork ribs, not beef ribs. When you go to the grocery store there are several types of pork ribs to choose from and it can feel confusing, for sure! That said, please take your seat for Pork Rib 101 where I’ll review the 4 main types of ribs you’ll find at the store, and which are best for baking.
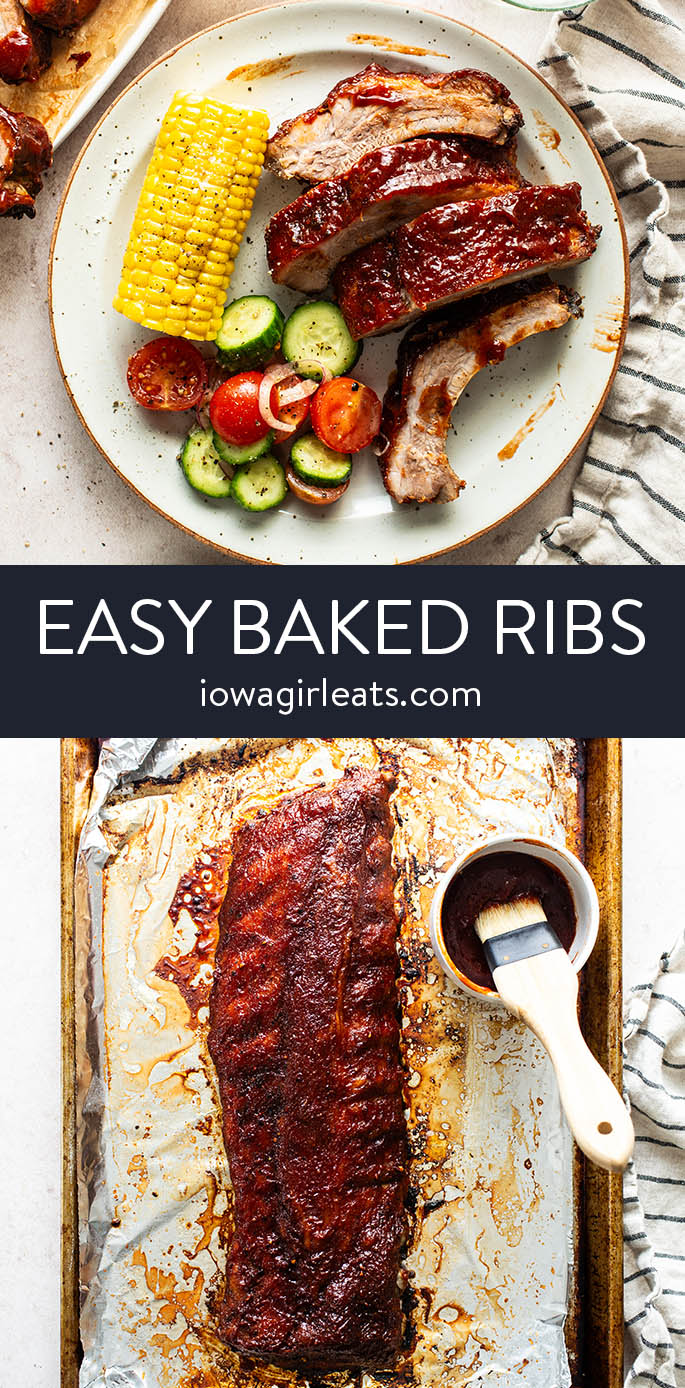
- Baby Back Ribs (aka Back Ribs or Loin Ribs): are from the upper rib cage connected to the back bone. This cut contains 11-13 ribs and has a natural curve to it. The ribs shown in these photos are baby back ribs (and are not taken from baby pigs, as the name might imply.) You’ll typically find back ribs in 2 — 3lb portions which feeds 2-3 people.
- Spare Ribs (aka Side Ribs): are the portion of ribs further down the belly towards the breastbone. This cut of ribs contains larger bones and more meat between the bones, vs baby back ribs where the majority of the meat is on top of the bones. This cut of ribs can come with extra cartilage and bones (aka rib tips) which aren’t very appetizing to bite down on, imo. Spare ribs take longer to cook than back ribs, though they can be used in this recipe.
- St. Louis Ribs: are spare ribs with the aforementioned cartilage and extra bones sliced off.
- Country Style Ribs: aren’t actually ribs — they’re cut from pork shoulder and are very meaty.
Pin this now to find it later
Pin ItHow to Choose Good Baby Back Ribs
Whether you’re baking, grilling or smoking them — here are two main considerations to keep in mind when choosing a rack of back ribs at the store:
- Meat on top: look for baby back ribs with a good amount of meat on top of the ribs because back ribs don’t have a ton of meat between each rib bone.
- Fat: look for a rack of ribs with a good amount of fat. Pork fat = FLAVOR! You can trim any larger pieces off, but fat gives ribs their mouthwatering flavor and texture.
In general, a 2-1/2 — 3lb rack of baby back ribs will feed 2-3 people so I bake two racks of ribs to comfortably feed by family of 5.
I think making ribs at home is something a lot of people find intimidating but honestly it couldn’t be simpler — I’ll show you how!
How to Make Baked Ribs
Step 1: Trim the ribs.
Start with a 2-1/2 — 3lb rack of baby back ribs. Again, look for ribs with a lot of meat on top of the bones AND a good amount of fat. If there are large pieces of fat on top, feel free to trim them away.
Blot the ribs all over with paper towels to dry them completely.
What are the best types of ribs to bake?
I like baking Baby Back Ribs ribs best, followed by St. Louis Ribs.

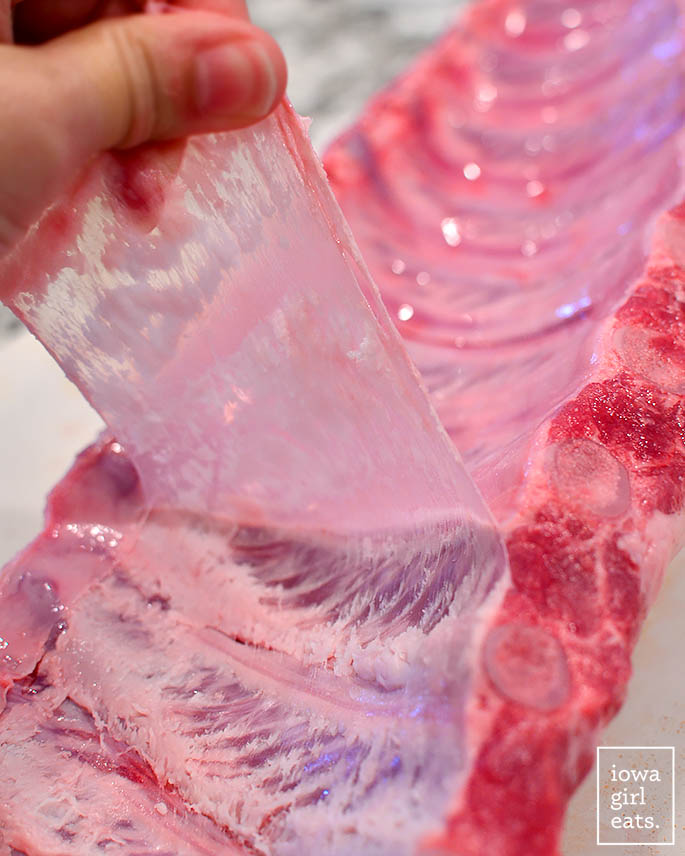
Step 2: Peel away the silver skin.
On the back of the ribs is a connective tissue layer called silver skin. The tissue is hard to bite through and needs to be removed before cooking the ribs no matter the method. Sometimes it’s already been removed by the processor but sometimes it hasn’t.
Silver skin has a purply-white color (silver, I guess, lol) and is not hard to remove. If present, stick a pairing knife underneath the silver skin between two rib bones near one end of the rib rack then use a paper towel, if necessary, to get a good grip and peel it away from the length of the ribs.
All easy from here on out!
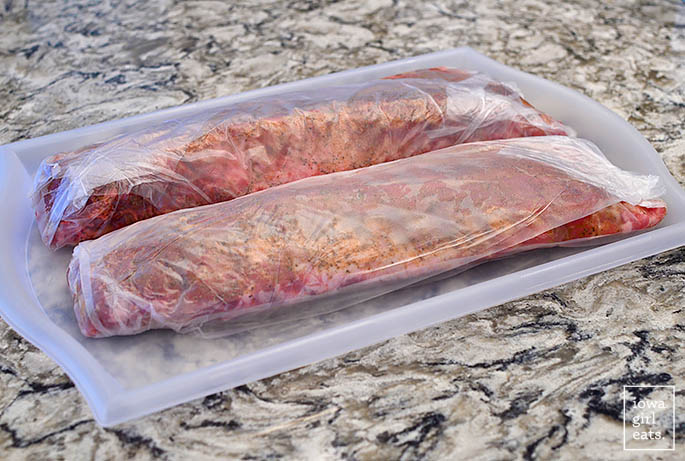
Step 3: Season the ribs.
Next, stir together a homemade seasoning mix of salt, pepper, garlic powder, onion powder, cumin, smoked paprika, and a little cayenne pepper (optional) in a small bowl.
Sprinkle the mixture on both sides of the ribs then rub to coat with your fingers. Wrap the ribs in plastic wrap then refrigerate for 2 hours or up to 24 hours. You can place the ribs on the baking sheet we’ll use to bake them on, or on a tray — it doesn’t matter.
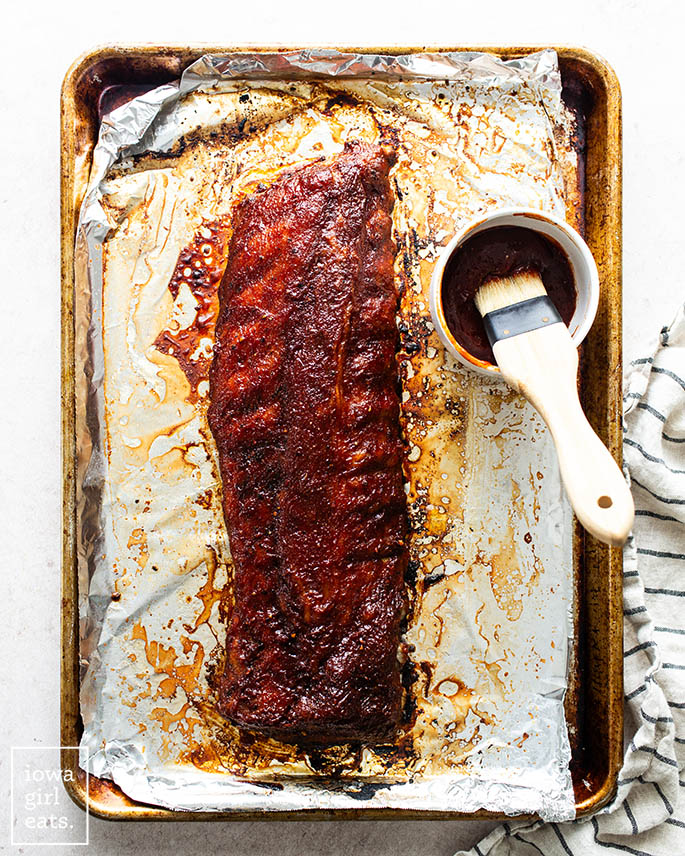
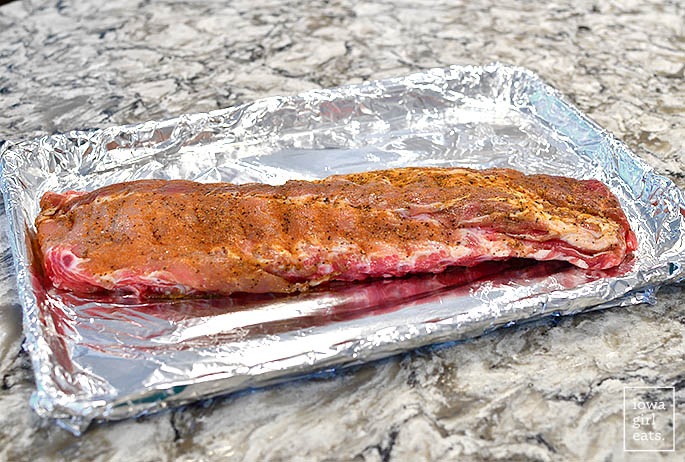
Step 4: Cover then bake.
When it’s time to bake, unwrap the ribs then place them on a foil-lined, nonstick-sprayed baking sheet. If baking more than one rack, give them each their own baking sheet.
Cover the baking sheet tightly with foil then bake for 3-1/2 hours at 250 degrees. If your rack of ribs is larger than 3lbs, add an additional 30 minutes baking time per additional 1/2 — 1lb ribs. For example, bake a 3 — 4lb rack of ribs for 4 hours.
Do I need to adjust baking time for 2 or more racks of ribs?
Give each rack of ribs their own baking sheet (if they’re small you could fit 2 on one), then bake for the directed amount of time. You might need to tack on an extra 30 minutes – 1 hour, depending on how well your oven can keep up with a large amount of food inside.
What if my rack of ribs is smaller than 2-1/2 – 3lbs?
Simply bake for less time – until a wiggle of one of the rib bones feels loose.
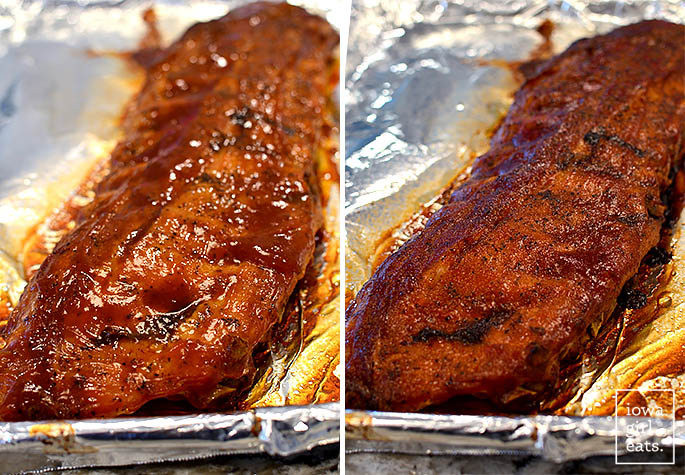
Carefully remove the foil on top of the baking pan then drain off any excess liquid that might be present.
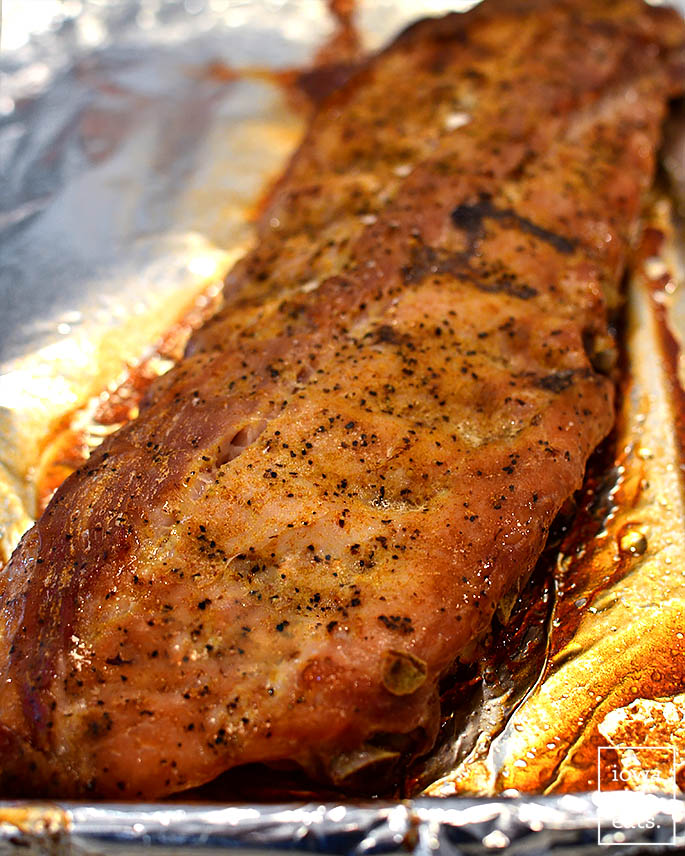
Step 5: Slather with BBQ sauce.
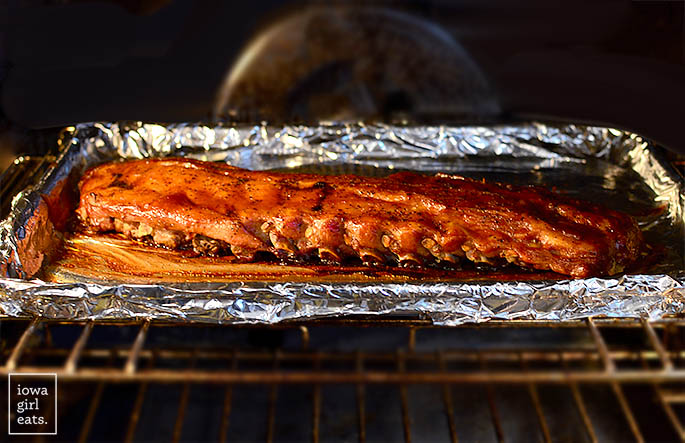
Slather the tops of the ribs with your favorite BBQ sauce then bake for an additional 30 minutes to get a caramelized, lacquered top. Personally I like to go with a sweeter BBQ sauce like Stubb’s Sticky Sweet BBQ Sauce.
The scent wafting from the oven is unlike anything else!
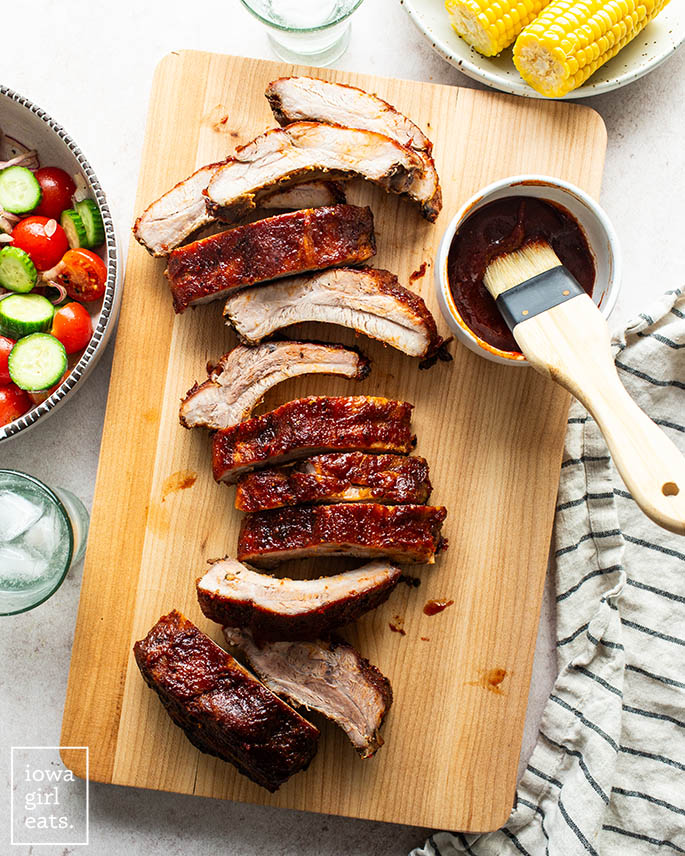
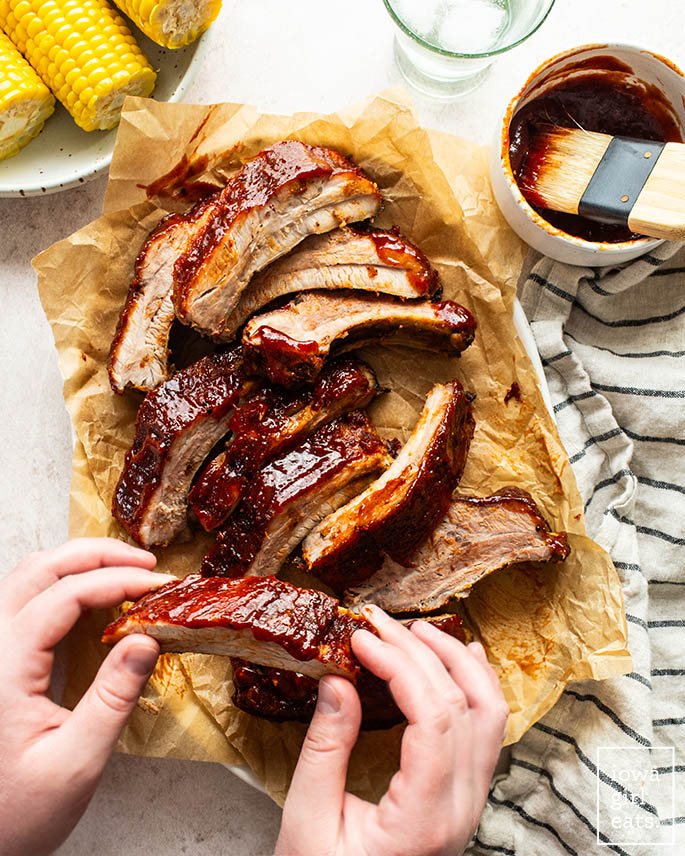
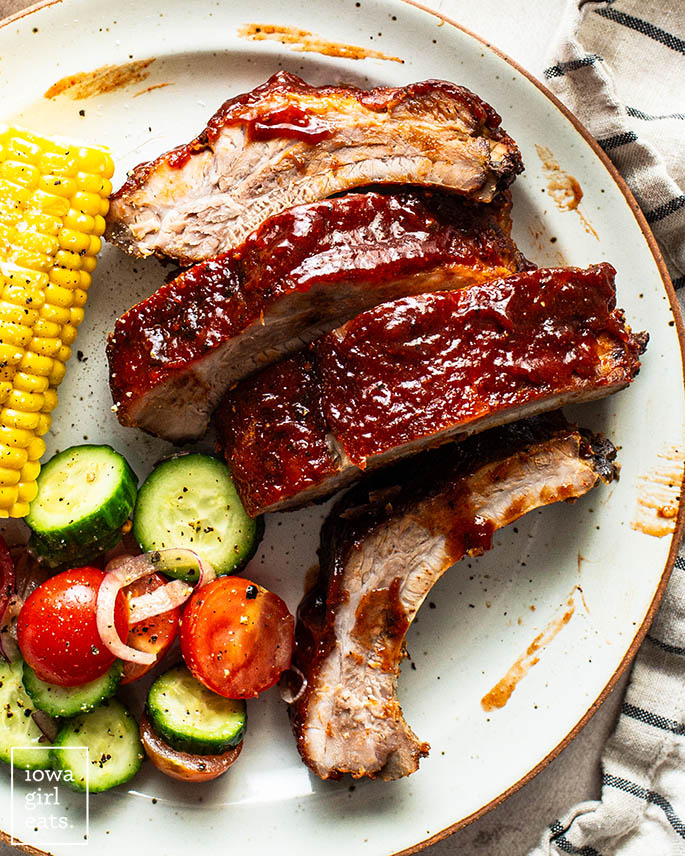
Step 6: Rest, Slice, then Serve
Let the ribs rest for 15 minutes or so before slicing and serving. I’m telling you — the meat completely falls off the bone. So tasty and tender!
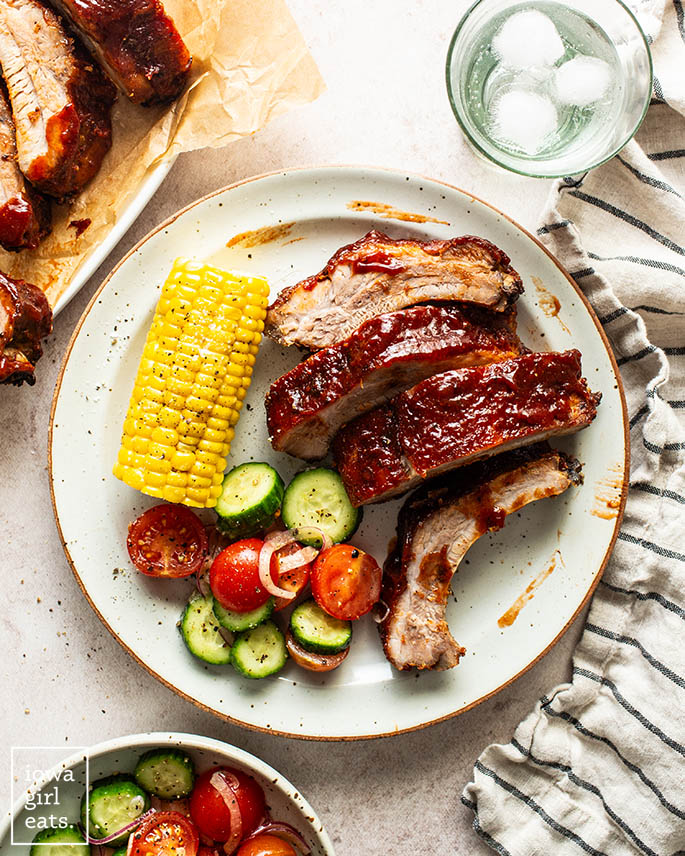
Whether you’re serving ribs at a summer cookout, the middle of winter, or anytime in between, I hope you love every last drop of these tender and truly delicious oven baked ribs — enjoy!
Serve these recipes with your ribs:
- Gluten Free Cornbread
- Gluten Free Biscuits
- The BEST Pasta Salad
- Marinated Vegetable Salad
- The Best Baked Beans EVER
- Cucumber-Tomato Salad
- Napa Sweet Corn Salad
- Classic Potato Salad
Equipment
Ingredients
- 1 slab baby back ribs, 2-1/2 – 3lbs total
- 1/2 cup BBQ sauce, or more or less — you can eyeball it!
For the Spice Rub:
- 2 teaspoons salt
- 1 teaspoon black pepper
- 1 teaspoon garlic powder
- 1/2 teaspoon onion powder
- 1/2 teaspoon cumin
- 1/2 teaspoon smoked paprika
- 1/4 teaspoon cayenne pepper, optional
Directions
- Line a half sheet pan with foil then set aside.
- Peel the silver skin away from the back of the rib rack if present then trim off any large pieces of excess fat. Fat adds flavor so you want to leave a good portion on, though if there is very thick/excess fat, feel free to trim it off.
- For the Spice Rub: Add the ingredients to a small bowl then stir to combine. Sprinkle half the mixture over the top of the ribs then rub to coat. Flip the ribs over then sprinkle on the remaining seasonings and rub to coat. Wrap the ribs in saran wrap then place onto the prepared baking sheet and refrigerate for at least 2 hours, or up to 24 hours.
- Preheat the oven to 250 degrees then unwrap the ribs and place them directly onto the foil. Cover the baking sheet tightly with another piece of foil then bake for 3-1/2 hours (see notes if your rib rack is larger).
- Carefully remove the top piece of foil then drain away any excess liquid from the sheet pan if there is any. Brush the BBQ sauce over the top of the ribs then bake for an additional 30 minutes or until the top is caramelized.
- Let the ribs rest for 15 minutes then slice and serve.
Notes
- If your rack of ribs is larger than 3lbs, add an additional 30 minutes baking time per each additional 1/2 — 1lb ribs. For example, I bake a 3-1/2lb rack of ribs for 4 hours.
- If you are cooking more than one rack of ribs, separate each rack on it’s own baking sheet then rotate the ribs halfway through baking time.
- I love Stubb’s BBQ Sauce, but use whatever your favorite is.
Nutrition
Nutritional values are estimates only. Please read our full nutrition information disclaimer.
Photos by Ashley McLaughlin


These ribs have been a summertime favorite in our house since I saw the original recipe a few years ago. My husband and I like these even better than most grilled/smoked ribs we’ve tried! Delish & so simple! :)
The ribs look Amazing. I just wish hubby liked them as much as I do.
Thanks 4 sharing the recipe. Passing this recipe onto our son-in-law.
Hi Kirsten! I’ve loved reading your blog for a while now! This recipe looks amazing :)
One comment that I’ve been meaning to make for a while concerning blog layout–is there any way that you could adjust your settings so that photos don’t fade out when you scroll over them? If your cursor is over a photo, then the photo turns white-ish and loses color–I think it’s to alert people that Pinterest is available for your stuff, but it’s distracting!
Hi Janice! Thank you so much for the feedback. As you mentioned, this was an intentional design choice that a lot of sites are moving towards. I am sorry that it’s distracting for you and will definitely keep that in mind for future design changes!
okay, this is probably the first recipe for ribs that hasn’t scared the crap out of me. i love it.
Yes, seriously, couldn’t be easier!
These ribs look amazing! Love how easy they are to make!
That reminds me of my childhood and my dad’s cooking! When it comes to food, I always say: the simple, the better! Proof?
http://www.allnnothing.com
These are soooo easy and soooo delish! Tip: I use heavy-duty foil, and spray the inside of the foil–not the baking pan–then after the meal, all the bones can just get wrapped up in the baking foil and tossed away. Also, I bake mine at 320 for about 4 hours before saucing. Anyway you do it….fall-off-the-bone tender meat. Your recipe is perfect for family and holiday get-togethers as it frees you up to socialize once you make a side dish or two. PS–more pix of Lincoln, please!!! : )
I adore baked ribs they get so tender!
Gorgeous photo of ribs and potato salad! The ribs sound delicious. Just wondering if you have ever tried making them in a crockpot to keep the house cool?
I have made ribs in the crock pot and they are very good, but can be hard to remove. They get so tender (like with baking) that they fall apart when trying to get out of the crock pot (that’s been my experience, anyway!) The low oven temp really doesn’t heat the house up too bad!
and you can use the love oven temps to make bread and help it rise.
These look absolutely delicious! I didn’t know that ribs could be so simple!
HA! I had to laugh at your “what are you guys doing this weekend…” because for us the answer is usually that the hubs is, um, making beer. Yep. Perhaps I can convince him to make these ribs whilst making his beer to cover up the hops smell :)
Have a great 4th and Birthday!!
These look great, Kristin. So glad you featured these as a way back wednesday post! Have a good 4th!
Holy Moley! These look great! I adore ribs but never give them the time in the oven they need. Going to give this a go on the weekend!
FoodNerd x
http://www.foodnerd4life.com