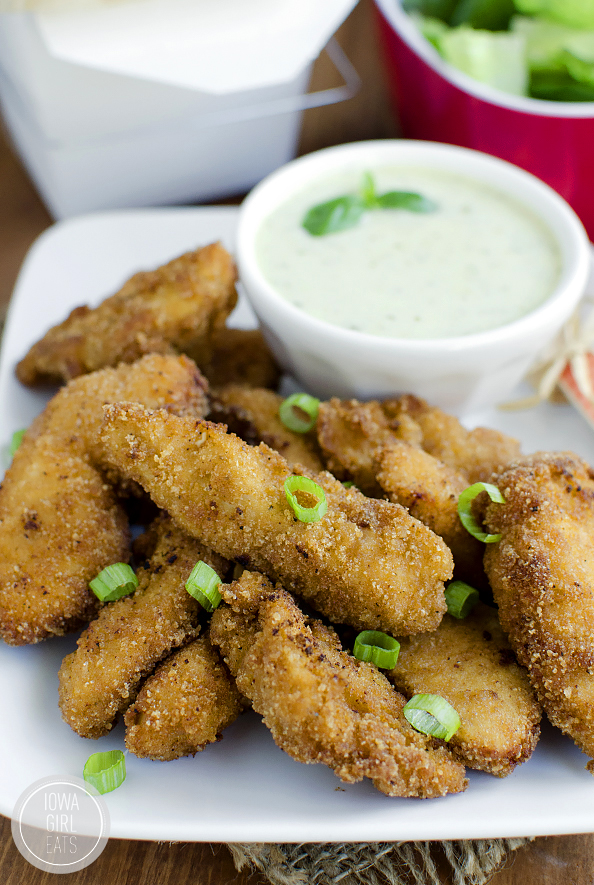
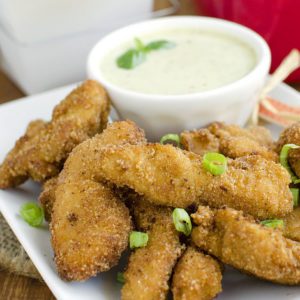
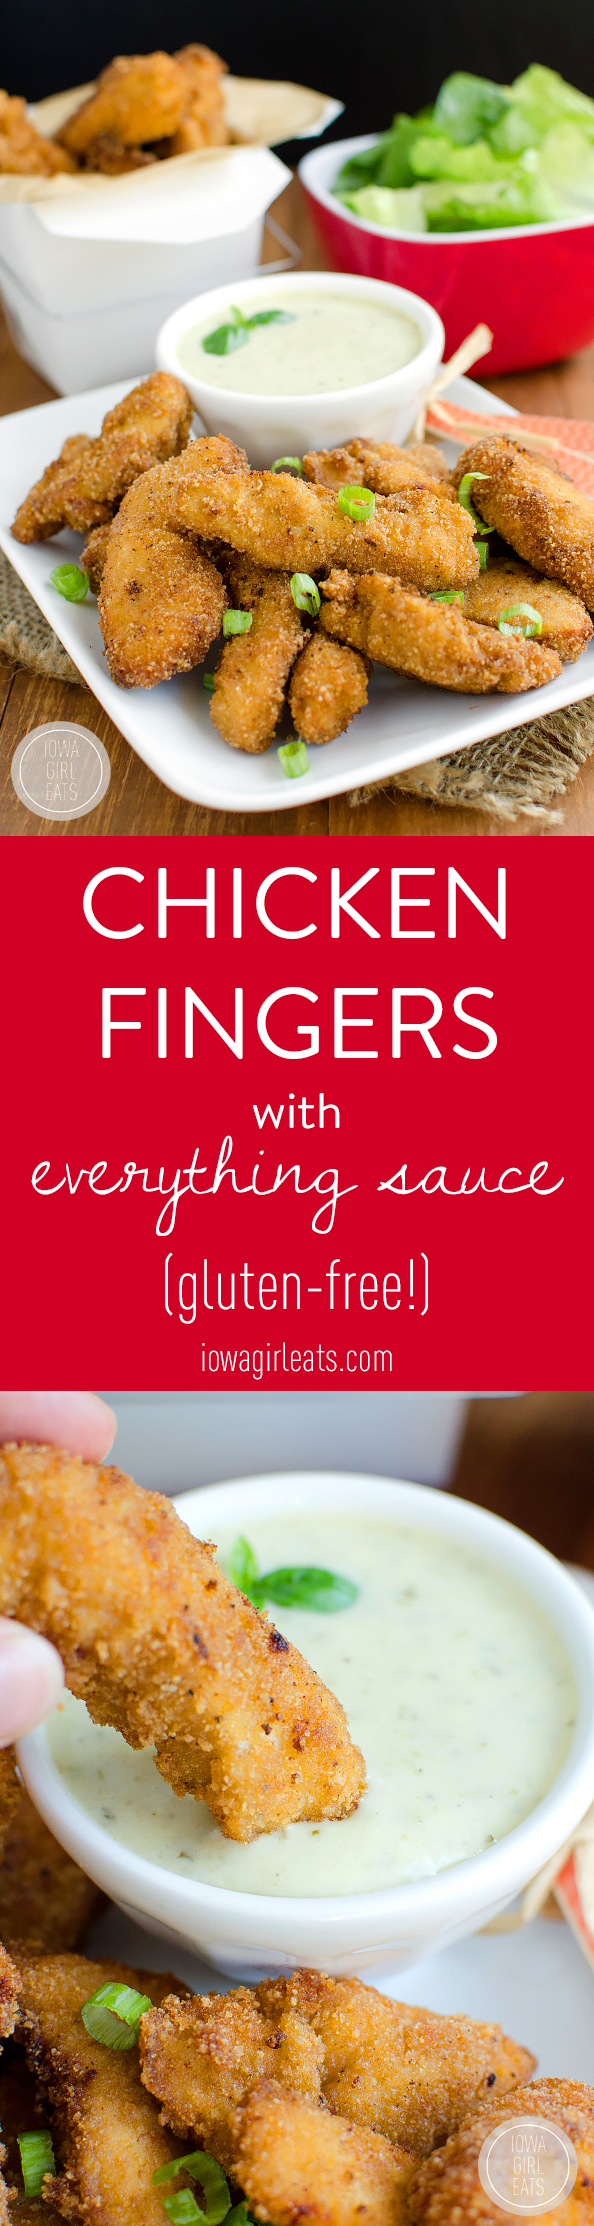
Your family will flip for crispy, gluten free Chicken Fingers! This tasty dinner recipe is great for kids and kids at heart.
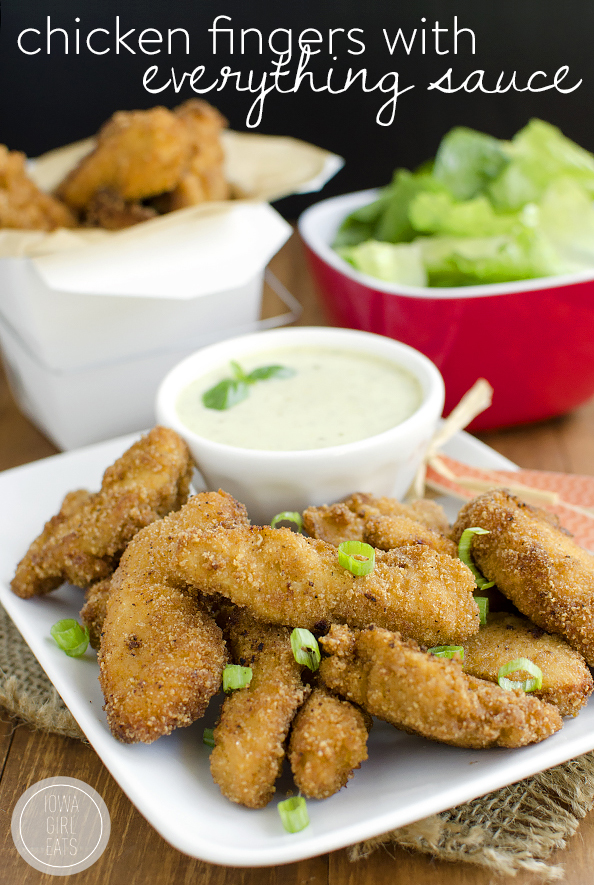
I had a nice little summer salad that I was going to share with you today but walking around the state fair surrounded by fried things I couldn’t eat this past weekend gave me a fierce hankering for something golden brown and crispy. That said, I decided to do the dang thing and fry us up a batch of Gluten Free Chicken Fingers!
Because aren’t we all still 12 year olds inside? (Hoarding Lisa Frank notebooks and Caboodles filled with Dr Pepper Bonne Bell Lip Smackers?)
Age aside, I am flipping out for these chicken fingers!

Tips for Making Gluten Free Chicken Fingers
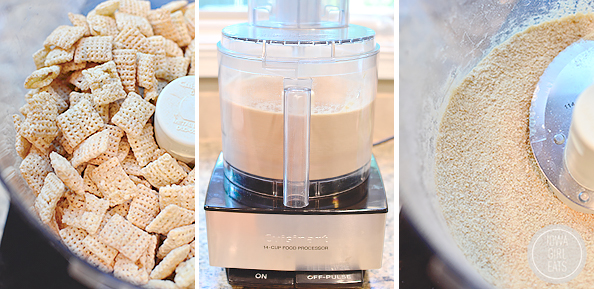
- Gluten Free Breading. Many homemade chicken fingers recipes call for panko bread crumbs in the breading, which aren’t gluten free. That said, I use pulverized Rice Chex to mimic the texture. It gets SO crispy! I’ll share the how-to below.
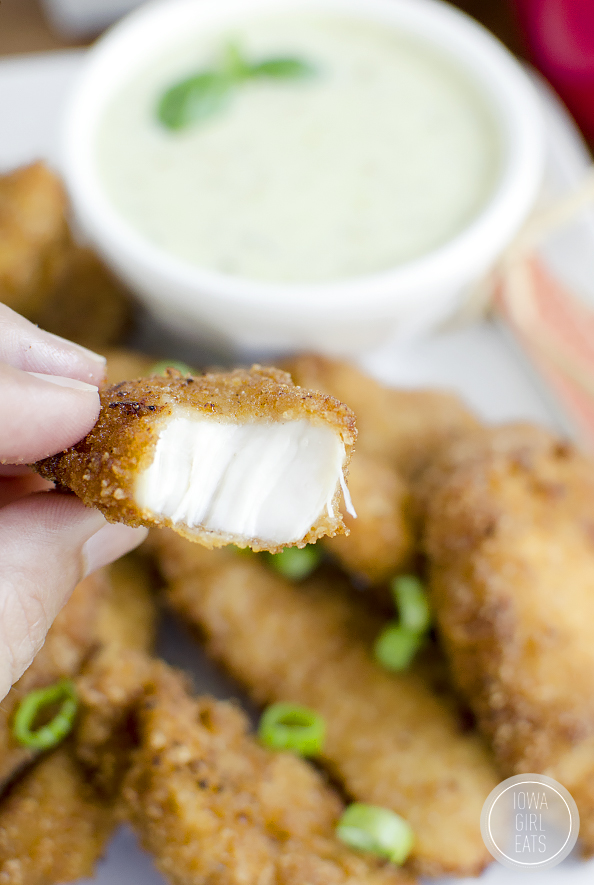
- Don’t lose breading! Want to know how to keep the breading on your chicken fingers? Bread them then LET THEM REST. You’ll be shocked at how little breading is lost while frying when the breading has had a chance to sit and adhere to the chicken for just 15 minutes in the fridge.
- Use the right pan. A deep, cast iron skillet is preferred for making homemade chicken fingers. It retains heat well and fries the chicken evenly. Be sure to work in batches as to not overcrowd the pan and lower the temperature of the oil.
How to Make This Recipe
Start by cutting 2lbs chicken breasts into 1″ thick strips. You can use chicken tenders instead but they’re usually sold at a premium and cutting strips from chicken breasts takes like, 2 minutes.

Add the chicken strips to a baking dish then cover with about 2 cups low fat buttermilk. The buttermilk will keep the chicken nice and tender, plus it gives them a bit of tang. Love it!

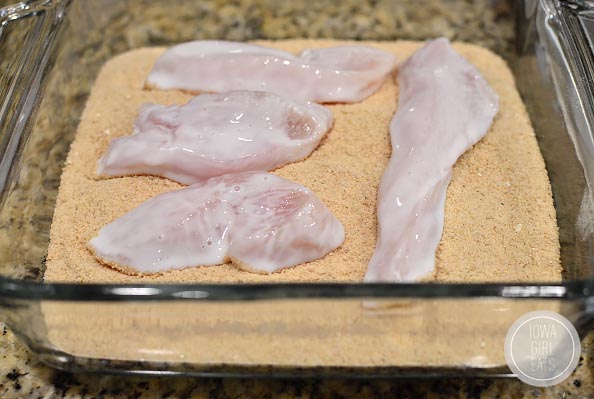
Pop the chicken into the fridge to marinate for 15 minutes or so then make the breading. If you don’t need the dish to be gluten-free you can start with 2 cups plain bread crumbs. If you do need the dish to be gluten-free, add a heaping 4 cups Rice Chex to a food processor then process until you have very fine crumbs – about 2 cups worth. This is the gluten-free bread crumb swap I use for absolutely everything I want to have a little crunch!
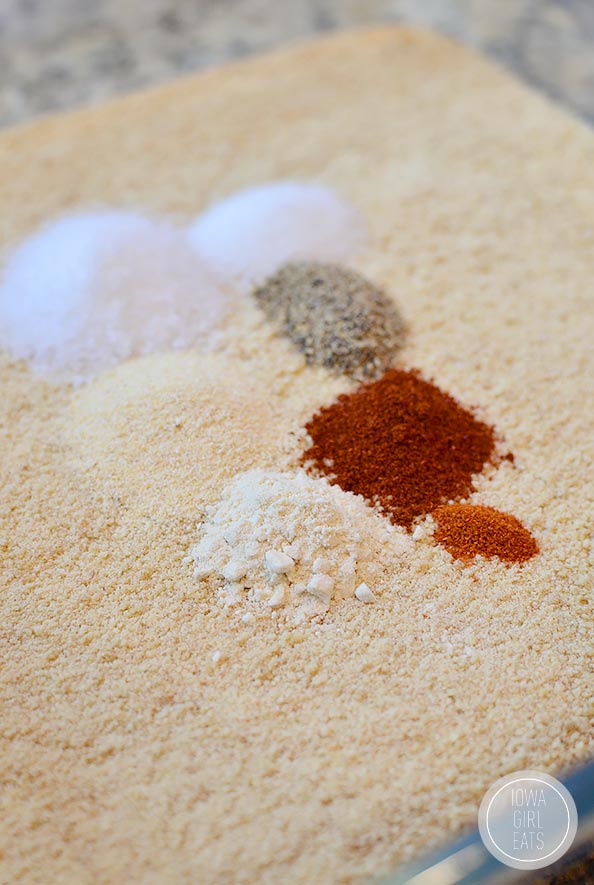
Pour the bread crumbs into another shallow baking dish then add my homemade seasoning salt mix – I just looked at the ingredients on a jar of Lowry’s then added a few more of my favorite spices. That’s 2-1/2 teaspoons salt, 1 teaspoon each pepper, garlic powder, onion powder, and white sugar, 1/2 teaspoon smoked paprika, and 1/4 teaspoon cayenne pepper (or more or less.) Mix everything to combine.
Remove the chicken from the fridge then, working in batches, remove from the buttermilk, shaking off excess, then roll in the seasoned crumbs until well coated.
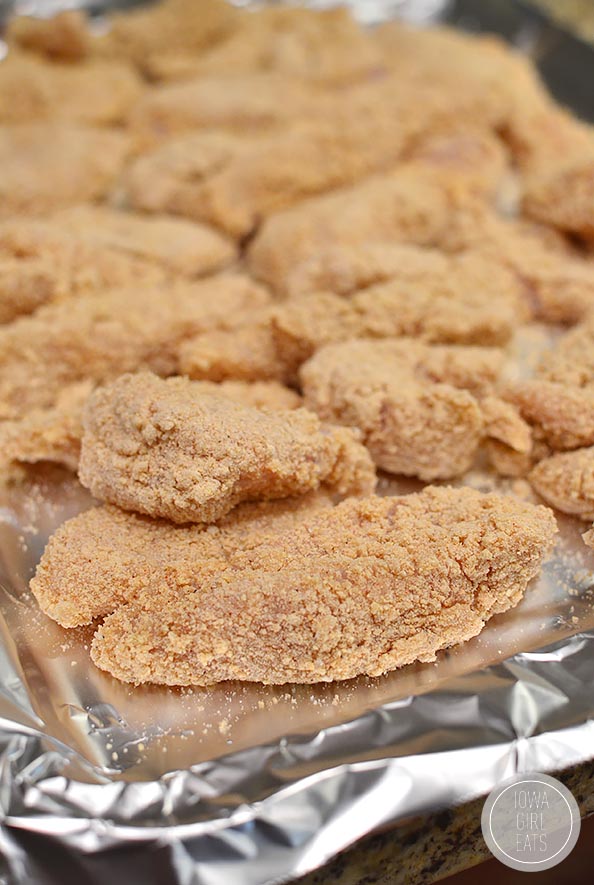
Place onto a foil-lined baking sheet then repeat with the remaining ingredients. NOW, you could pop the chicken back into the fridge for 10 minutes to help set the coating or, if time is of the essence, proceed to frying. You might lose a little bit of breading in the oil but overall the chicken fingers will still taste just as good if you skip the setting step.
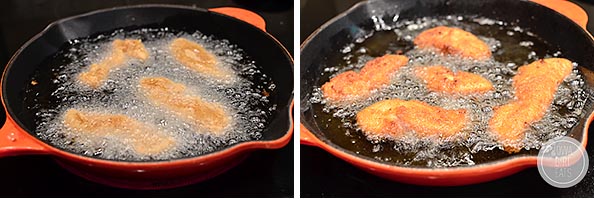
Add 1″ vegetable or grapeseed oil to a large cast iron or heavy-bottomed skillet over medium heat (you can start this while the coated chicken is setting in the fridge, or while you’re breading the chicken if you’re going straight to the fryer.) Test the heat by dropping in a bit of the breading. If it stays on the surface and sizzles constantly but not ferociously, it’s ready.
Add the chicken fingers, 4 or 5 at a time being careful not to overcrowd the pan, then fry until golden brown on one side before flipping and frying until golden brown on the other – 1-2 minutes per side. Remove the chicken to a paper towel-lined baking sheet then just keep going!
We hardly ever make fried food at home but when we indulge in the future, this is definitely the recipe I’m turning to. I hope you love these incredible Gluten Free Chicken Fingers – enjoy!
More Tasty Chicken Recipes
- Thai Sticky Chicken Fingers
- Air Fryer Chicken Wings
- Easy Chicken Enchiladas with Red Sauce
- Chicken Meatballs
Equipment
Ingredients
- 2 lbs chicken breasts, cut into 1" strips
- 2 cups low fat buttermilk
- 4 heaping cups Rice Chex OR 2 cups gluten free bread crumbs
- 2-1/2 teaspoons salt
- 1 teaspoon pepper
- 1 teaspoon garlic powder
- 1 teaspoon onion powder
- 1 teaspoon sugar
- 1/2 teaspoon smoked paprika
- 1/4 teaspoon cayenne pepper
- vegetable oil
Directions
- Add chicken strips to a shallow dish then cover with buttermilk and refrigerate for 15 minutes. Meanwhile, pulverize Rice Chex in a food processor until very fine then pour into another shallow baking dish (omit this step if using regular bread crumbs.) Add spices, salt through cayenne pepper, to the crumbs then mix well to combine and set aside.
- Setup a breading station for the chicken fingers: dish with chicken, dish with seasoned crumbs, and a foil-lined baking sheet. Working in batches, remove chicken fingers from buttermilk, shaking excess off, then roll in seasoned crumbs until well coated, and then place on baking sheet. Continue with remaining chicken strips then refrigerate for 10 minutes to help set the breading (if time is of the essence you can skip the refrigerating step.)
- Pour 1" oil in a large cast iron or heavy-bottomed skillet over medium heat then heat until hot (see notes for checking oil temperature.) Add 4-6 chicken fingers to the oil, being carful not to overcrowd the pan. Turn heat up slightly if necessary to compensate for adding the cold chicken then turn the heat back down once its comes back up to temperature. Fry chicken until golden brown on one side then flip and fry until golden brown on the other - 1-2 minutes per side. Remove to a paper towel lined baking sheet then continue with remaining chicken fingers.
Notes
- Test to see if the oil is properly heated by dropping a few pieces of the breading mixture into the oil. If it sinks or stays in the middle and has very few bubbles, the oil is too cold. When it stays on the surface and bubbles consistently but not ferociously, the oil is hot enough.
Nutrition
Nutritional values are estimates only. Please read our full nutrition information disclaimer.


Made these and they were REALLY GOOD , going to try it with fresh fish to make fish sticks or fish tacos , has anyone tried it with fish and how long should I bake it ?
Who needs a tunnel of love when you have a tunnel of fudge! This looks fantastic!!
Made these last night. I baked them instead of frying and got rave reviews from the family. Definitely adding this to the make frequently list.
So glad to hear, Dawn, thanks for letting us know how they worked/tasted baked vs fried!