


TRENDING
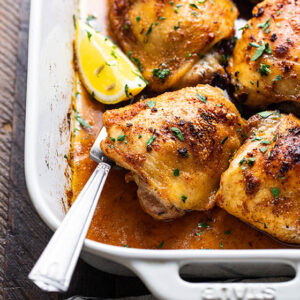
Crispy Baked Chicken Thighs
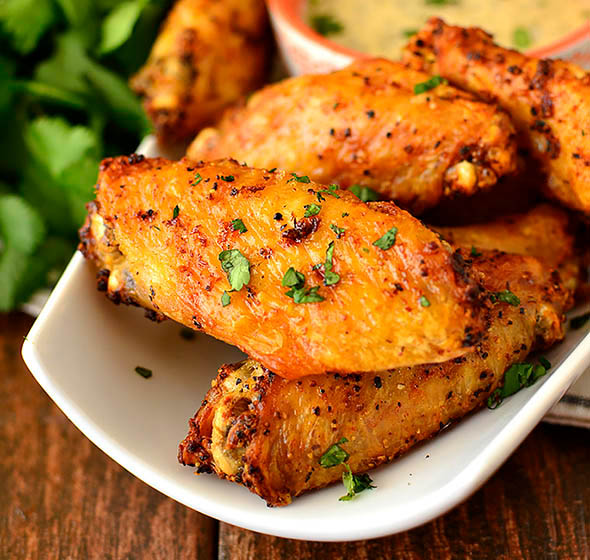
Try my #1 tip for baking the best chicken thighs of your life, with tender meat and crispy skin.
Popular Categories
By Ingredient
Free RECIPES
TRENDING
Crispy Baked Chicken Thighs
Try my #1 tip for baking the best chicken thighs of your life, with tender meat and crispy skin.
Popular Categories
By Ingredient
Free RECIPES
As Seen In