
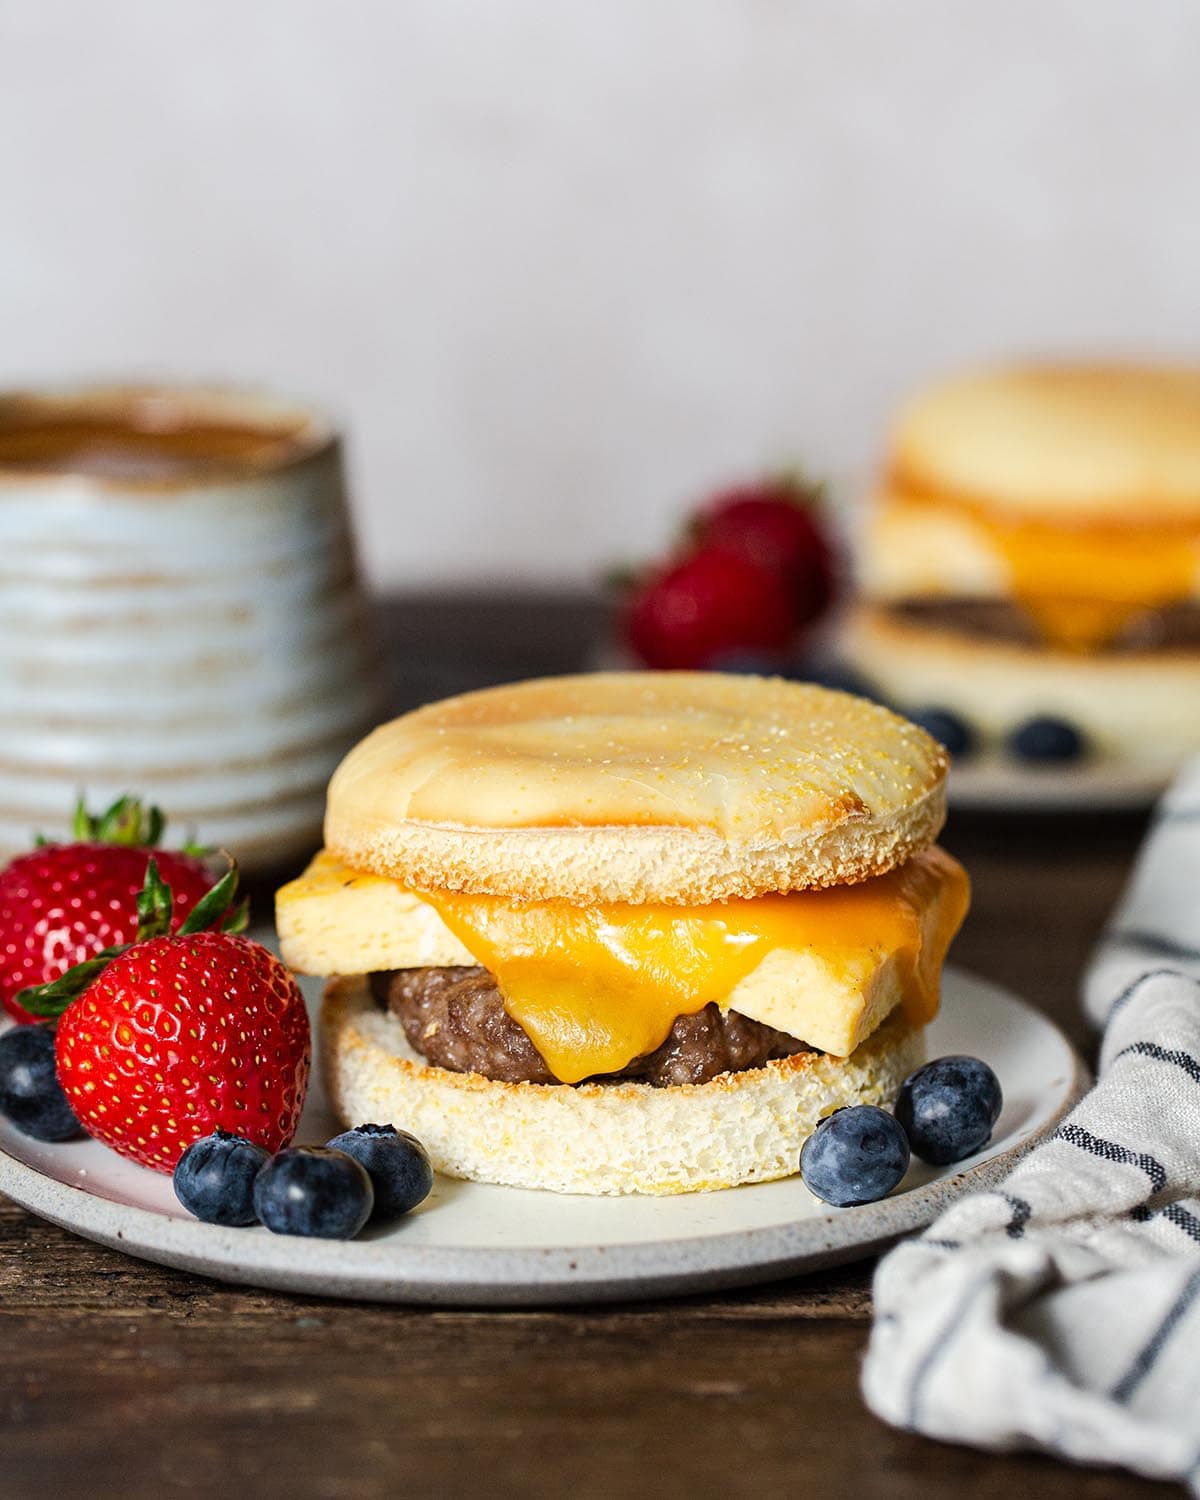
Gluten-Free Breakfast Sandwiches make mornings easy! Make-ahead, and freezer-friendly, this hearty gluten-free breakfast recipe reheats quickly on busy work and school mornings.
Why you’ll love this recipe.
I’m constantly looking for ways to make mornings go smoother for my family of five, and Gluten-Free Breakfast Sandwiches do the hard work for me. Make-ahead, freezer-friendly, and filling, they come together quickly and can be easily reheated on busy mornings before everyone heads off to work and school. I know you’ll love them as much as we do!
Make-Ahead Breakfast Sandwiches
My kids love a hot breakfast (I was raised by Crispix and 2% milk, personally), and it’s such a relief to have ready-made meals on hand so I’m not standing over the stove at 6:30am cooking breakfast quesadillas or egg-in-a-hole before they head off to school.
(Again, cold cereal and milk!)
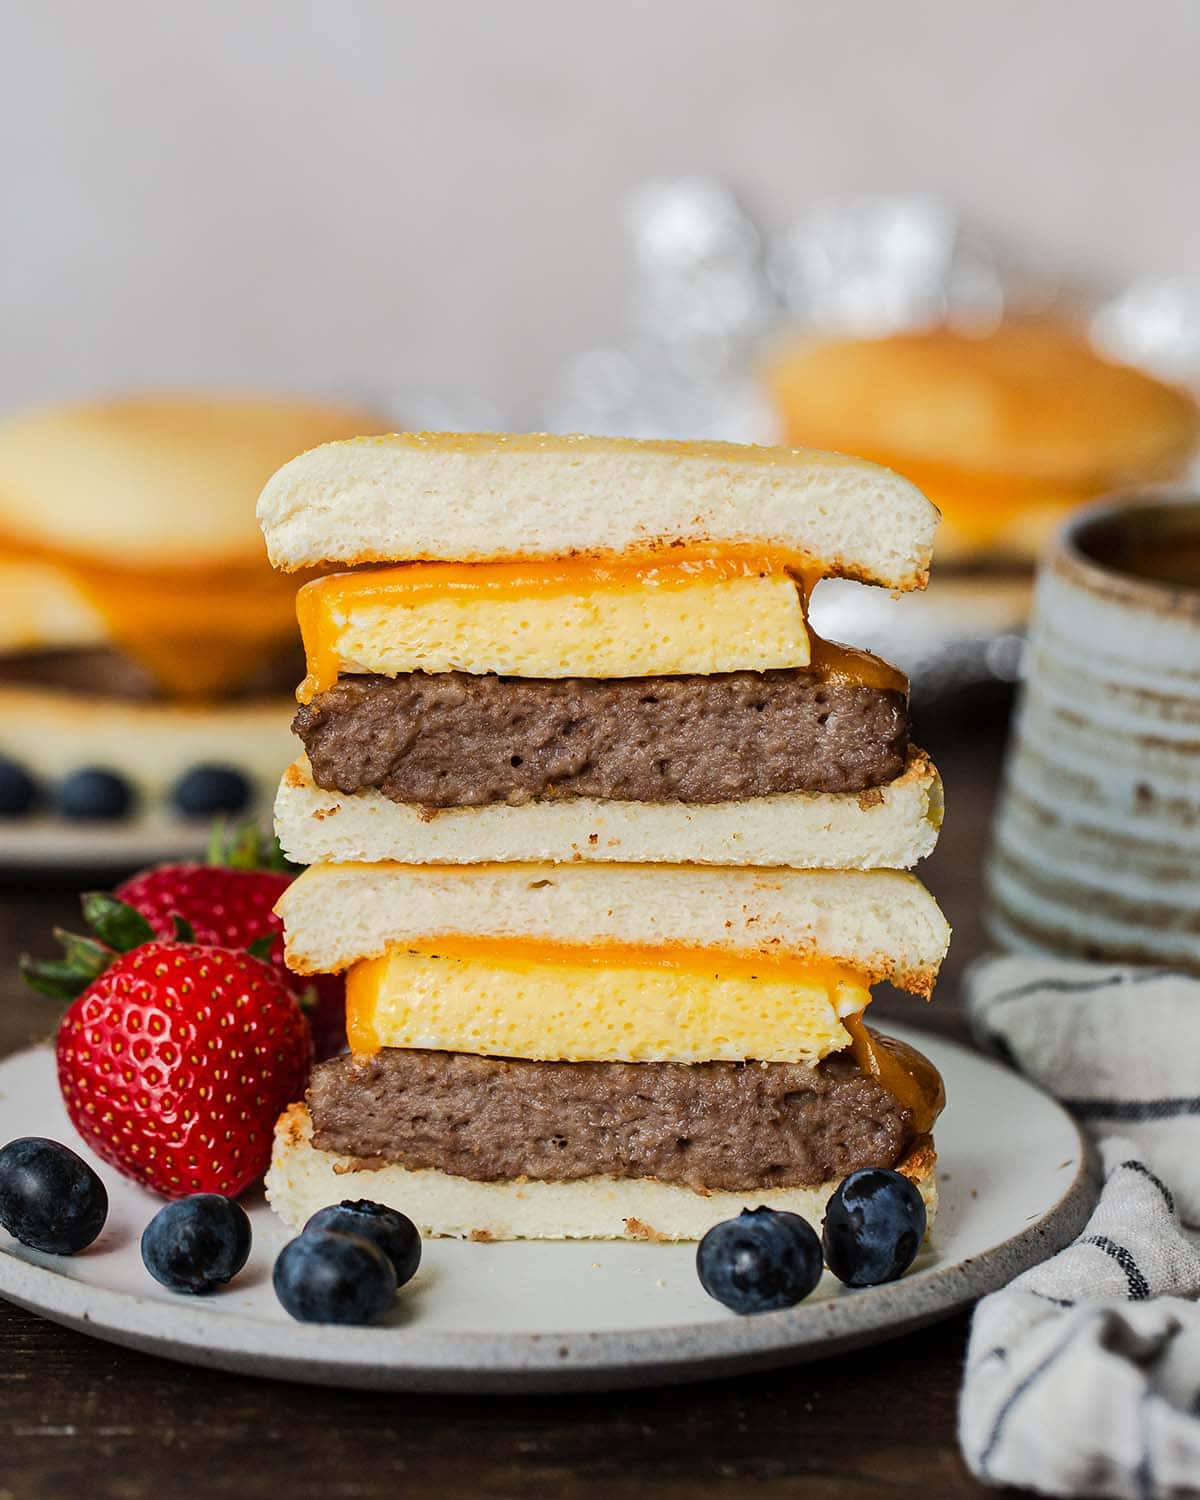
Anyway, my hearty Gluten-Free Breakfast Sandwiches are packed with baked eggs, breakfast sausage, and melty cheese inside a toasted gluten-free English muffin. They’re not only make-ahead and freezer-friendly, but reheat in minutes for a super simple hot breakfast option.
The best part? All the components cook hands-off in the oven. All you have to do is assemble the sandwiches, and you’re set!
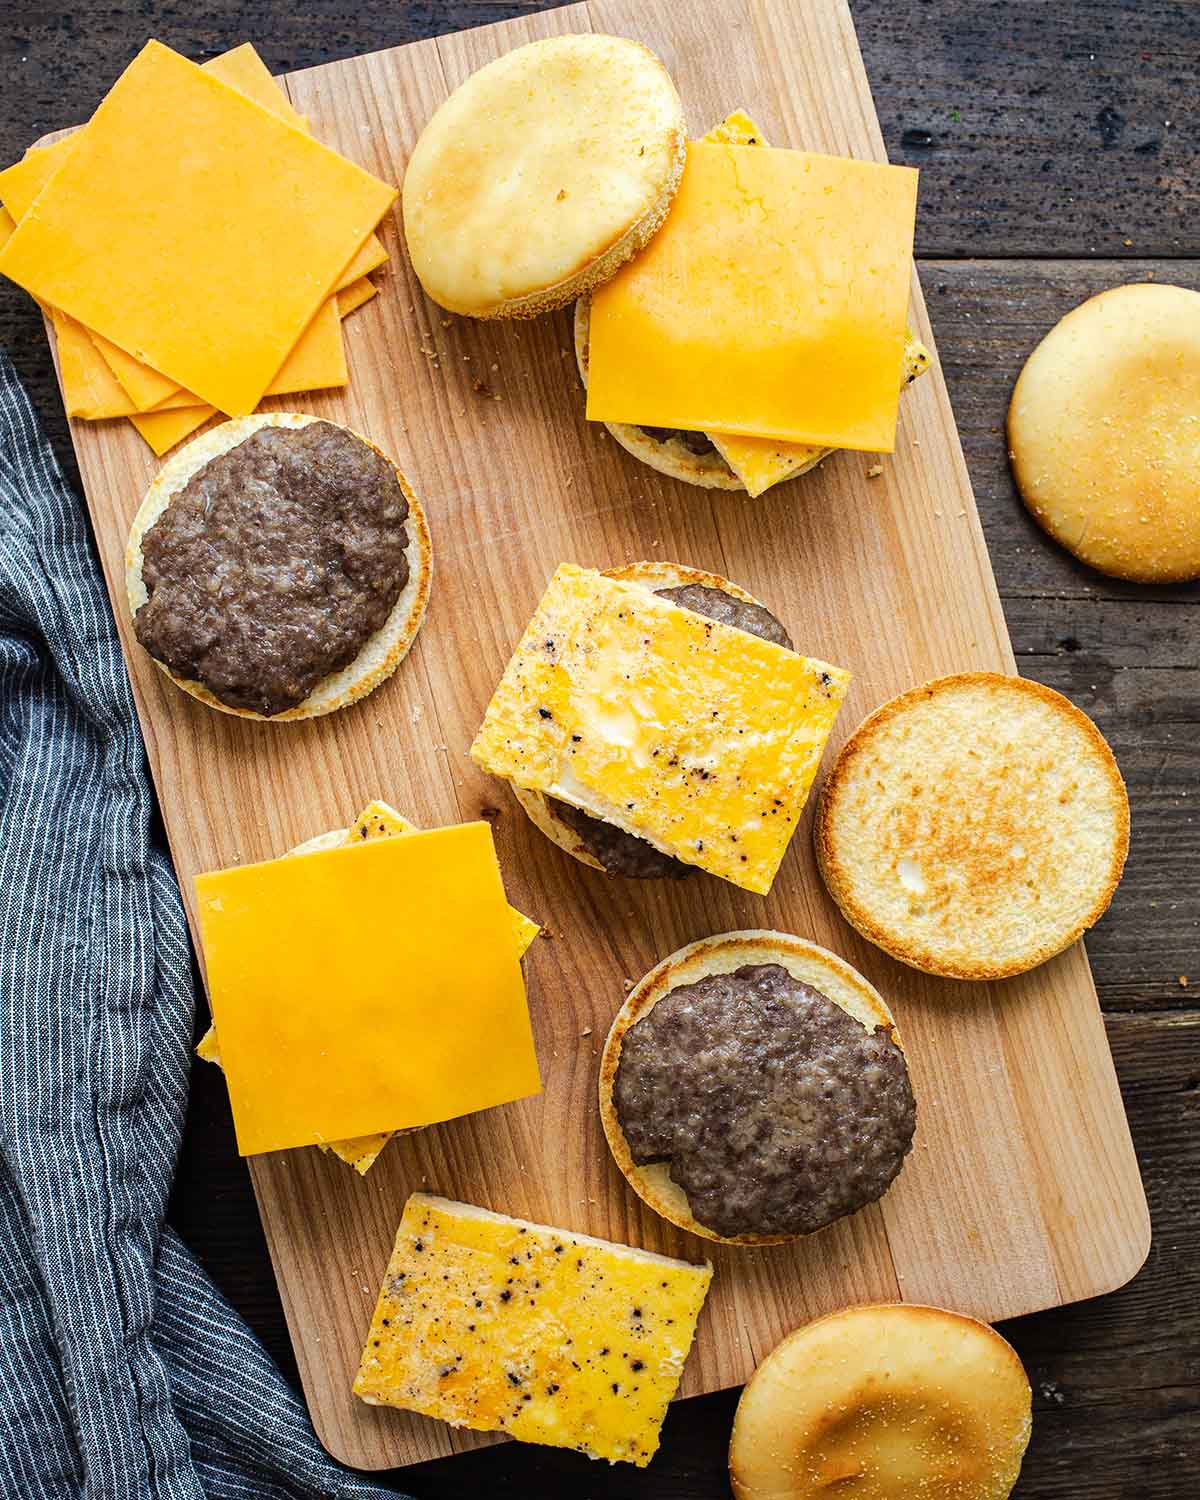
Main Ingredients Needed
- Gluten-free English muffins: there are several options available at the grocery store these days, but my favorite is Trader Joe’s GF English Muffins.
- Gluten-free breakfast sausage: I like Johnsonville breakfast sausage, though you can use bacon, Canadian bacon, or the breakfast meat of your choice.
- Eggs: whisked with milk, salt, and pepper then baked until set.
- Sliced cheddar cheese: for that classic breakfast sandwich flavor.
Make it Your Own
These breakfast sandwiches are easy to customize to you and your family’s liking.
- Cheese: use your favorite sliced cheese like Colby Jack, Pepper Jack, or American.
- Meat: opt for bacon, Canadian bacon, turkey sausage, or ham instead of ground pork breakfast sausage.
Tips for Making and Reheating Gluten-Free Breakfast Sandwiches
- Cool before assembling. Cool the baked eggs, toasted English muffins, and browned breakfast sausage patties completely before assembling the sandwiches so they don’t become soggy.
- Thaw before reheating. For the best results, thaw frozen breakfast sandwiches in the refrigerator before reheating in the microwave or oven.
- Don’t microwave from frozen. That said, do not attempt to microwave frozen breakfast sandwiches. The eggs take on a texture that should honestly be studied!
Try Make-Ahead Gluten-Free Breakfast Bombs
How to Make This Recipe
Step 1: Bake the eggs.
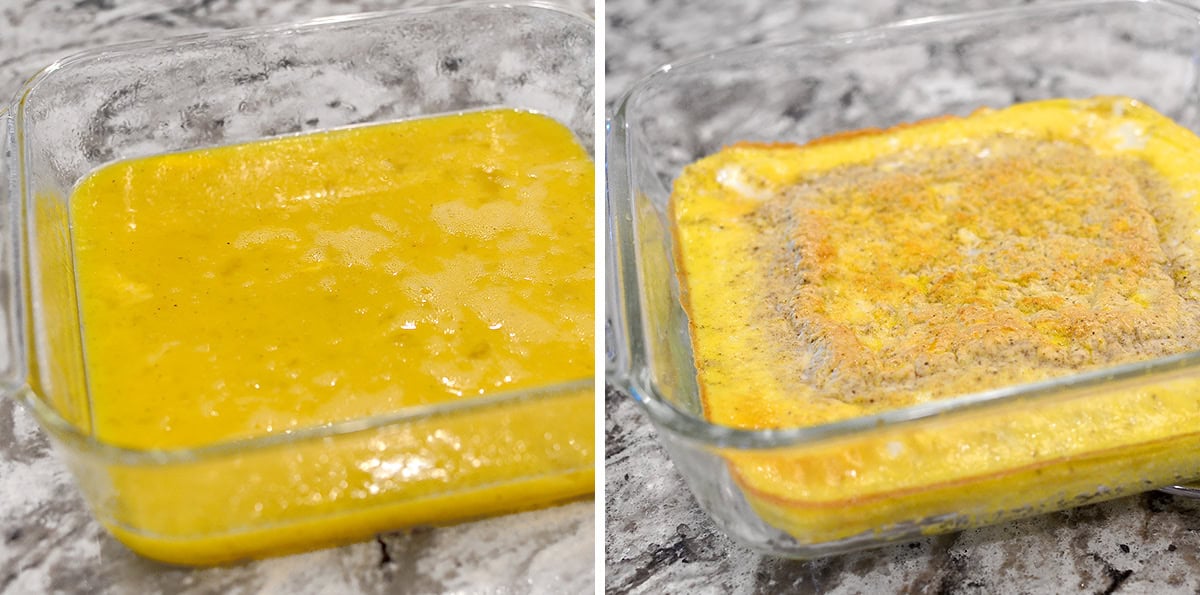
Start by whisking together eggs, milk, salt, and pepper in a mixing bowl then pour it into a nonstick-sprayed 8×8″ baking pan and bake at 325 degrees for 22-24 minutes, or until the center has just set.
The center will look slightly foamy, but that’s ok! Cool the eggs completely then thinly slice off the edges and slice the eggs into 6 portions.
Create a Water Bath
Fill a baking dish halfway with water then place it on the bottom rack of your oven before preheating. This will create a steamy environment in the oven to prevent a tough skin from forming on top of the eggs.
Step 2: Toast the English muffins.
Carefully pour the water out of the baking pan into the sink then set the pan aside to cool – you won’t be using it again!
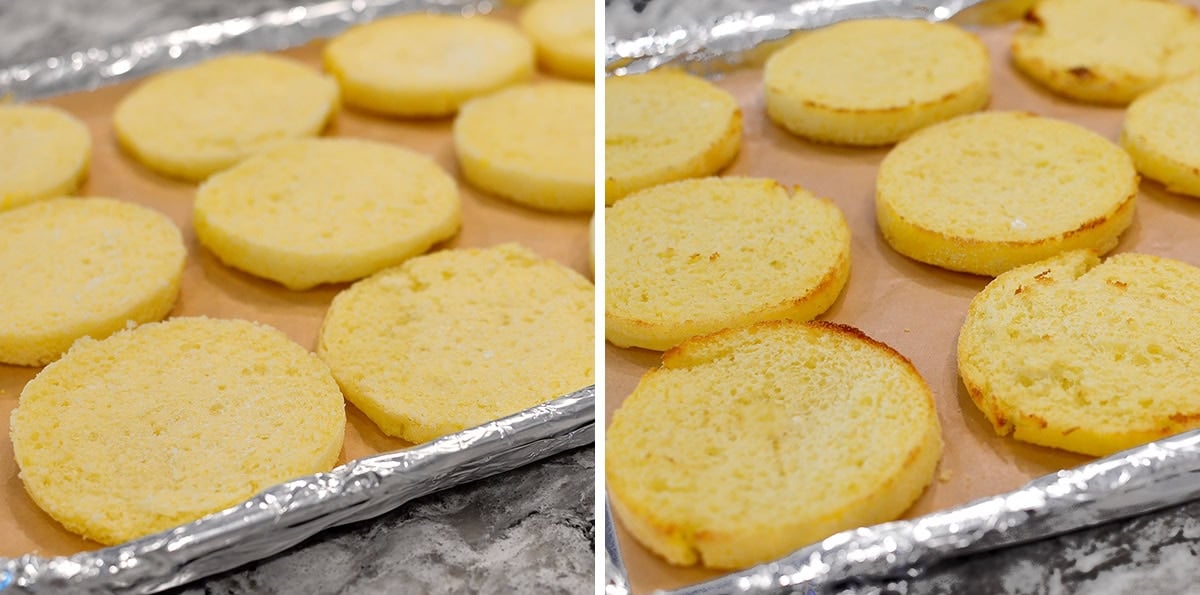
Turn the heat up to 375 degrees then line a half sheet pan with foil and a piece of parchment paper. Slice gluten-free English muffins in half then arrange the halves on the pan and bake for 5-7 minutes, or until lightly toasted.
Transfer the English muffins to a cooling rack to cool completely.
Step 3: Bake the breakfast sausage.
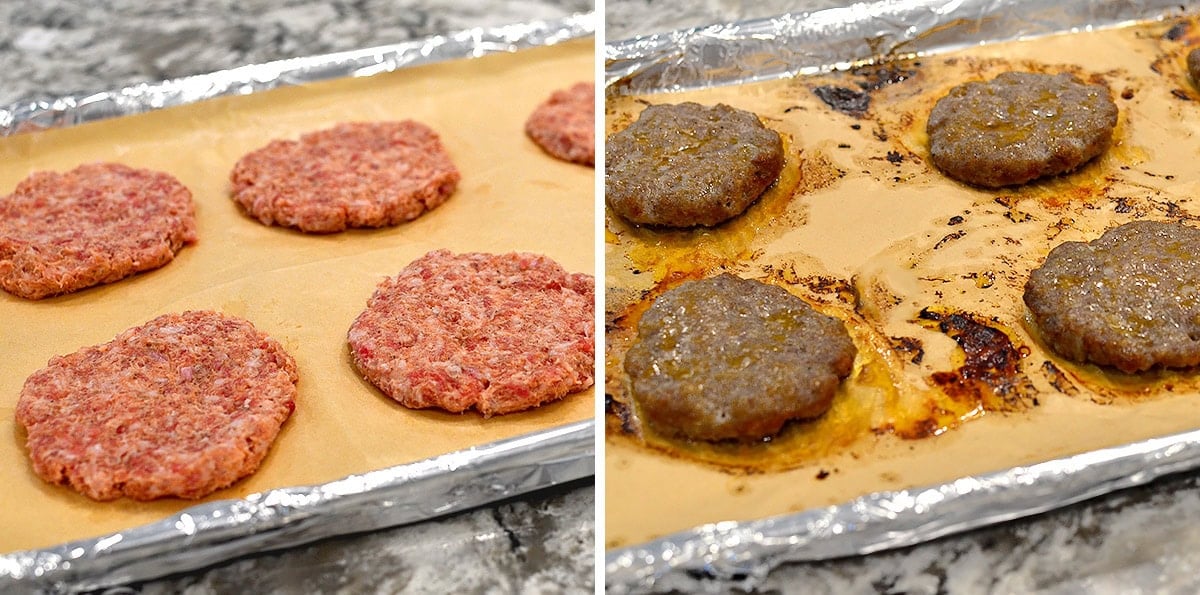
Form six thin patties from a pound of gluten-free ground pork breakfast sausage then place them on the same pan. Bake for 16-18 minutes or until a digital meat thermometer reads at least 160 degrees. That said, I prefer 180-185 degrees for the best texture.
Transfer the cooked sausage patties to a paper towel-lined plate to drain then set them aside to cool completely.
Step 4: Assemble the breakfast sandwiches.
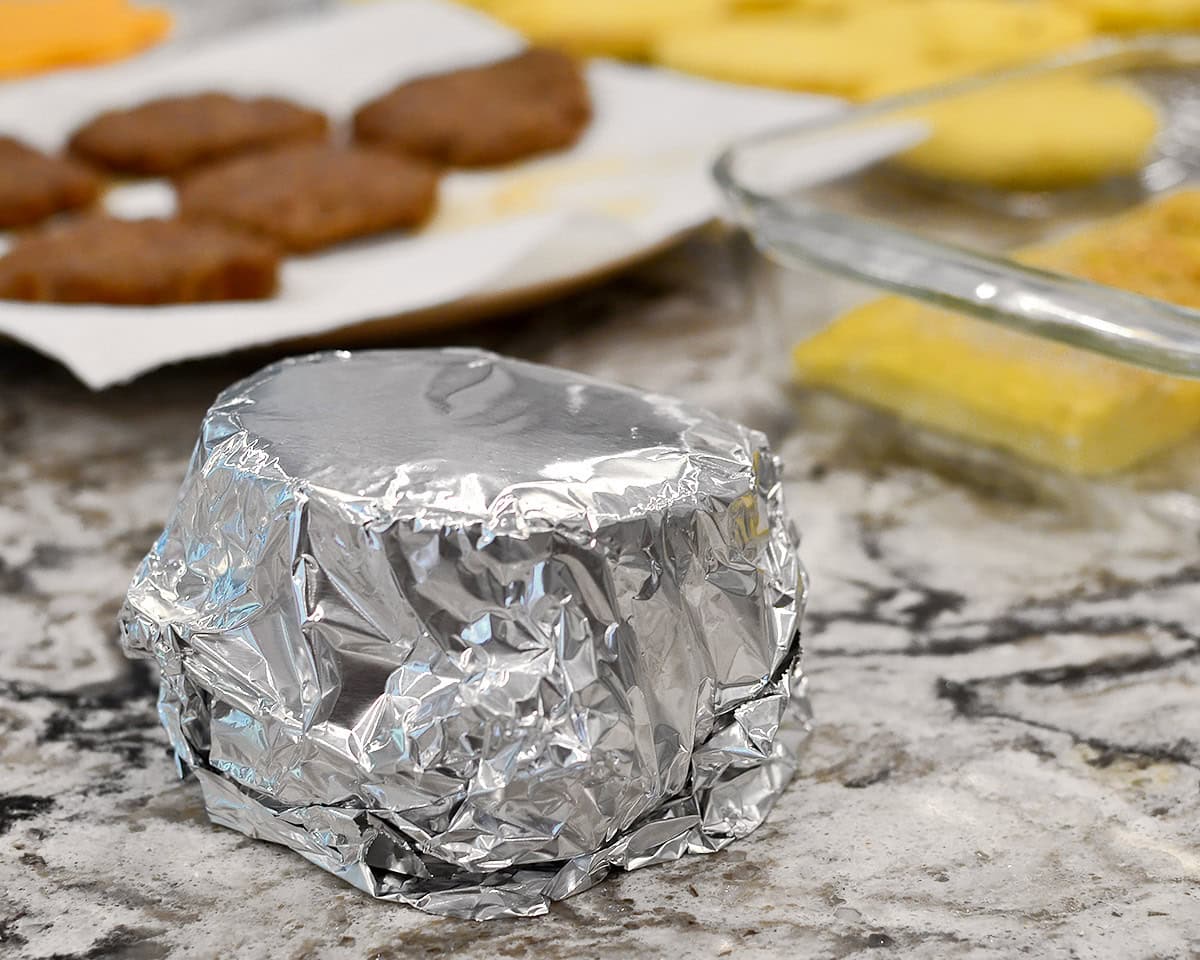
Once all the components are cool, assemble the sandwiches. Place a piece of foil on the counter then layer:
- Bottom half of English muffin.
- Sausage patty.
- Egg portion.
- Slice of cheese.
- Top of English muffin.
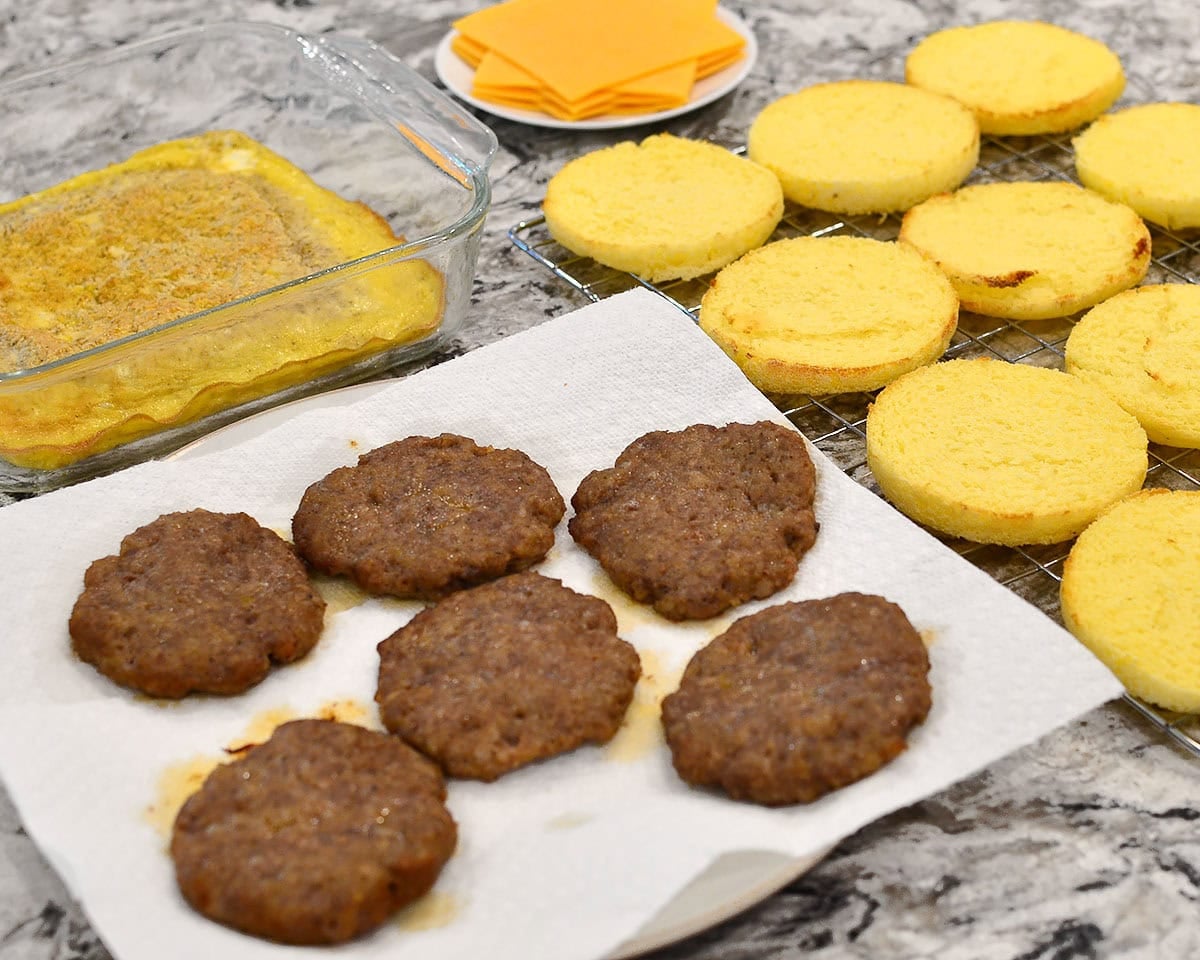
Wrap the breakfast sandwich then continue with the remaining ingredients. That’s it!
How to Store
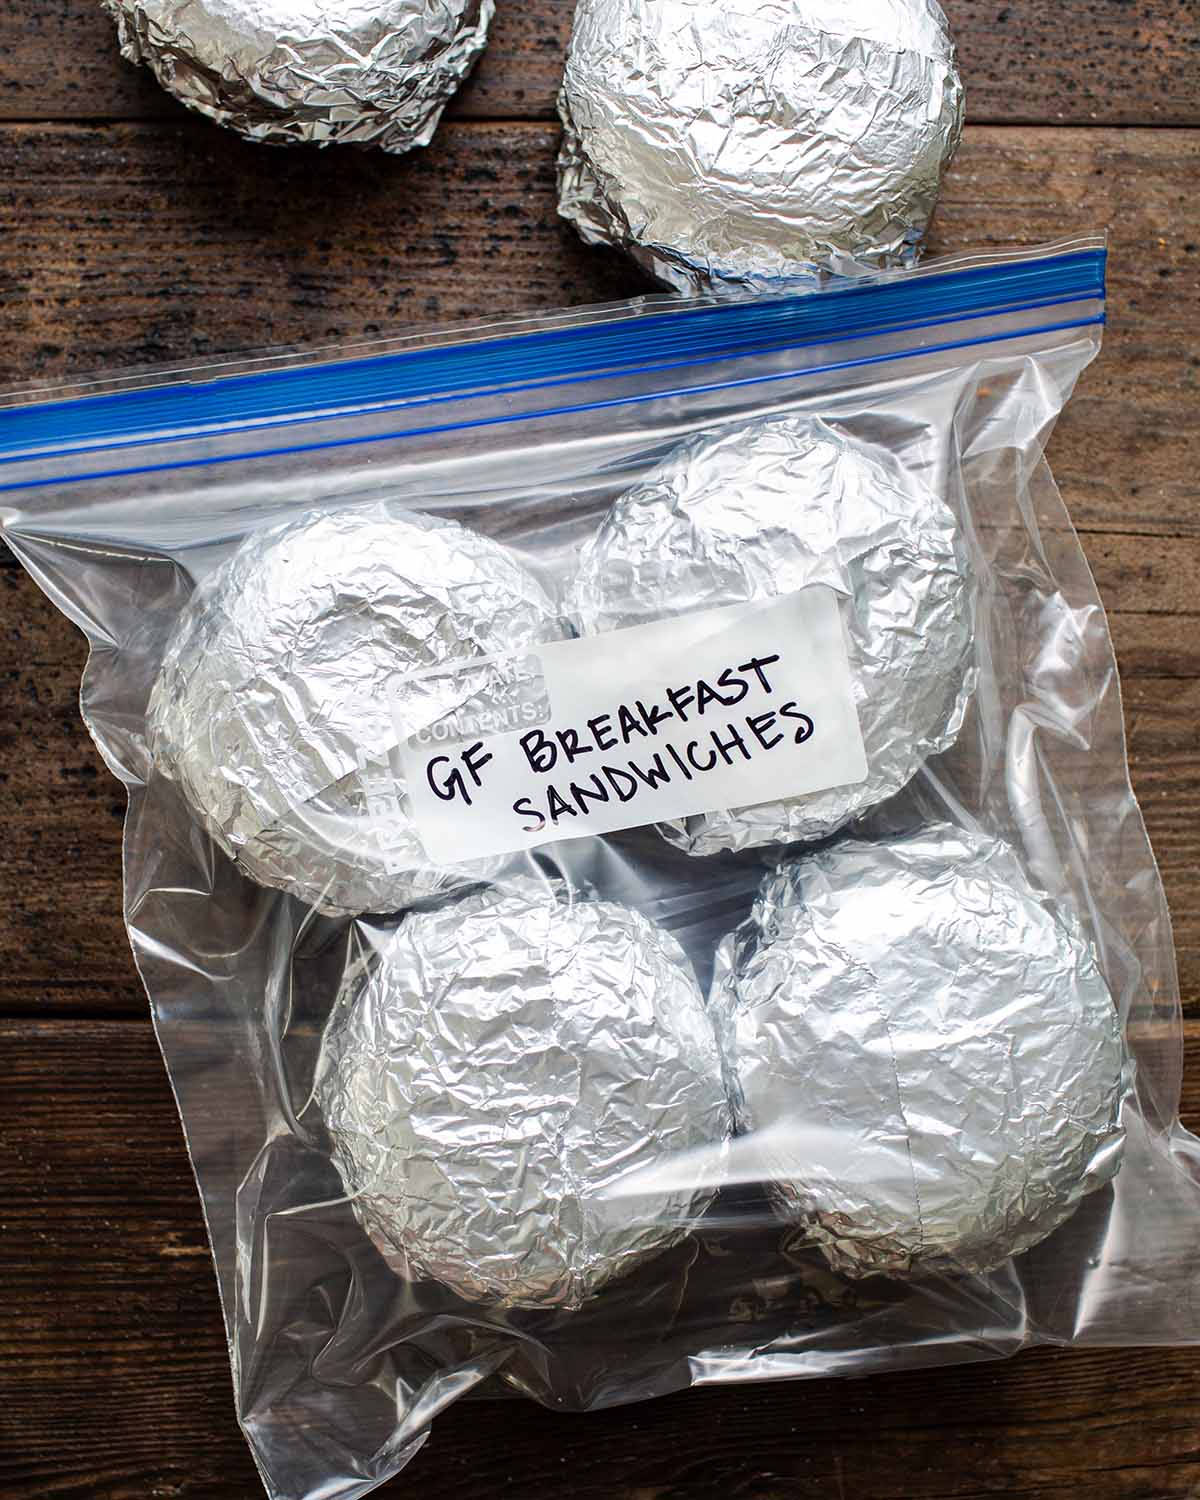
You’ve prepped, assembled, and wrapped the breakfast sandwiches in foil. Next, you’ve got two options. You can either…
- Refrigerate: place the foil-wrapped breakfast sandwiches in a storage container with a lid then refrigerate for up to 5 days.
- Freeze: place the foil-wrapped sandwiches in a Ziploc freezer bag, remove the air, then seal and freeze for up to 3 months.
How to Reheat
Gluten-Free Breakfast Sandwiches can be reheated in the microwave or oven.
For the best results, thaw frozen breakfast sandwiches in the refrigerator the day before reheating.
- To reheat in the microwave (recommended): remove the foil then place a thawed/refrigerated breakfast sandwich on a plate and cover with a paper towel. Microwave for 30 seconds then flip and microwave for 30-60 more seconds or until warmed through. Slice the sandwich in half and slightly separate the halves before microwaving for the best results.
- To reheat in the oven: place the foil-wrapped breakfast sandwich directly on the oven rack then bake at 350 degrees until warmed through (20-25 minutes for thawed/refrigerated, 50-55 minutes for frozen).
I DO NOT recommend reheating frozen breakfast sandwiches in the microwave.
Whether you whip up this make-ahead gluten-free breakfast recipe to make busy mornings easier for you, your kiddos (or both!), I hope you love each hearty and delicious bite. Enjoy!
More Make-Ahead Gluten-Free Breakfast Ideas
- Soft & Chewy Gluten Free Breakfast Bombs
- Mini Egg Bites
- High-Protein Overnight Oats
- Baked Oatmeal Cups
- Apple-Cinnamon Oatmeal Breakfast Bars
- Maple-Pumpkin Oatmeal Breakfast Bars

Ingredients
- 6 gluten-free English muffins, Trader Joe’s recommended
- 1 lb gluten-free ground breakfast sausage, Johnsonville recommended, see notes
- 6 slices cheddar cheese
For the eggs:
- 8 large eggs
- 1/4 cup milk, any kind
- 1 teaspoon salt
- 1/2 teaspoon pepper
Directions
For the eggs:
- Fill a baking dish halfway up with water then place it on the bottom rack of your oven and preheat the oven to 325 degrees (I use the convection setting). This will create a moist baking environment for the eggs and help prevent a tough skin from forming on top. Spray an 8×8” baking dish very well with nonstick spray then set aside.
- To a mixing bowl add the eggs, milk, salt, and pepper then whisk very well to combine. Pour the mixture into the prepared baking pan then bake on the middle rack until the center of the eggs are set, 22-24 minutes, rotating the pan halfway through. A light brown foam may form on top, but because of the water bath, it will soften as the eggs cool. Cool the eggs completely then thinly slice the outside edges off, and slice the remaining eggs into 6 portions.
For the English muffins:
- Carefully remove the baking dish with water from the oven then drain it in the sink (you will not be reusing it). Turn the oven up to 375 degrees. Line a half sheet pan with foil then parchment paper.
- Slice the English muffins in half then arrange the halves on the baking sheet and bake until lightly toasted, 5-7 minutes, rotating the pan halfway through. Transfer to a cooling rack to cool completely.
For the Breakfast Sausage:
- Divide the breakfast sausage in half, then each half into thirds and create 6 thin patties from each portion. Place the patties on the baking sheet then bake for 16-18 minutes, or until the internal temperature reaches at least 160 degrees (though I like 180-185 for the best texture), rotating the pan and flipping the patties over halfway through. Transfer the patties to a paper towel lined plate to drain and cool completely.
To Assemble:
- Place the bottom half of a toasted English muffin on a piece of foil then place a sausage patty, egg portion, and slice of cheese on top. Add the top of the English muffin then wrap the sandwich in the foil. Repeat with the remaining ingredients. Place sandwiches inside a gallon-size Ziploc bag or glass storage container with a lid then refrigerate for up to 5 days, or freeze for up to 3 months.
TO REHEAT:
- For the best results, thaw frozen breakfast sandwiches in the refrigerator before reheating.
- To reheat in the microwave from refrigerated (RECOMMENDED): Remove the foil then place a thawed/refrigerated breakfast sandwich on a plate and cover with a paper towel. Microwave for 30 seconds then flip and microwave for 30-60 more seconds or until warmed through. Slice the sandwich in half and slightly separate the halves before microwaving for the best results.
- To reheat in the oven from refrigerated: Place a foil-wrapped breakfast sandwich directly onto the oven rack then bake for 20-25 minutes at 350 degrees, or until heated through.
- To reheat in the oven from frozen: Place a foil-wrapped breakfast sandwich directly onto the oven rack then bake for 50-55 minutes at 350 degrees, or until heated through.
- To reheat in the microwave from frozen: not recommended.
Notes
- Use cooked then cooled bacon or Canadian bacon instead of breakfast sausage.
Nutrition
Nutritional values are estimates only. Please read our full nutrition information disclaimer.

Photos by Ashley McLaughlin


I made these and they are so yummy! I found that if I additionally whisk cottage cheese in my egg mixture they come out perfect when microwaved frozen. I also left them wrapped in parchment paper to reheat so that may have helped too!
Oh I’m so glad to hear this!! I add cottage cheese to my egg bites before blending the batter and love that texture. https://iowagirleats.com/mini-egg-bites/ Thank you so much for your feedback and recipe rating!