Gluten Free Lemon Bars are a simple yet outstanding dessert made with everyday ingredients. This bright and sweet-tart treat is loved by all!

“These have been a staple to bring to family gatherings for many years for me! Absolutely delicious and easy to put together. These consistently turn out great. Thank you for this recipe!”
I’ve got a gorgeous dessert recipe that’s as pretty to look at, as it delicious to devour — Gluten Free Lemon Bars are perfection in a pan!
Watch How to Make Them
Gluten Free Lemon Bars
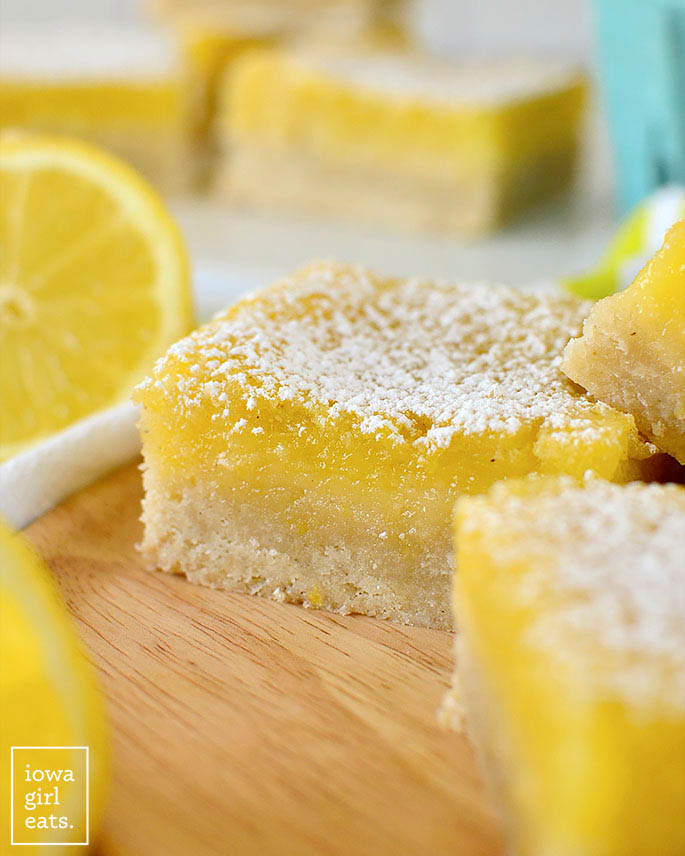
These old fashioned Lemon Bars feature a glossy lemon filling on top of a buttery, gluten free shortbread crust. They are rich, tart, and taste like a treat your Grandma would serve while you’re visiting.
Translation: they’re SO cozy and easy.
The lemon filling tastes like lemon curd but you don’t have to stand at the stove stirring and praying your eggs don’t curdle. You know what we call that — an upgrade!
These bars scream SPRING and are perfect to pair with a cup of tea and a good book. That said, they’re also elegant and delicious enough to serve for a bridal or baby shower, or truly any potluck occasion as they travel very well.
Ingredients Needed
Aside from the lemons, I can almost guarantee you already have all the ingredients on hand to make this Gluten Free Lemon Bar recipe, plus several ingredients are used in both the shortbread crust and lemon filling.
- Butter: gives the shortbread crust richness. I haven’t tested these bars with vegan butter, but think the swap would work just fine.
- Sugar: is an essential ingredient in the shortbread crust, plus it balances out the tart lemon juice in the filling.
- Vanilla: is added the shortbread for an oomph of coziness.
- Gluten Free Flour Blend: a gluten free flour blend WITH added binder is used in both the shortbread crust and lemon filling to give it structure. I have tested this recipe with Bob’s Red Mill Gluten Free 1 to 1 Baking Flour Blend. If you use another blend your results could differ slightly.
- Lemons: both lemon zest and freshly squeezed lemon juice give this lemon bar recipe it’s pretty yellow hue and tart, bright flavor. Lemon zest won’t make the bars taste more sour – it just packs in the lemon flavor.
- Eggs: give the lemon filling structure and silkiness.
- Powdered sugar: The lemon bars will come out of the oven with a thin white crackle on top, plus some little bubbles from the eggs. This is totally normal, and completely undetectable with a dusting of sweet powdered sugar on top.
Pin this now to find it later
Pin ItWhat Size Pan to Use
I feel like the debate over how thick or thin Lemon Bars should be is a hot one. I prefer thicker bars because I really love huge bites of that sweet-tart lemon filling, while my husband likes a more subtle, thinner bar. SO, I tested this recipe two ways:
- 9×13″ pan: This will give you a thinner bar that’s easier to eat with a fork. Very elegant and so, so delicious (this is the pan I had to cut myself off from — it’s so easy to take little bites here and there!) The edges will get kind of buttery and browned which, omg, might actually be better than a center slice.
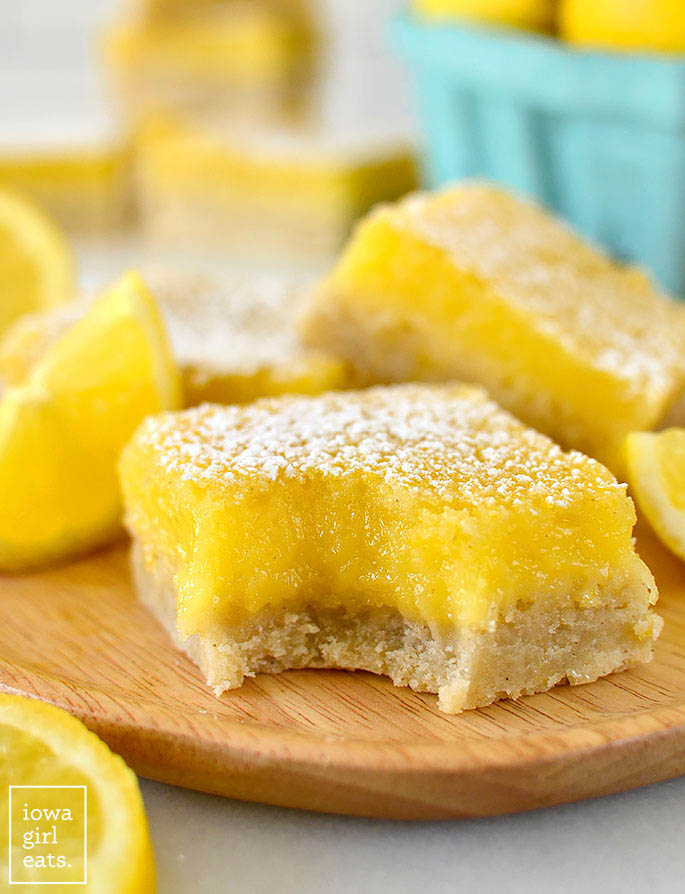
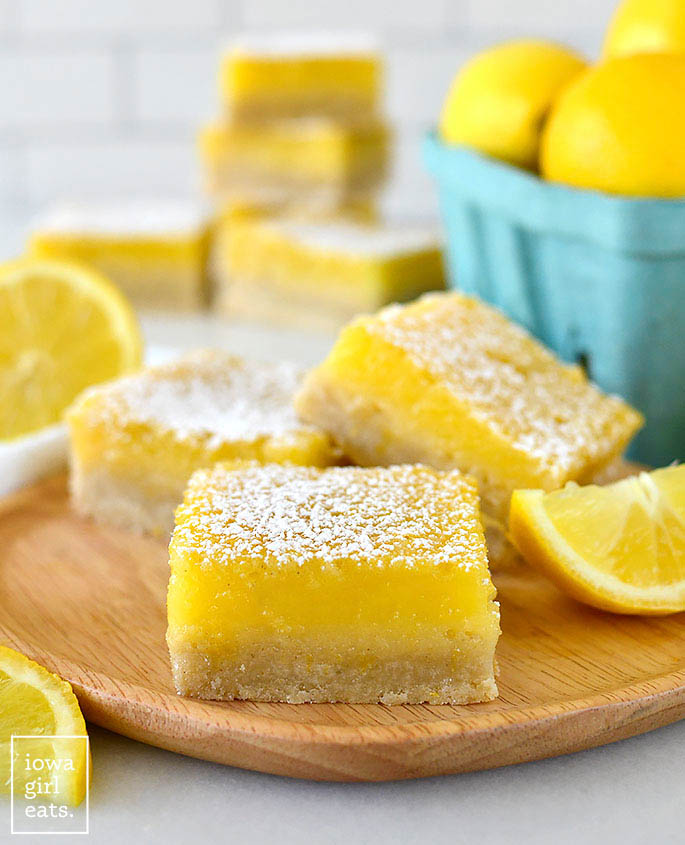
- 7×10″ pan: This pan will give you the results you see in these photos. Nice, fat, thick slices. ‘Nuf said!
- Any size pan in between: Use any size pan in between a 9×13″ and 7×10″, such as a 9×9″, and your bars will turn out great. Just look for lightly browned edges on the shortbread, and a set center of the lemon filling.
Alrighty – let’s bake!
How to Make Gluten Free Lemon Bars
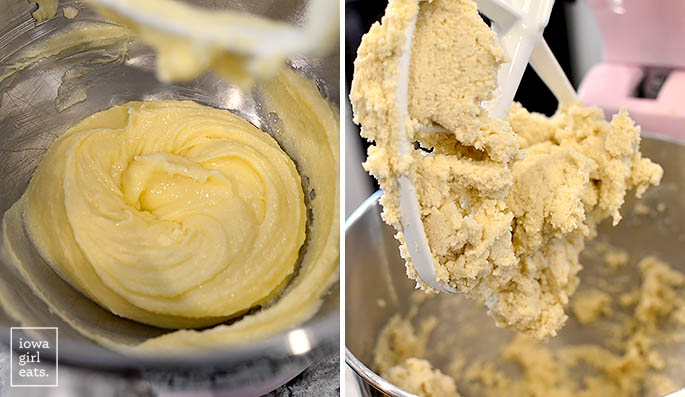
Step 1: Make the Gluten Free Shortbread Crust
To the bowl of an electric mixer, or a large mixing bowl if using a handheld mixer, add softened butter, sugar, and vanilla then beat until smooth. Next add a gluten free flour blend WITH added binder plus a pinch of salt then mix again to combine.
Again, I tested this recipe using Bob’s Red Mill Gluten Free 1 to 1 Baking Flour Blend.
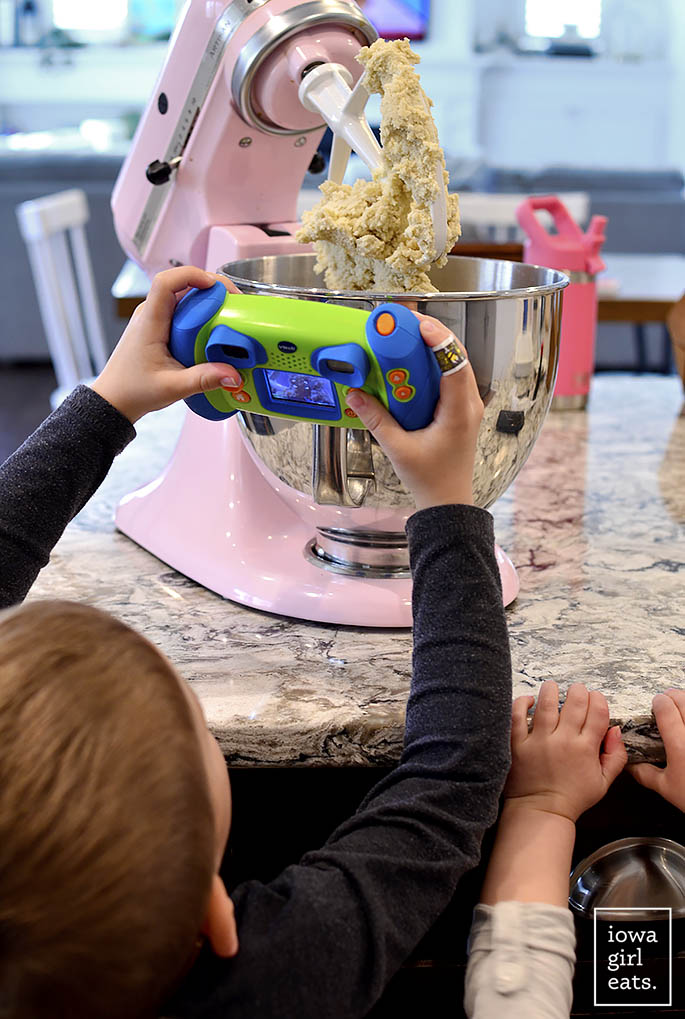
Check out my little helpers! I think they might have a future in food blogging! ;)
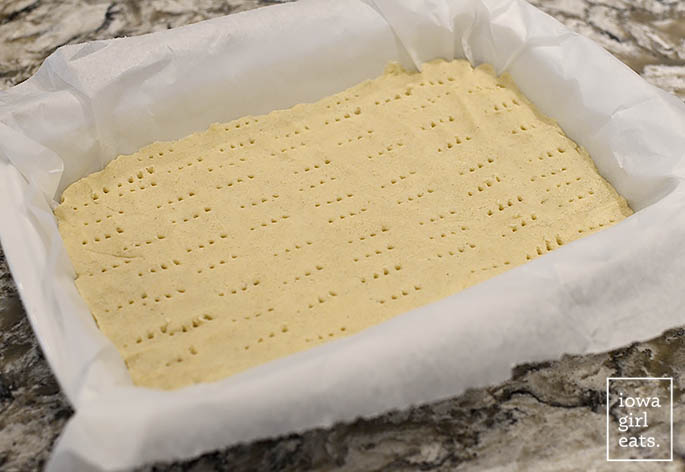
Scoop the dough into a parchment paper lined baking pan then spread into an even layer with your fingertips.
Use a fork to make shallow pricks all over the dough all the way to the edges then bake for 20-25 minutes or until the edges are just barely turning golden brown. Let the crust cool for at least 30 minutes, which will ensure the lemon filling doesn’t soak into the hot crust.
Step 2: Make the Lemon Filling
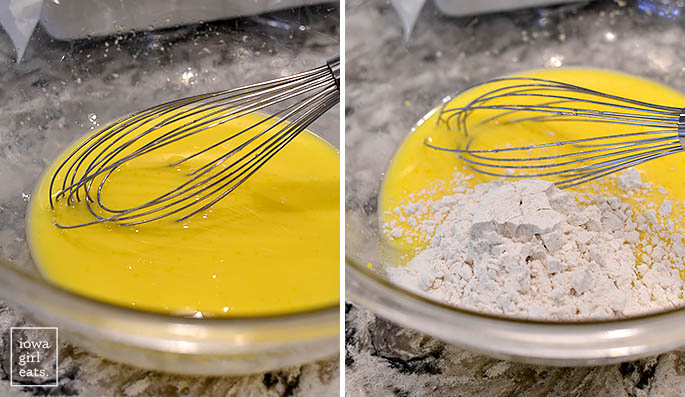
While the crust is cooling, whisk up the lemon filling. To a large bowl add lemon zest, freshly squeezed lemon juice, and eggs then whisk to combine. Next add more gluten free flour blend plus sugar then whisk for 1 minute.
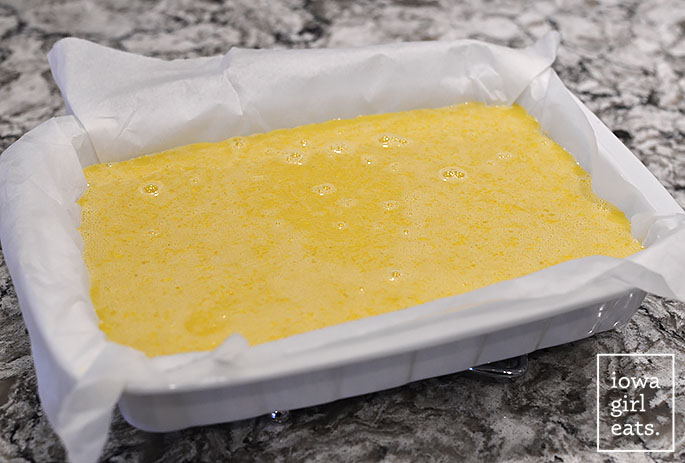
Pour the mixture over the partially cooled shortbread crust then bake for an additional 20-35 minutes, or until the center is set. Give the pan a little shake – if the center is still jiggly just keep baking.
Let the bars cool completely — COMPLETELY — then use the parchment paper to lift the bars out of the pan, slice, dust with powdered sugar, and serve.
I hope you love these deliciously sweet-tart Gluten Free Lemon Bars – enjoy!
More Fresh and Fruity Dessert Recipes
- Gluten Free Strawberry Shortcake
- Gluten Free Peach Crisp
- Blueberry Pie Bars
- Blueberry Lemon Icebox Cake
- Berries in a Cloud
- Lemon Whip Fruit Dip
- Strawberry Shortcake Icebox Cake
- Strawberry Rhubarb Crisp

Equipment
Ingredients
For the Shortbread Crust:
- 1 cup butter, 2 sticks, softened to room temperature
- 1/2 cup + 2 Tablespoons granulated sugar
- 2 teaspoons vanilla
- 2 cups gluten free baking flour blend WITH binder, see notes
- 1/4 teaspoon salt
For the Lemon Filling:
- zest of 2 lemons
- 2/3 cup fresh lemon juice, 3 – 4 lemons
- 4 large eggs
- 1-1/2 cups sugar
- 1/3 cup gluten free flour
- Powdered sugar, for dusting
Directions
For the Shortbread crust:
- Preheat oven to 350 degrees. Line a 7×10″ or 9×13″ baking pan, or a baking pan somewhere in between in size (see notes) with parchment paper then set aside.
- To the bowl of an electric mixer, or a large glass bowl if using a handheld mixer, add softened butter, sugar and vanilla then beat until smooth. Add flour and salt then beat until combined. Scoop dough into prepared baking dish then spread into an even layer with your hands. Use a fork to poke shallow holes all over the top, all the way to the edges, then bake until the edges are just barely turning golden brown. A 9×13″ baking pan will take ~20 minutes while a smaller pan like 7×10″ will take ~25 minutes.
- Remove crust from oven then let cool for at least 30 minutes.
For the Lemon Filling:
- While the crust is cooling, add lemon zest, lemon juice, and eggs to a large bowl then whisk to combine. Add sugar and flour then whisk for 1 minute. Pour over partially cooled crust then bake until the center is set and no longer jiggly – a 9×13″ pan will take ~20 minutes, while a smaller pan like 7×10″ can take ~32-35 minutes. The top will have a white, crackly appearance with tiny bubbles – that’s normal!
- Let Lemon Bars cool COMPLETELY – several hours or overnight – then use the parchment paper to lift bars out of the baking pan. Slice into small squares then dust with powdered sugar and serve. Store covered on the counter or in the refrigerator for 2-3 days.
Notes
- I tested this recipe using Bob’s Red Mill Gluten Free 1 to 1 Baking Flour
- If you like thinner Lemon Bars, use a 9×13″ pan. If you like thicker Lemon Bars, like in these photos, use a 7×10″ baking pan (or a pan in between these sizes, such as a 9×9″.) I would not use an 8×8″ or smaller baking pan as the crust will be very thick.
- These bars just get better and softer as they sit on the counter so feel free to make at least a day ahead of when you want to eat.
Nutrition
Nutritional values are estimates only. Please read our full nutrition information disclaimer.


I made these because my church needed to add a GF option to the dessert table. It got rave reviews. The only issue we had was the filling getting soft after an hour of sitting out. Is this normal?
Oh I LOVE to hear this, Marcia! Hmmm, I wouldn’t call the lemon filling firm – more like a soft tofu texture. Would you say it was almost like they were melting? I can’t think of why this could be, other than if the room was really warm or something like that!
I love the taste of these but somehow the lemon filling went under the crust and it became difficult to get off the parchment paper. The crust was all the way to the corners and was well cooked. Any ideas or has this happened to anyone else?
Hi Carol! I’ve had, I believe, one other person report this happening over the past 4 years and my recommendation was to ensure the crust was par-baked enough before adding the lemon filling. Next time I might try par-baking a few extra minutes, and/or ensuring the fork pricks on the top are shallow and aren’t made all the way through to the bottom of the pan.