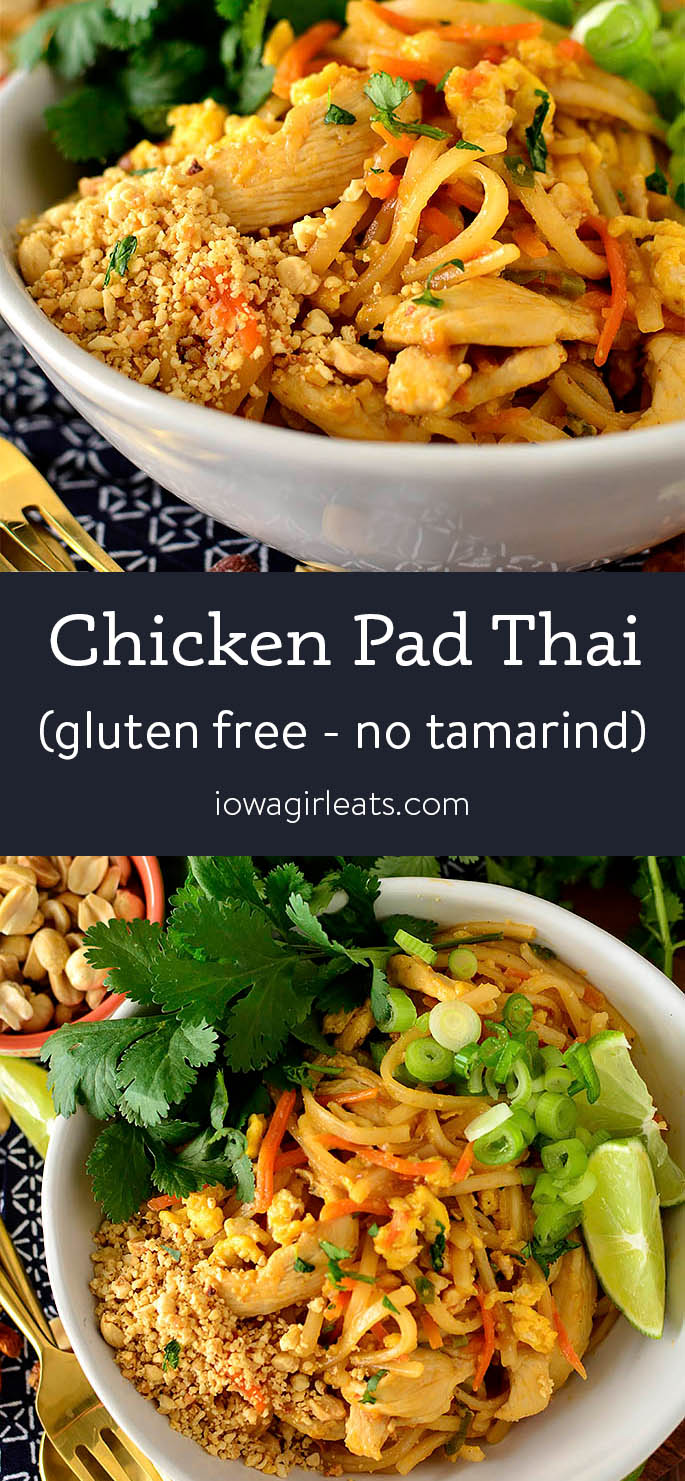
Easily make Chicken Pad Thai using ingredients you already have on hand! This delicious Pad Thai recipe doesn't use Tamarind (or ketchup!)
“This was so good!!! My son and I love to try new recipes, as long as I don’t have to buy too many ingredients. … Your tip about the rice noodles was very helpful as well as they seem to always stick together for me. We will certainly make this again!!”
One night last week I had tacos on the menu but the boys were craving take out from a local Thai spot so we compromised and got take out.
Twist my arm!
Despite my better judgment I ordered Chicken Pad Thai. Now, I know from experience that Pad Thai doesn’t travel well in flimsy take-out containers and so unsurprisingly I was met with a pile of dry, bland, colorless noodles after opening it up. Will I never learn?
Thankfully I won’t have to because making homemade, gluten free Chicken Pad Thai that’s silky, saucy, and PACKED with flavor is not only simple to do at home, but it’ll be ready in less time than it takes to order take out!
Watch How to Make It
Homemade Chicken Pad Thai
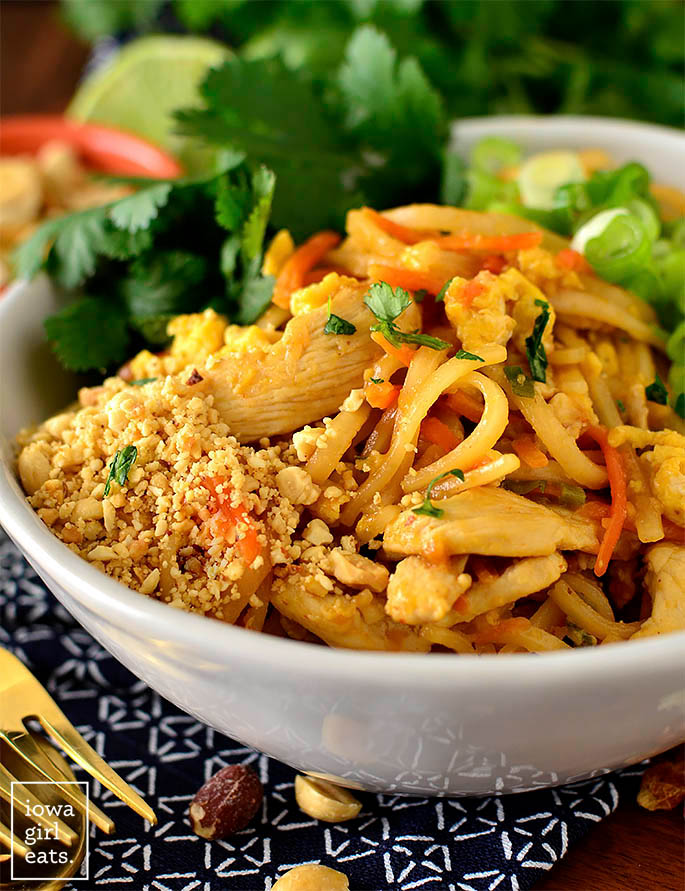
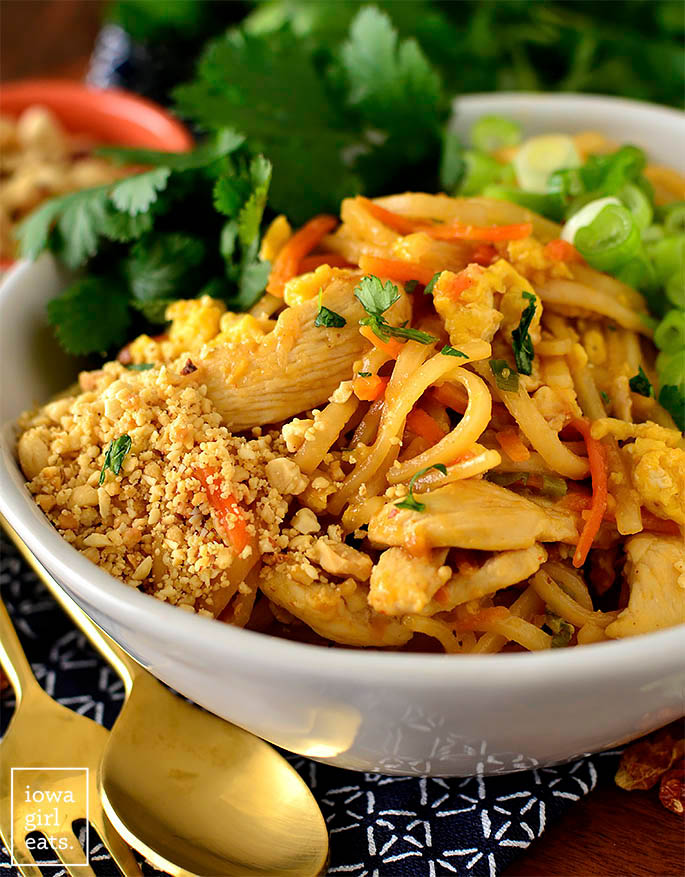
My homemade Chicken Pad Thai is a stir fry of flat rice noodles, vegetables, eggs, boneless skinless chicken breast, and an easy sauce recipe that’s equal parts savory, tangy, and sweet.
The hot noodles are topped with finely minced peanuts (my favorite part) plus lots of fresh cilantro, green onions, and a squeeze of fresh lime juice.
It is INSANELY delicious.
Pad Thai Noodles
The flat rice noodles used in this dish can be found at your regular grocery store. Rice noodles differ from wheat and rice/corn-based pastas in that they don’t need to be boiled.
Bring a large pot of water to a rolling boil then take it off the heat, add the noodles, and let them soak, stirring occasionally, until al dente, 10-20 minutes depending on the brand.
Pad Thai Sauce Ingredients
- Brown sugar: lends sweetness to the sauce and balances the savory, tart, and spicy flavors.
- Rice vinegar: provides the sour element to the sauce. It’s definitely not a mouth-puckering sourness, but again it balances out the other ingredients.
- Tamari: adds saltiness and savoriness to the sauce. Be sure to reduced or low sodium Tamari. If you don’t need to eat gluten free, you can use low sodium soy sauce.
- Fish sauce: Pad Thai will not taste like Pad Thai unless it contains fish sauce. It’s a defining ingredient. That said, I’m personally a little light handed with fish sauce as too much can overpower the dish, imo.
- Siracha hot sauce: brings the heat! Add as much or as little as you like, or none at all.
What This Sauce Doesn’t Include
- Tamarind: Tamarind pulp/paste is a sticky, sour product that’s called for in authentic Pad Thai recipes. For our family though, it’d be a single use ingredient and we wouldn’t have a need for it outside of this recipe. Furthermore it seems the product can vary taste-wise depending on the brand/source. I use rice vinegar in its place.
- Ketchup: I can see why some use ketchup in place of Tamarind – it’s sour and slightly sweet – but, nuh-uh. Not needed!
- Peanut butter: I blame peanut butter for the reason why my Pad Thai noodles have been thick and gloppy in the past. JUST SAY NO. The finely minced peanuts on top take care of imparting that wonderful, roasted umami flavor without ruining the texture of the whole dish.
How to Make Homemade Chicken Pad Thai
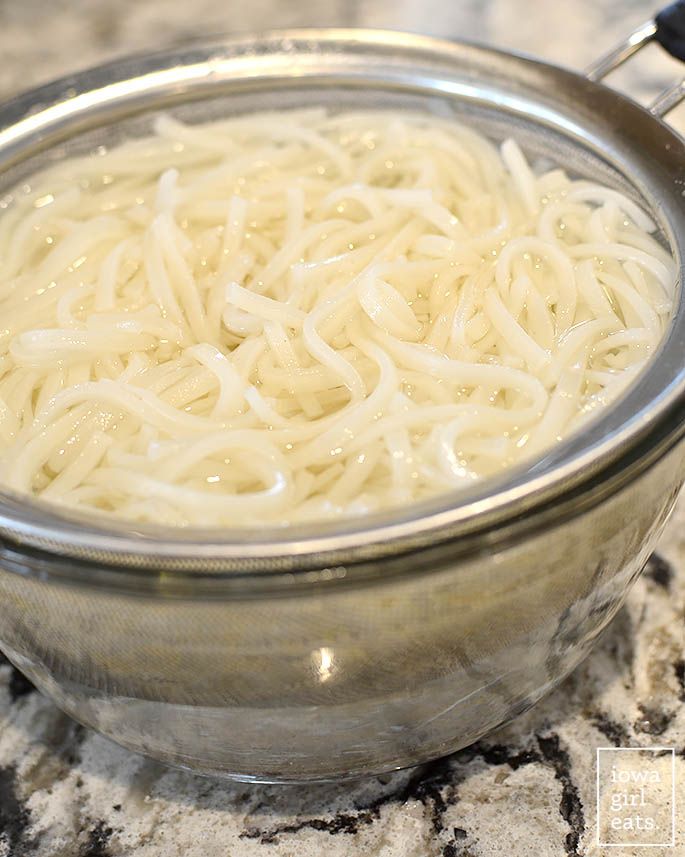
Step 1: Prepare the Rice Noodles
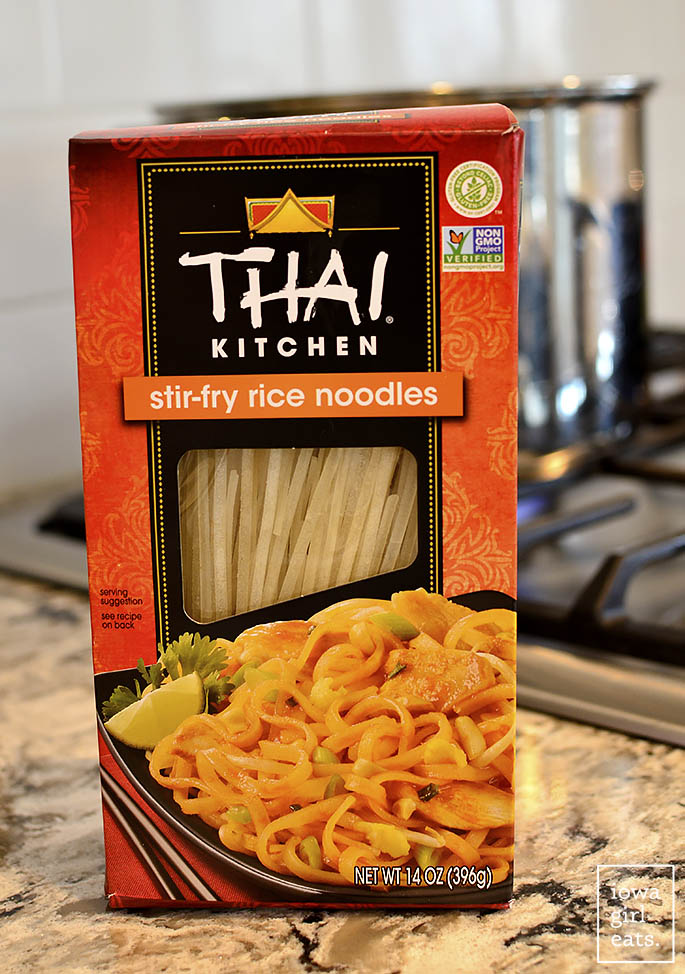
First, prepare rice noodles according to package directions.
For this brand I drop the noodles into a pot of boiling water I’ve just taken off then heat, then let them sit, stirring occasionally, until al dente, 10-12 minutes.
Cooking Tip
If cooking two things simultaneously stresses you out, feel free to soak the rice noodles first then drain and run under cold water until cool. Place the colander inside a bowl of cool water so the noodles are submerged until ready to use.
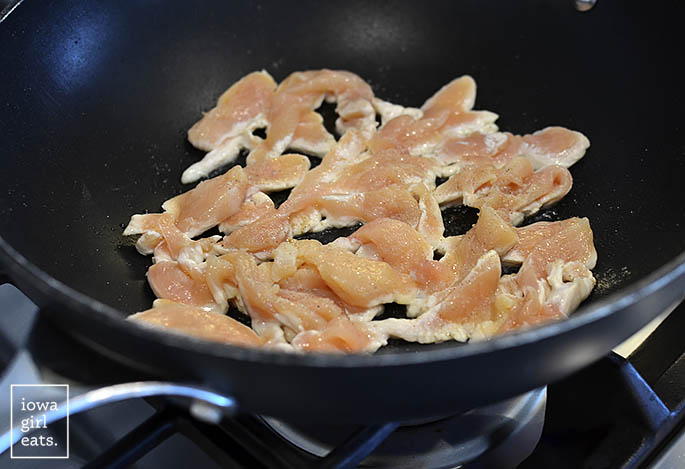
Step 2: Stir Fry the Chicken
Heat vegetable oil in a large wok or skillet over high heat then add thinly sliced boneless, skinless chicken breasts. I like to slice the chicken breasts in half width-wise to create cutlets, then thinly slice the cutlets. Season with salt and white pepper.
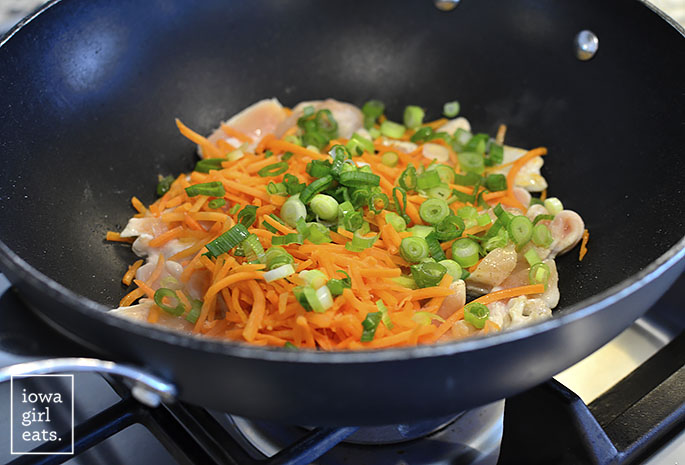
Step 3: Add the Vegetables
Once the chicken is golden brown on the bottom, add grated carrot, chopped green onions, and minced garlic then stir fry until the chicken is just cooked through.
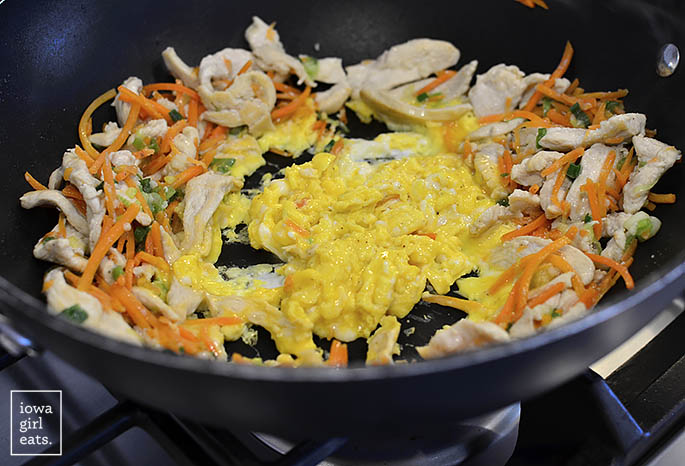
Step 4: Add and Scramble the Eggs
Push the chicken mixture to the sides of the skillet then, to the center, add a mixture of eggs whisked with sesame oil and scramble.
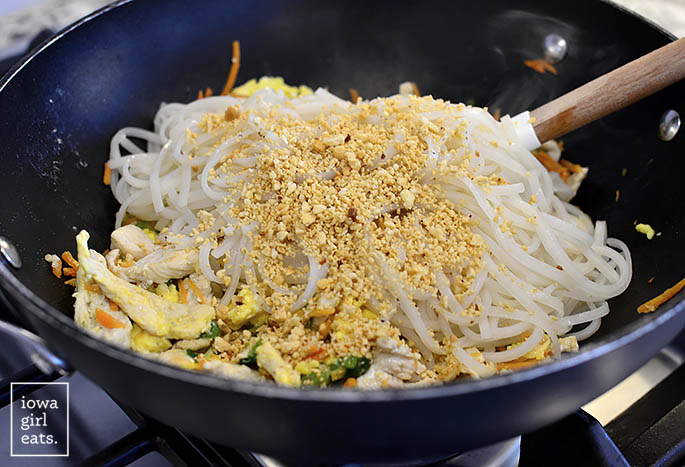
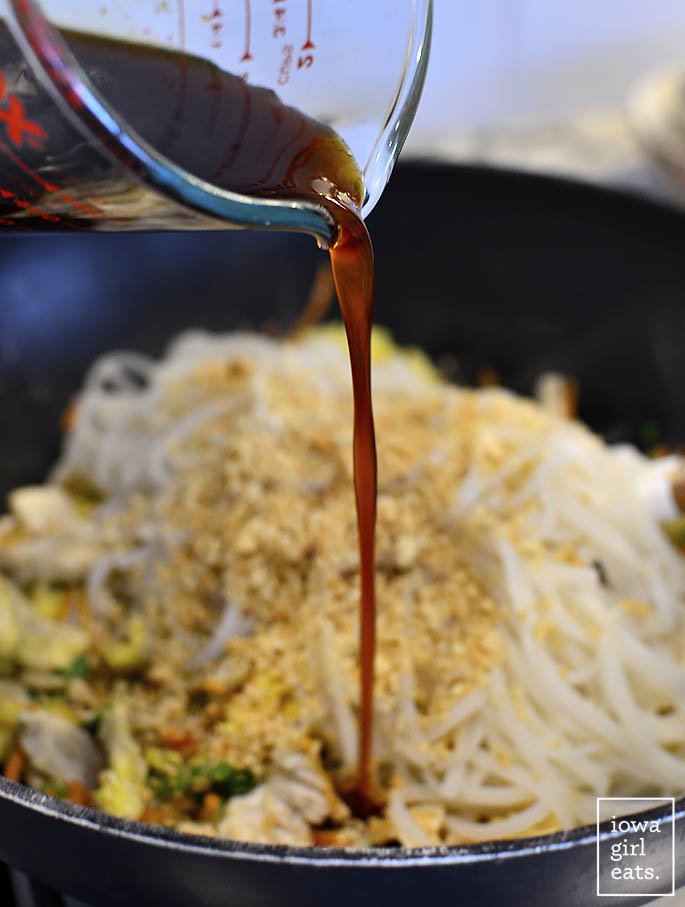
Step 5: Add the Noodles, Peanuts, and Sauce
Add the drained noodles plus finely minced peanuts (I send them through my food processor to get them super fine!) and the sauce then stir fry until the noodles are hot and tender.
Pad Thai Sauce Recipe
- Brown sugar
- Rice vinegar
- Gluten free Tamari (or soy sauce if you don’t need to eat GF)
- Fish sauce
- Siracha hot sauce
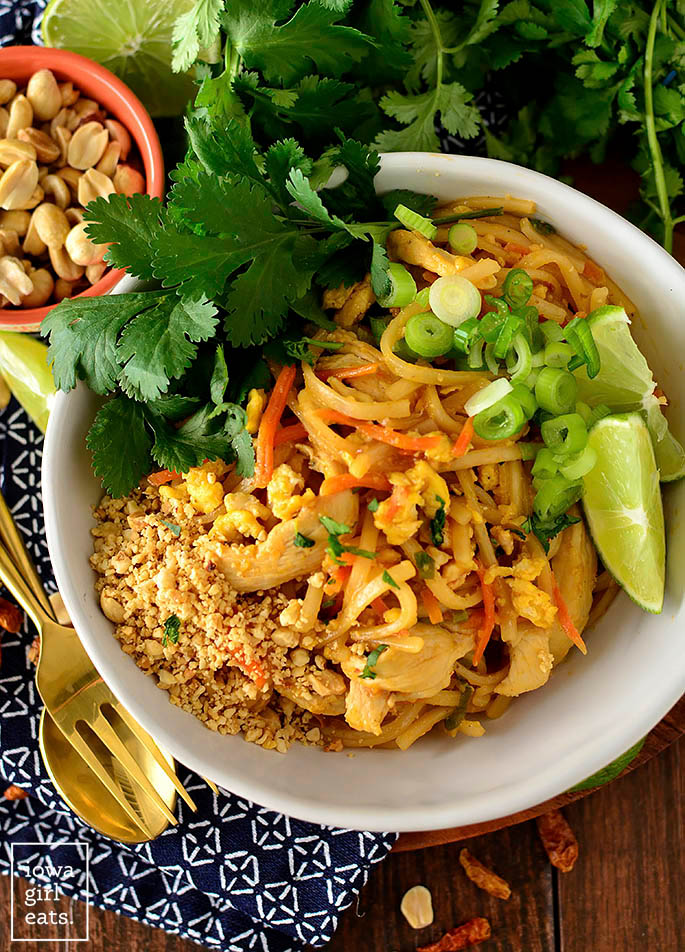
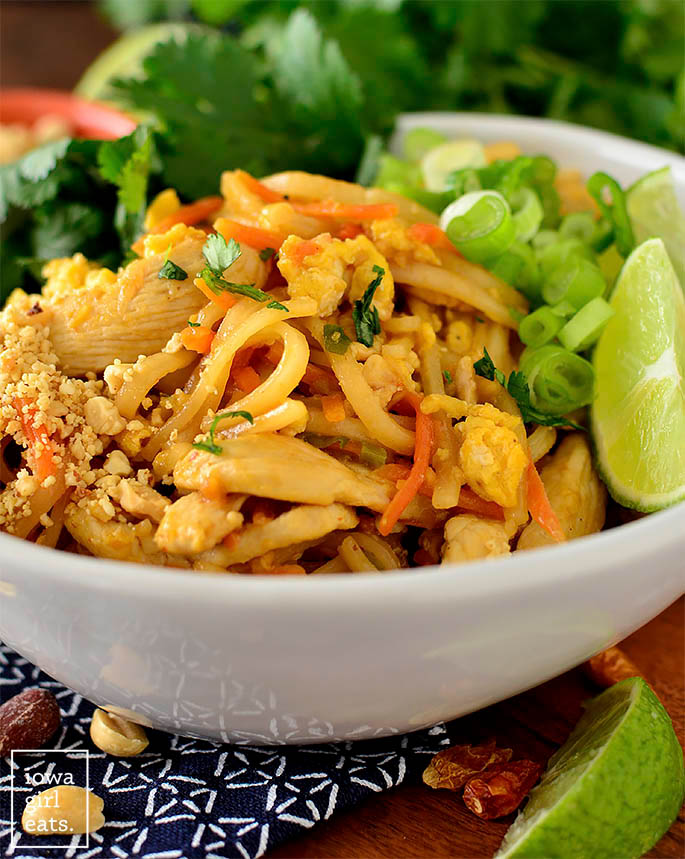
Pile the noodles into bowls then top with more finely minced peanuts plus lots of chopped fresh cilantro, green onions, and a squeeze of fresh lime juice.
This exact combination – noodles, cilantro, peanuts, green onions, and like, 5 drops of lime juice – makes for the BEST Chicken Pad Thai! I hope you love this recipe as much as we do – enjoy!
More Take-Out Inspired Recipes
- Korean-Style Beef Bowls
- Chicken Shawarma Bowls
- Chicken and Broccoli Stir Fry
- Beef and Broccoli
- Potsticker Noodle Bowls
- Sesame Peanut Sauce Noodles
- Easy Chicken Fried Rice
- Vietnamese-Style Caramelized Pork Bowls

Ingredients
- 7 oz thin flat rice noodles, Thai Kitchen recommended
- 2 eggs
- 1 teaspoon sesame oil
- salt and white pepper
- 1 Tablespoon vegetable oil
- 1/2 lb chicken, cut into thin strips
- 3/4 cup shredded carrots
- 3 green onions, chopped and divided
- 3 cloves garlic, pressed or minced
- 1/2 cup dry roasted peanuts, finely minced and divided
- 1 lime, cut into wedges
- chopped fresh cilantro
For the Pad Thai Sauce:
- 1/4 cup brown sugar
- 2 Tablespoons rice vinegar
- 2 – 3 Tablespoons gluten free fish sauce, I like 2-1/2 Tablespoons
- 2 Tablespoons gluten free reduced-sodium Tamari, or soy sauce if not GF
- 1 – 2 teaspoons sriracha hot sauce, optional
Directions
- Prepare noodles according to package directions then set aside. For the Thai Kitchen brand shown in these photos I soak them in a large pot of boiled water that’s been pulled off the heat until they’re al dente, 10 minutes, then run under cold running water and let soak in cool water until ready to use.
- Combine eggs and sesame oil plus salt and a dash of white pepper in a small dish then whisk and set aside. Combine ingredients for Pad Thai Sauce in a bowl then set aside.
- Heat vegetable oil in a large wok or skillet over high heat. Add chicken then season with salt and white pepper. When the chicken is golden brown on the bottom add carrots, half the green onions, and garlic to the wok then stir fry until chicken is barely cooked through.
- Push mixture to the sides of the wok to create an opening in the center then add the whisked eggs, scramble, and then toss all the ingredients together. Drain then add prepared noodles, 1/4 cup minced peanuts, and the Pad Thai sauce then stir fry until noodles are tender, turning the heat down slightly if needed. Serve immediately with reserved green onions, reserved minced peanuts, lime wedges, and chopped cilantro.
Nutrition
Nutritional values are estimates only. Please read our full nutrition information disclaimer.


Made this for dinner tonight – it was so good! Will be making it again.
I never like recipes without Tamarind but this is actually even better!!! Thank you!
I’m thrilled to hear this, Julie! Thank you so much for your feedback and recipe rating!
This was so good!!! My son and I love to try new recipes, as long as I don’t have to buy too many ingredients. This was perfect as i had everything except for the fish sauce (I used Worcestershire) and tamarind (used soy sauce). Your tip about the rice noodles was very helpful as well as they seem to always stick together for me. We will certainly make this again!!
I’m thrilled you loved this recipe, Josey!! Thank you so much for your feedback and recipe rating!
Sounds delicious! Only I don’t have peanuts. So I will add just a bit of peanut butter. I haven’t like the sause at our local Thai place. Maybe a little something to thicken it. So i will give this a try.
Most people do not know this unless they are Thai or really infused in the culture, but Pad Thai isn’t colored at all, it is translated as “pan-fried noodles” So there isn’t sometimes even tamarind sauce – the recipe became americanized over time to adapt to tourist flavor demands. With that stated I like the American version people know it as, but you won’t get the americanized version in remote areas (non touristy areas of Thailand) or at super SUPER authentic Thai places outside of Thailand. Regardless, thanks for sharing your love of the noodles of the motherland!
I recently saw a video clip of a Thai Chef trying Gordon Ramsey’s version of Pad Thai and it did NOT go over well!! I totally agree this is an Americanized version vs an authentic Thai Pad Thai, and I appreciate you sharing this information, Mananya!!