Like many families, Friday night is pizza night at our house. But maybe unlike other families, our pizza order is a bit…complicated.
I need a gluten-free crust on account of my Celiac Disease, Gwen needs a vegan crust and vegan cheese because she’s allergic to eggs and dairy, while the boys are happiest with regular crust and cheese.
That said, what’s supposed to be a fun and easy dinner to look forward at the end of a busy week, can sometimes feel like more trouble than it’s worth. (Ok, that’s a lie – I’d go to the ends of the earth for pizza!)
Needless to say, the recipe for Gluten Free Pizza Crust, which is not only gluten-free, but egg-free, and dairy-free (aka vegan) has COMPLETELY changed pizza night for our family. It’s a cinch to make, and freezer-friendly too!
Watch How to Make It!
Gluten Free Pizza Crust — No Mix Needed
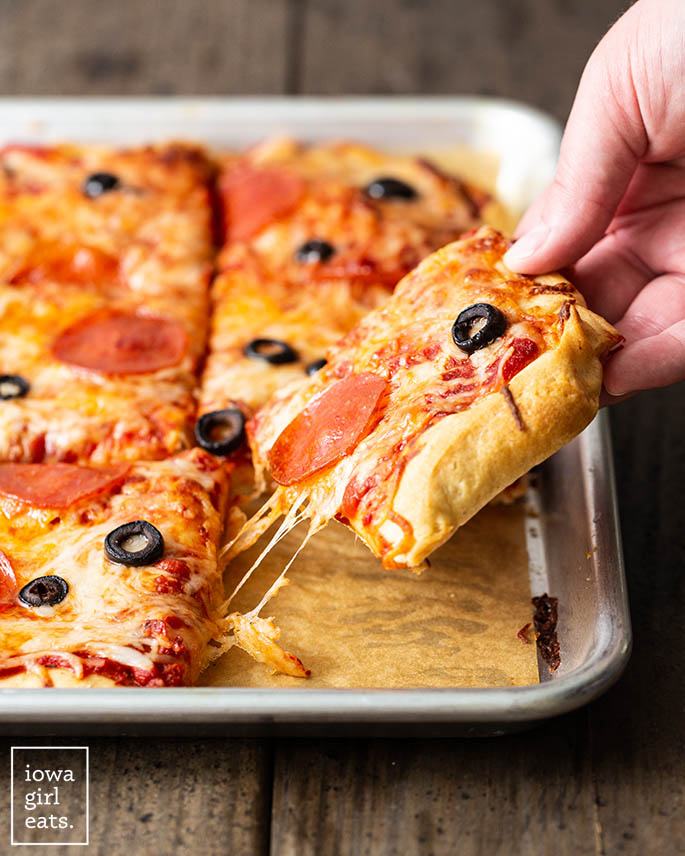
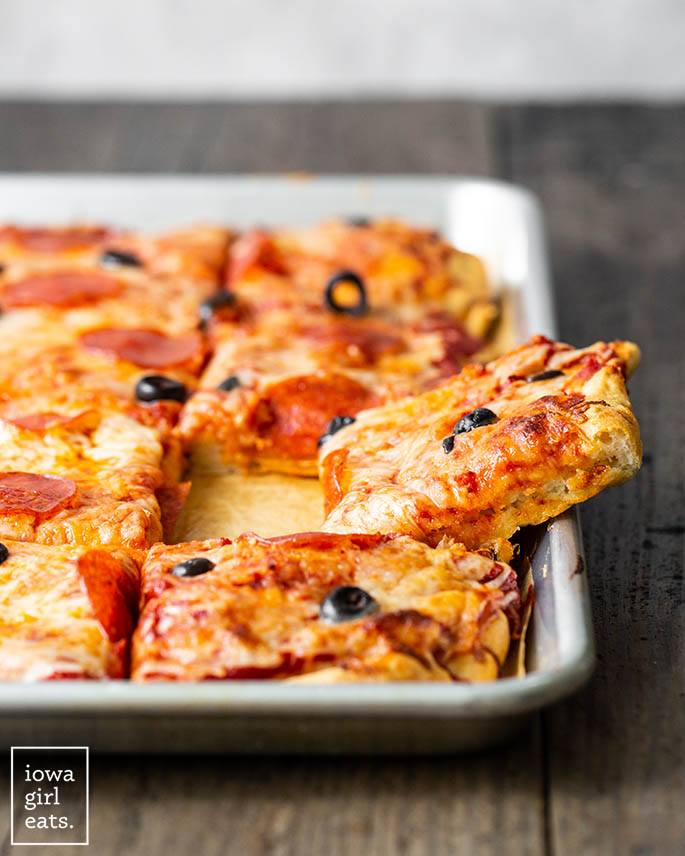
This gluten free pizza recipe is light, fluffy, and reminiscent of regular hand tossed pizza crust both in taste and texture. How many times have you bitten into a gluten free pizza crust that’s either soggy and floppy, or on the other end of the spectrum, hard and chalky?
For me it’s too many times to count.
Problem solved with this homemade, no-knead, airy, springy crust that feeds my entire family at once. I truly get giddy each time I make it, which is now weekly. ONE pizza that all five of us can eat? Together? At the same time?! Incredible!
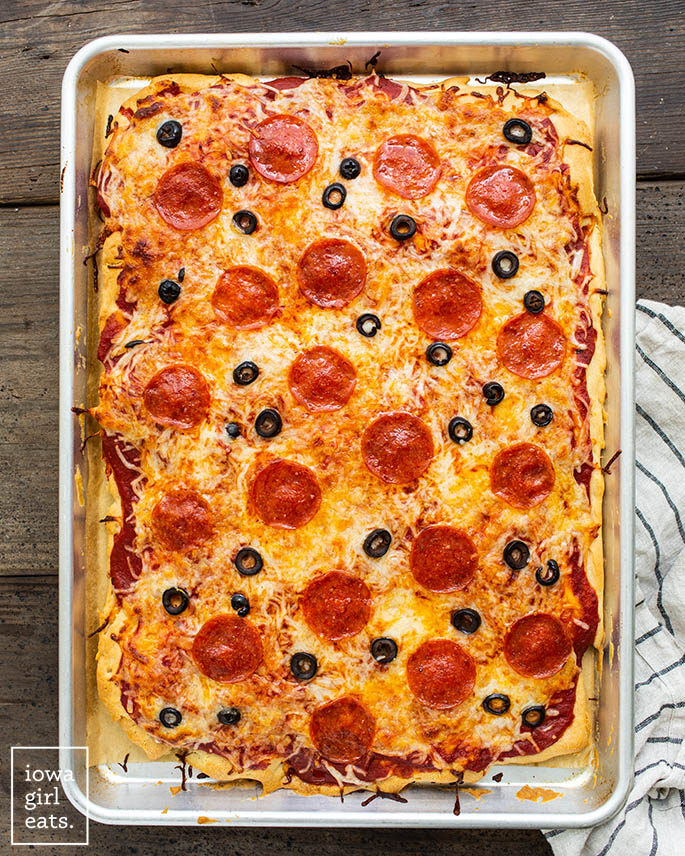
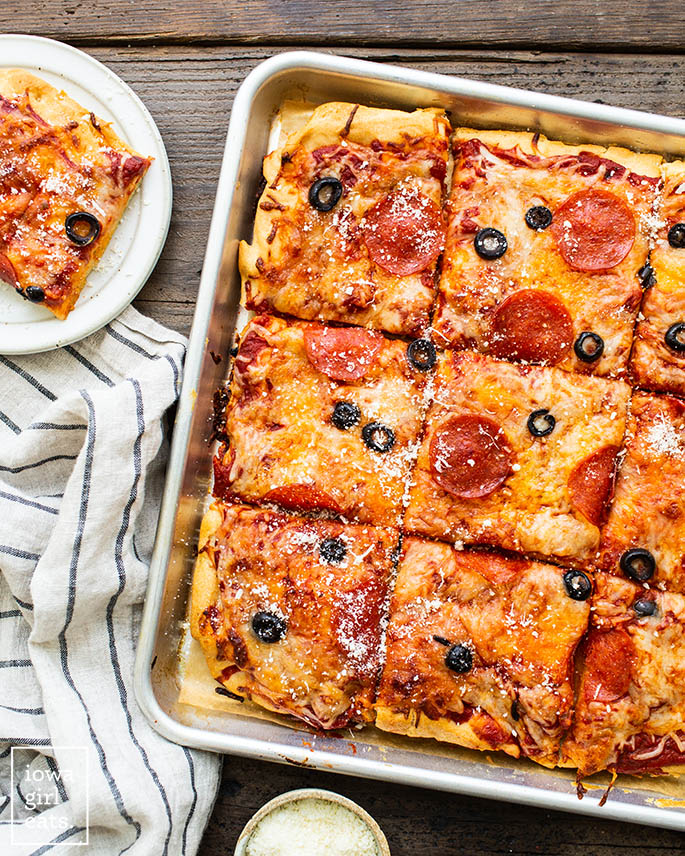
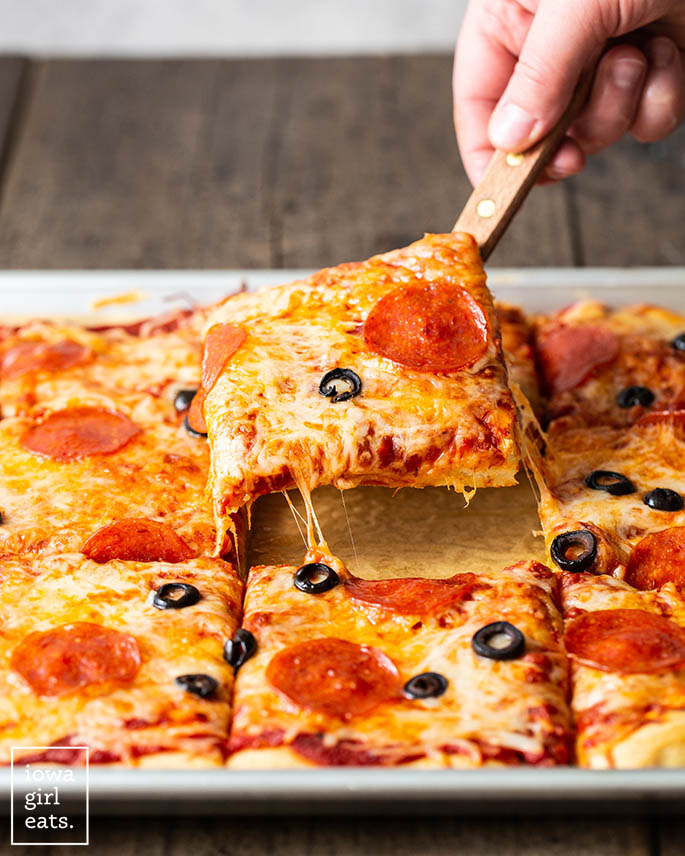
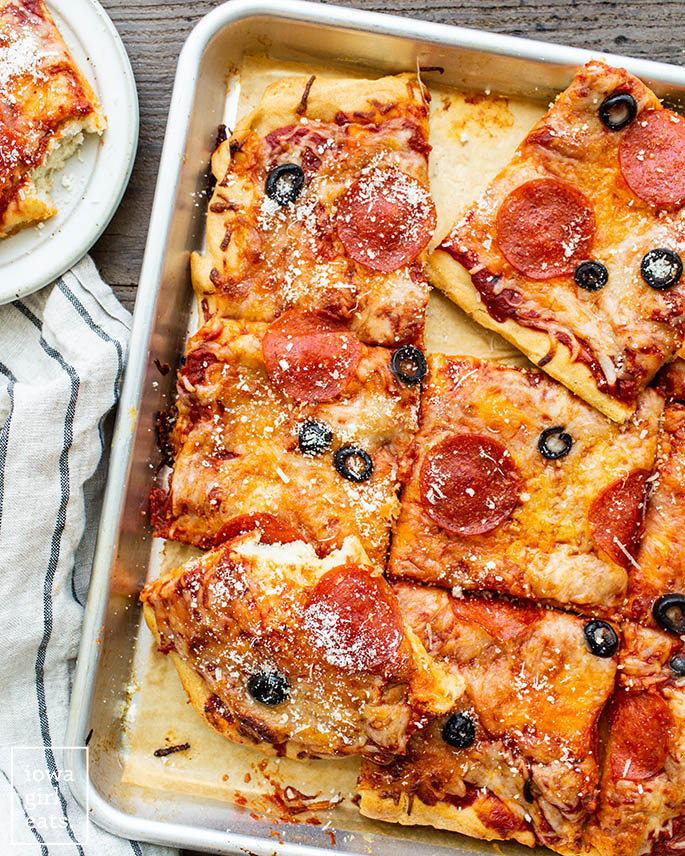
We like to press the dough into a half sheet pan, vs shape into a round pizza pan, then slice into squares and devour.
What is Gluten Free Pizza Crust Made Of?
I love that this gluten-free pizza crust recipe is made from gluten free pantry staples so I always have all the ingredients on hand. Here’s what you’ll need.
For the Gluten Free Pizza Crust:
- Gluten free baking flour blend: I tested this recipe with five different gluten free flour blends. I’ll review the results below.
- Instant yeast: If you can open a packet of yeast, then you can make this gluten free pizza dough. Don’t be intimidated! We use quick rise instant yeast, and I like Red Star brand.
- Baking powder: Helps give the gluten free pizza a light and airy crust.
- Sugar: Feeds the yeast. You could use honey instead, if you’d like.
- Salt: To help balance the flavor of the dough.
- Water: To moisten the dough.
- Extra virgin olive oil: Makes the dough soft and chewy, plus gives it a gorgeous, golden brown glow!
For the Pizza:
- Gluten free pizza sauce: Feel free to use marinara or spaghetti sauce if you have that on hand instead.
- Pizza blend cheese: Look for “pizza blend” cheese next to shredded mozzarella at the store. Imo it melts even better, and gives each pizza slice a craveable cheesy stretch.
- Toppings: Go nuts! We love pepperoni, cooked Italian sausage, and sliced black olives, but you can use whatever you like best. Peppers, Canadian bacon, artichokes, tomato, etc.
The Best Gluten Free Flour for Gluten Free Pizza Crust
If you’ve never made a homemade gluten free pizza crust base, the texture of the unbaked dough might surprise you. Compared to regular pizza recipes, which start with a stretchy dough that can be tossed, pulled, and rolled, you’ll need to press the gluten free dough into the baking pan with lightly oiled or watered fingertips.
I’ve tested this gluten free pizza dough recipe with (what feels like) countless blends and brands of gluten free flour, and here’s what I’ll tell you: the flour matters. BUT you’ll notice a difference in the consistency of the uncooked batter/dough more than in the final baked pizza crust.
Here’s what I mean:
- When using Bob’s Red Mill Gluten Free 1-to-1 Baking Flour or King Arthur Gluten Free Measure for Measure Flour, the dough consistency is more like cake batter which you’ll need to spread to the edges of the pan using the back of a spoon, or an offset spatula. The batter does bake up into pizza crust fine, it’s just a little more dense than these photos show.
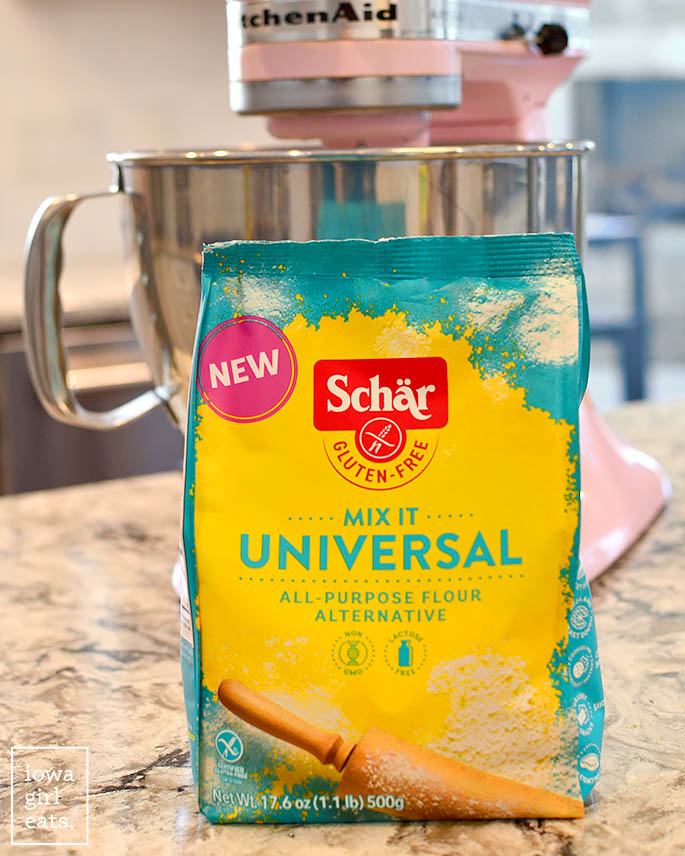
- When using Schar Mix It! Universal all purpose flour alternative, the dough is airy and springy so you can press it into the baking sheet with oiled or wet fingers. This is my preferred flour blend to use for this recipe. It’s new(er) to the market, so keep your eyes peeled!
- Of all the different flour blends I tested there was only one that was a hard no both in batter consistency AND final baked crust, which was Pamela’s 1:1 All Purpose Flour.
Moral of the story, if you can’t find Schar Mix It! Universal flour, and your unbaked gluten free pizza dough is more of a batter consistency, bake it up anyway — it should work fine!
Turn Into Individual Gluten Free Pizzas
Like I said, we like to bake the gluten free pizza crust in a half baking sheet pan, but sometimes I’ll split the dough into five even portions then form them into mini/individual-sized pizzas using a couple of half sheet pans.
Kids especially love getting their own little pizza, plus they get to sauce and top it however they like.
Tips for the Best Gluten Free Pizza Crust Ever
- Use parchment paper. Line the baking sheet with parchment paper for easy cleanup, and so the pizza crust slides right off. I like these pre-cut parchment paper sheets for the job.
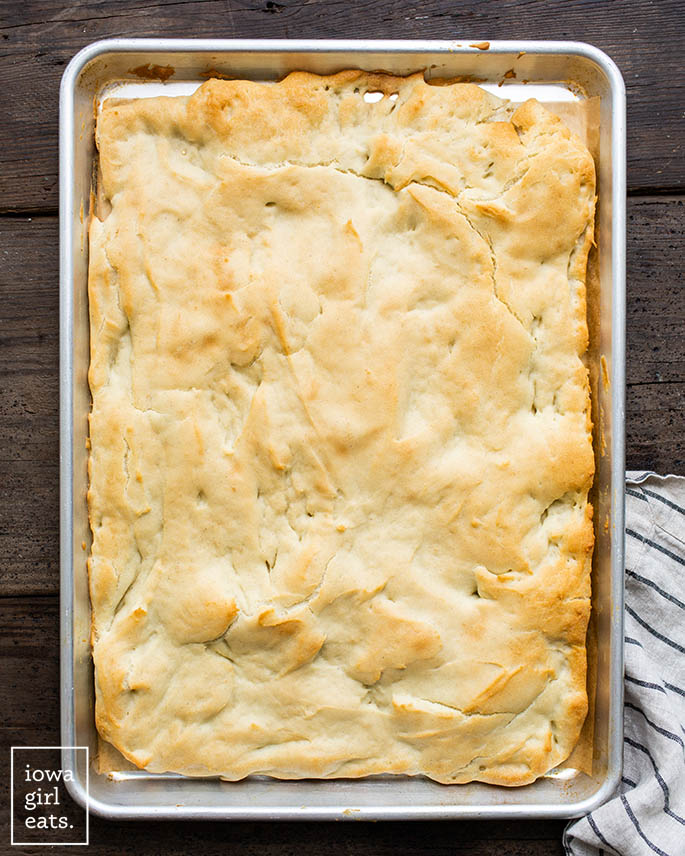
- Don’t underbake. To ensure the baked pizza crust is light and fluffy, vs dense and chewy, it’s better to slightly overbake the pizza crust vs underbake it. So, be sure the crust is deep golden brown before adding the pizza sauce and toppings.
- Use a GF flour blend. Be sure to use a 1:1 / measure for measure gluten free flour baking blend (again, preferably the Schar Mix It! Universal Flour for the best results) vs a single flour like almond flour, coconut flour, or brown or white rice flour, OR a starch like tapioca starch (check out my GF Pizza Breadsticks which uses tapioca starch if you’re interested!) The blends contain binders like xanthan gum to keep the baked crust together.
- Don’t panic. Like I said, the pizza dough batter is going to be soft, sticky, and maybe even a little soupy before baking, but stick with it!
- Watch the video. I highly recommend watching the video up above so you can see for yourself what the uncooked pizza dough looks like, AND how golden brown you’ll want the crust before topping.
Ok enough chatter, let’s get you some gluten free pizza!!
How to Make Gluten Free Pizza Crust
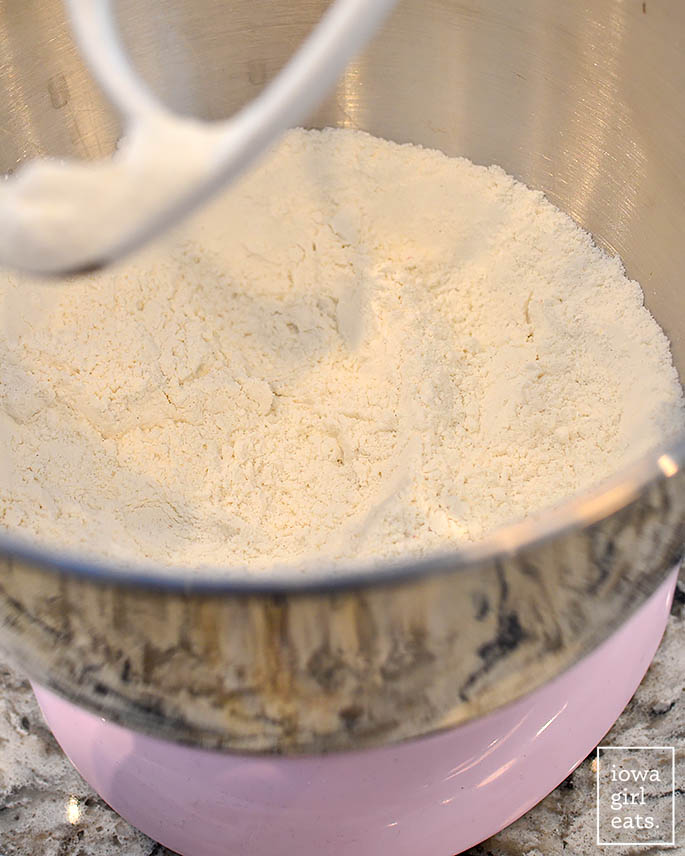
Step 1: Mix the wet ingredients.
Start by adding gluten-free flour blend to the bowl of an electric stand mixer, or large mixing bowl if using a handheld mixture. Add salt, sugar, instant yeast, and baking powder then mix on low to combine.
If you’re using a handheld mixer, use a whisk to combine the ingredients so they don’t fly out everywhere.
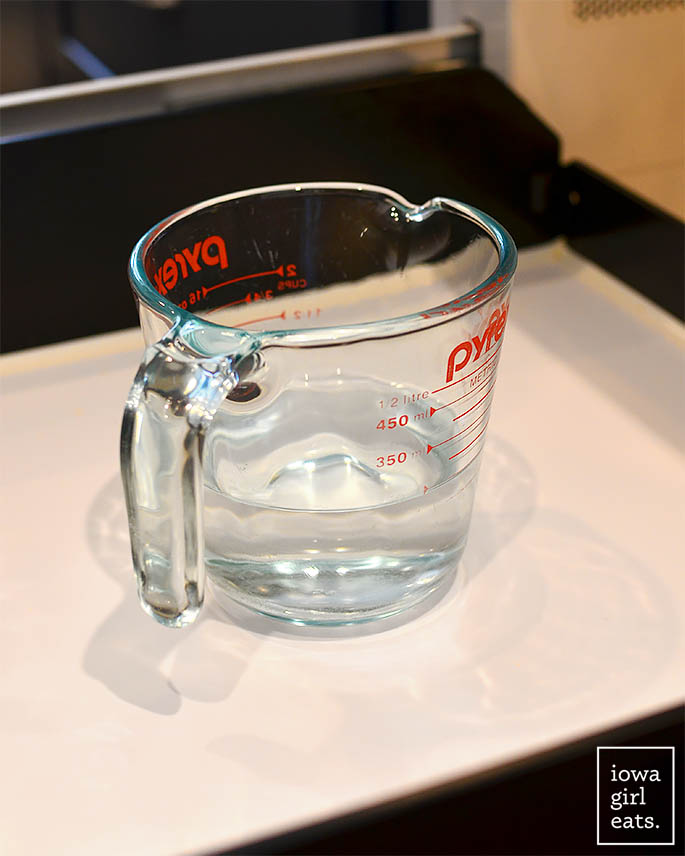
Step 2: Heat the water.
Next heat water to 110 degrees in the microwave to activate the yeast. Too cool of water and the yeast won’t activate. Too hot and it could kill the yeast. A temperature between 110 and 115 degrees is ideal.
I love using my Thermapen instant-read thermometer — just be sure to stir the water before taking its temperature to ensure you’re not sticking it into a cold or hot pocket of water.
Step 3: Mix the water into the dry ingredients.
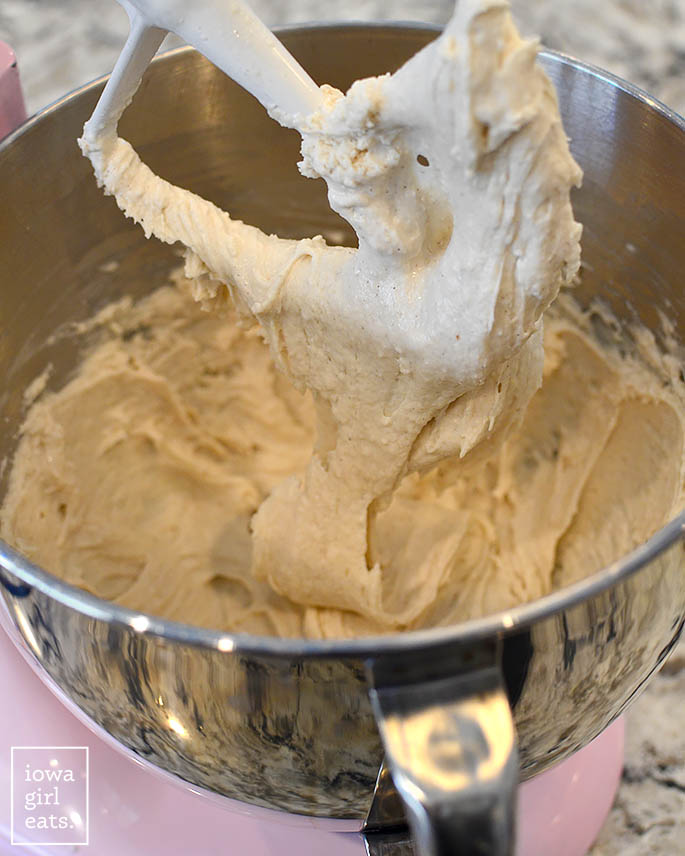
Pour the water into the dry ingredients then mix on medium speed until everything is smooth and combined. Let the batter rest for 1 minute so the gluten free flour can absorb the water.
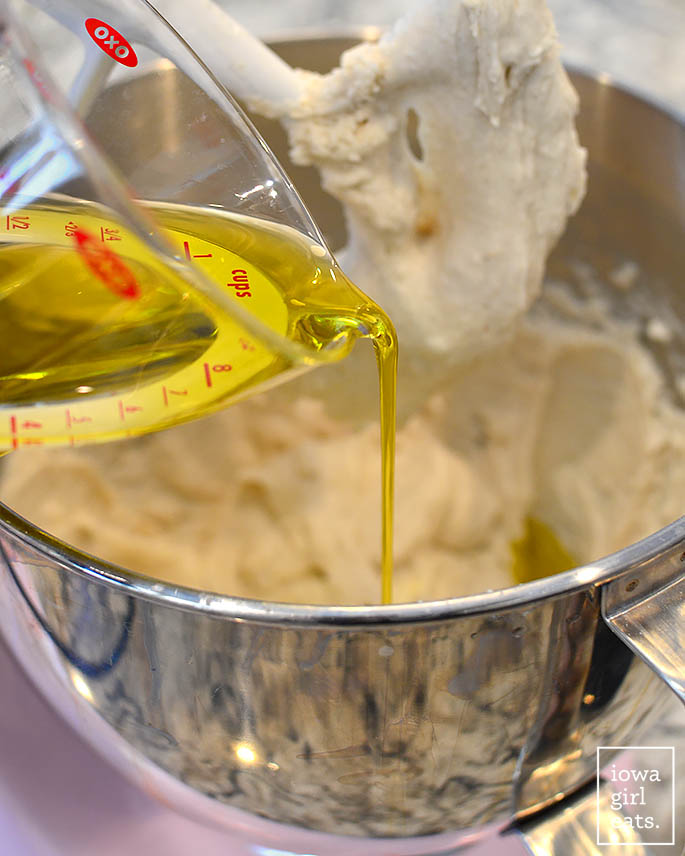
Step 4: Add extra virgin olive oil.
Add extra virgin olive oil to the mixing bowl then mix on low until the oil starts to incorporate. If you start with the speed too high, the oil will slosh out. No good!
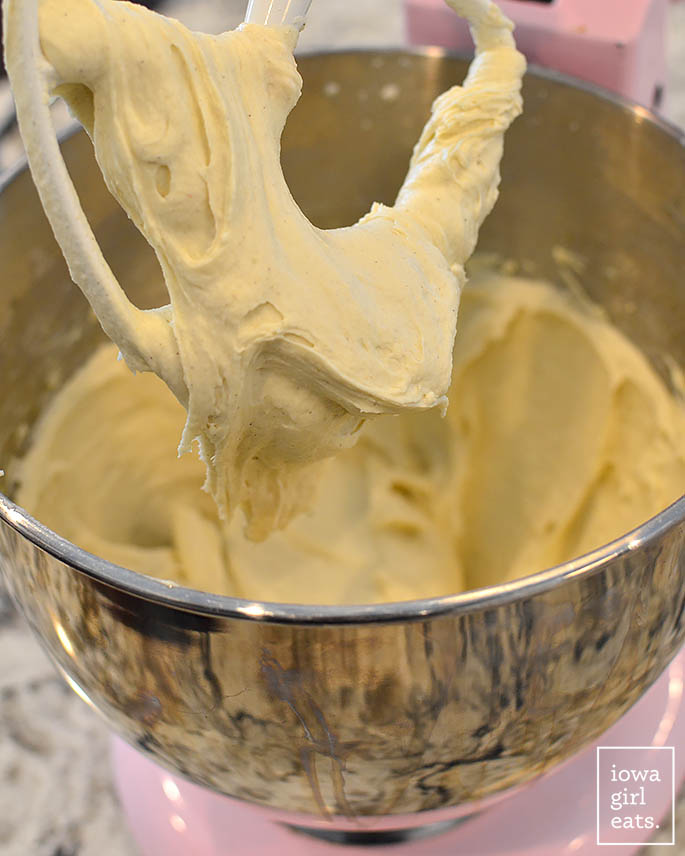
Once the oil begins to combine, turn the speed up to medium then beat for 1 minute.
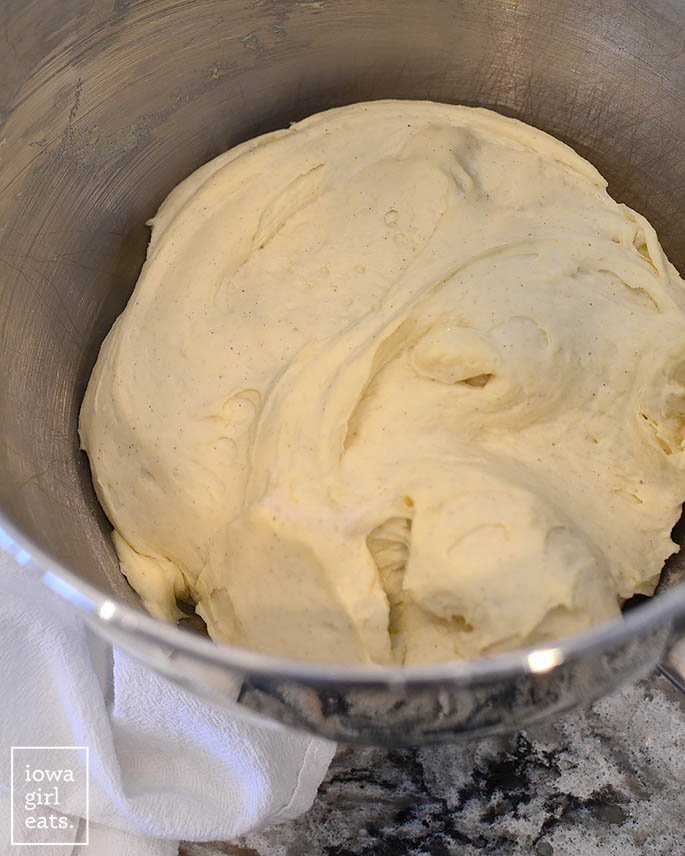
Like I said, at this point your batter will be thick like cookie dough, or even a touch soupy like cake batter — but that’s ok! Use a spatula to give all the ingredients a good stir to make sure everything is well combined.
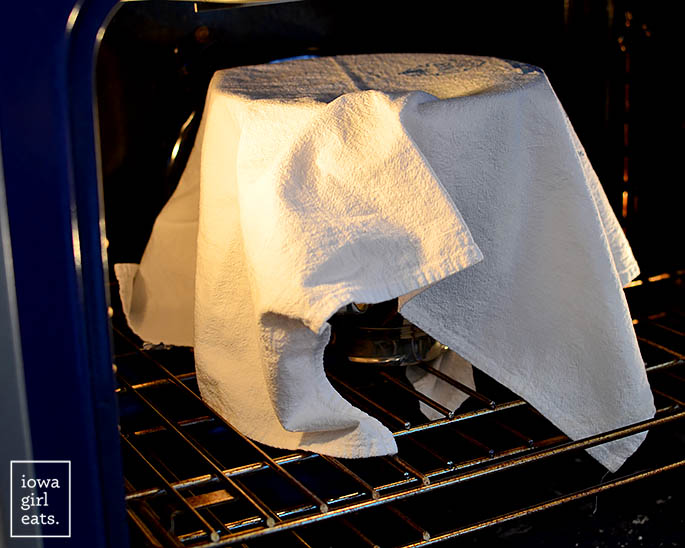
Step 5: Let the dough rise.
Place a tea towel over the bowl of pizza dough then place it in a warm spot to rise for 30-40 minutes. I like to use my oven’s “bread proofing” setting, though you can use a warm spot in your home, or even place the bowl on top of a heating pad set to low.
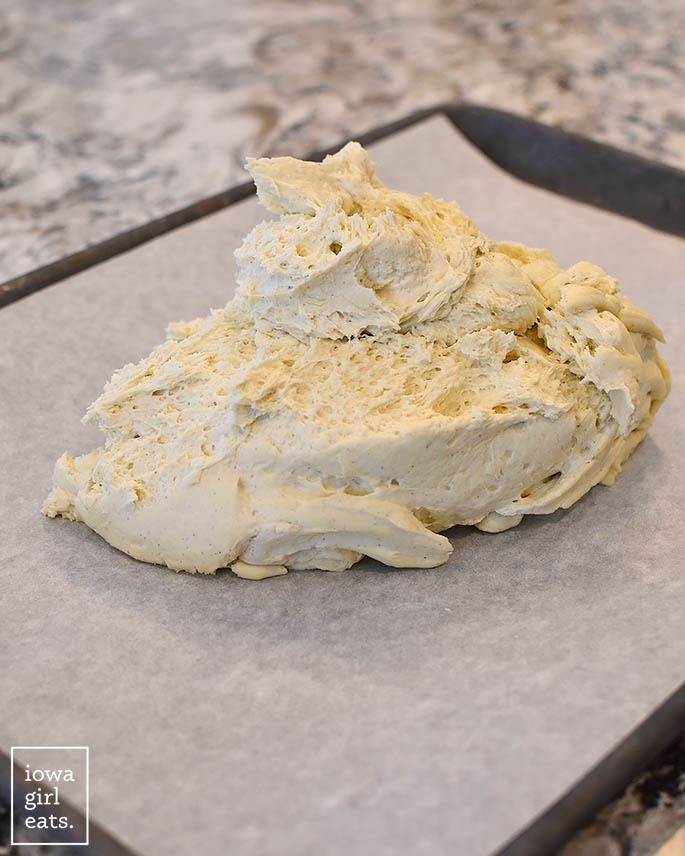
Once the dough is nice and puffy (swoon!) it’s time to make some pizza.
Crank the heat on the oven up to 425 degrees to get it ready to bake the crust.
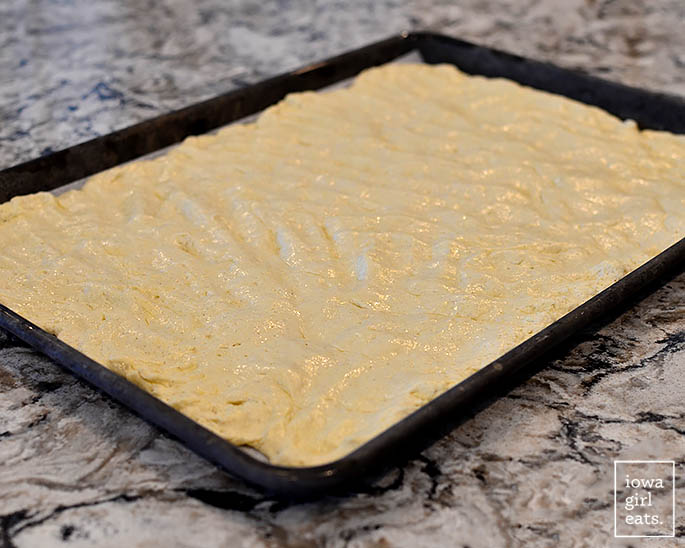
Step 6: Press the dough out.
Meanwhile, line a baking sheet with parchment paper then scoop the risen dough on top.
Spray the dough AND your hands very well with nonstick spray — alternatively you can lightly wet your fingertips with water — then press the dough into an even layer. It should fit perfectly inside the half sheet pan.
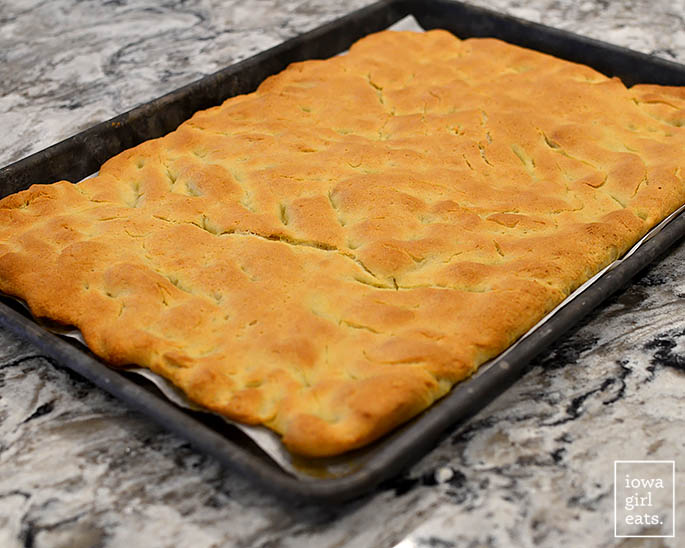
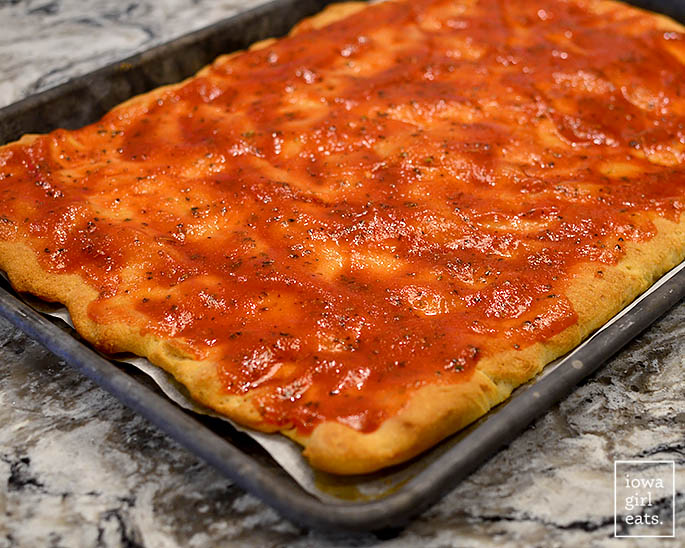
Step 7: Bake the crust.
Pop the gluten free pizza crust into the hot oven then bake for 13-15 minutes, or until the crust is deep golden brown. Again, it’s better to slightly over-brown the crust at this point, vs underbake it to ensure the crust comes out light and airy, vs dense and gummy.
Step 8: Top the pizza with sauce and toppings.
Spread pizza sauce, or spaghetti or marinara sauce, over the crust then top with your favorite toppings and bake for another 10-12 minutes or until the cheese has melted and the toppings are hot.
HELLO!
Let the pizza cool ever so slightly, then zip through it with a pizza cutter and go to town!
But first let’s settle a debate: ranch dressing with pizza? Or no ranch?
You know this Midwesterner has her dipping cup of ranch nearby at all times when a hot slice of pizza is on her plate!
How to Store Leftover Pizza
This pizza reheats super well so stash any leftovers in an airtight container in the fridge then reheat on a plate in the microwave, or place the slices on a foil-lined baking sheet and bake in a 375 degree oven until heated through.
How to Freeze the Gluten Free Pizza Dough
I am so excited to tell you that this Gluten Free Pizza Crust freezes beautifully to make pizza night that much easier! Here’s what to do:
- How to freeze gluten free pizza dough: Prepare the pizza crust through step 3 then scoop the risen dough into a Ziplock freezer bag, or other freezer-safe container, and freeze. Thaw for 24 hours in the fridge before pressing into the half sheet pan and baking per recipe instructions.
What do you think? Will you give this game-changing gluten free pizza crust a try? From our family to yours, ENJOY!
More Gluten Free Pizza-Inspired Recipes
- Pizza Fries
- Gluten Free Pizza Breadsticks
- Pizza Pasta Bake
- Pizza Chicken
- Pizza Salad
- Mini Pizza Quinoa Bites
free email bonus
Dinner Made EASY
5 days of simple yet flavorful recipes that take the stress out of dinnertime!

Gluten Free Pizza Crust
Description
Gluten Free Pizza Crust is light, chewy, and vegan too! This perfect pizza crust is made in minutes using everyday ingredients.
Ingredients
- 2-1/2 cups gluten free baking flour blend WITH binder (Schar Mix It! Universal Gluten Free Flour Blend recommended)
- 7g packet quick rise instant yeast (I like Red Star)
- 1 Tablespoon gluten free baking powder
- 1 Tablespoon sugar
- 1 teaspoon salt
- 1-1/2 cups water
- 1/2 cup extra virgin olive oil
- For the pizza:
- gluten free pizza sauce
- 8oz shredded pizza-blend cheese
- Toppings: pepperoni, cooked italian sausage, sliced black olives, green peppers, etc.
Directions
- Move oven rack to the bottom position then preheat oven to 100 degrees using the bread proofing / warming setting. If your oven does not have a bread proofing setting, heat the oven to 100 degrees then turn it off (see notes if your oven doesn’t display what temperature it’s at while preheating).
- Add the gluten free flour blend, instant yeast, baking powder, sugar, and salt to the bowl of an electric stand mixer, or a large glass bowl if using a hand-held mixer, then mix on low to combine. Note: if you’re using a hand-held mixer, use a whisk to combine the dry ingredients so they don’t fly everywhere.
- Microwave water for 50-55 seconds then stir and take a temperature with an instant read thermometer — we’re looking for 110 degrees. Pour the water into the dry ingredients in the mixing bowl then beat on medium speed until well combined. Let the dough rest for 1 minute then add extra virgin olive oil and beat on low speed until just combined. Turn speed up to medium then beat for 1 minute. The dough will be very thick and sticky — that’s ok! Use a spatula to scrape down the sides of the bowl and give the dough a big stir to ensure the ingredients are well combined. Cover the bowl with a tea towel then place inside the preheated oven and let rise for 30 minutes.
- After 30 minutes, remove the bowl from the oven, place the oven rack into the center position, then raise the temperature of the oven to 425 degrees.
- Line a rimmed half sheet pan with parchment paper then scrape the dough into the center. Spray the dough and your hands generously with nonstick spray then use your fingers to spread the dough out to the edges of the sheet pan, adding more nonstick spray to the dough and/or your hands as needed.
- Once the oven has reached 425 degrees, bake the crust for 13-15 minutes or until it's evenly browned all over - don’t underbake.
- Spread desired amount of pizza sauce evenly over the crust then top with shredded cheese and toppings. Bake for another 10-12 minutes or until cheese is golden brown and toppings are hot. Slice into squares then serve.
- If you loved this recipe, leave a star rating and comment. Thank you for considering!
Notes
- If your oven doesn’t tell you what temperature it’s at while preheating, find a warm place in your home, or place the bowl of dough over a heating pad to rise.
- A note on gluten free flour blends: Your gluten free pizza dough consistency will be different depending on what brand of gluten free flour you use. For example, when Bob’s Red Mill Gluten Free 1-to-1 is used, the dough is almost a soupy consistency that you will need to spread onto the sheet pan with an offset spatula. Different flour blends will still work, but the Schar Mix It! Universal flour produces the lightest, fluffiest results. I do not recommend Pamela’s Gluten Free Baking Flour.
- To reheat cold pizza: Place squares on a foil-lined baking sheet then bake at 375 degrees until heated through.
- How to freeze gluten free pizza dough: Prepare the pizza crust through step 3 then scoop the risen dough into a Ziplock freezer bag, or other freezer-safe container, and freeze. Thaw for 24 hours in the fridge before pressing into the baking pan and baking per recipe instructions.
- Method adapted from Mama Knows Gluten Free
This recipe is courtesy of Iowa Girl Eats, http://iowagirleats.com.
Video
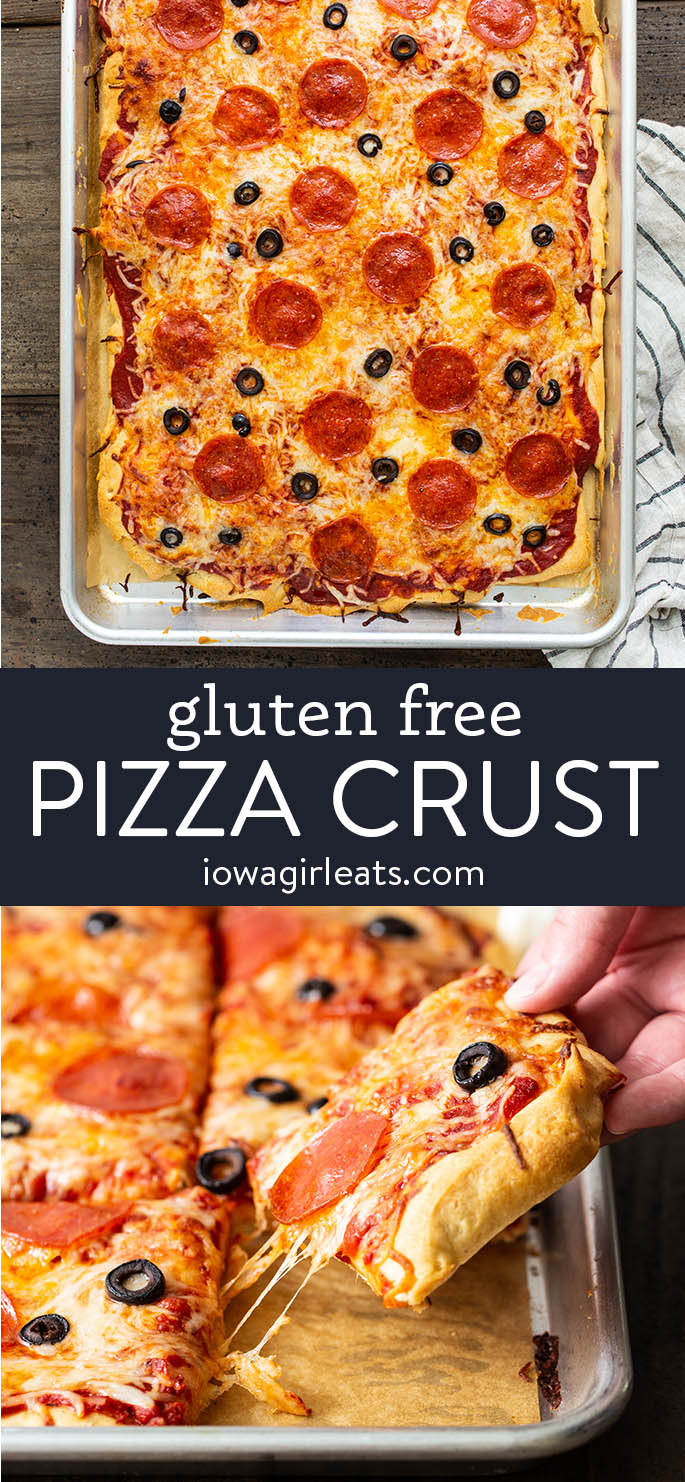
Photo by Ashley McLaughlin


I gave up on gluten free pizza crusts. But then my husband sent me this one and I tried it…the best! I used Divided Sunset gluten free flour brand that is sold at Walmart. Worked great! 👍🏼 this is now my go to gluten free pizza crust recipe! Thank you for sharing your recipe!
Oh my gosh, I am *thrilled* to hear this, Rebecca, and thank you for letting us know what flour blend you used. I’ll have to check that out! Thank you so much for your feedback and recipe rating!
This is the best crust I have made in 20 years. Thank you for the recipe!
Oh I’m so glad to hear that, Brenda!! Thank you so much for your feedback and recipe rating!
The pizza crust was amazing. Thank you. I’m new to gluten free cooking.
I’m so happy to hear that, Glenda!! Thank you so much for your feedback and recipe rating!
Very new to the GF game because of my husband’s intolerance. This pizza crust was over the top delicious. I ordered the Schar flour mix. We’re kind of overjoyed here with this pizza. Thank you!! And thank you again!!
YAY!! So, so glad it was a hit, Nancy! Thank you so much for sharing! :)
Where did u purchase Schar gf flour mix u suggest using in your pizza dough recipe?
I get the Schar flour at Hy-Vee (regional grocery chain) and believe I’ve seen it at Super Target before, too. They also sell it on their website!
I haven’t been able to find it. I live in Montana. It doesn’t list it on the Target website, Amazon doesn’t have it, grocery stores here stock all the breads and cookies, just not the flour. 😞
Something I’ve done in the past is asked the store manager of my grocery store to see if they will order a product in — I have never had them say no!
BEST gluten free pizza ever! You saved pizza night at our house! My son (who does not even have to eat gluten free) said it’s even better than regular pizza! THANK YOU!!!
Oh my gosh, music to my ears, Cindy! SO glad pizza night has been saved!!
I would love to try this recipe for my son, however I cannot use quick rise yeast due to my son’s intolerance. However I can use active dry yeast, can I substitute with that type of yeast instead
Hi Brandy! You can use active dry — follow the instructions on the package for rehydrating it prior to using. Here is a good resource for rise times when using active dry vs instant yeast! ttps://www.kingarthurbaking.com/learn/resources/yeast#:~:text=Can%20I%20use%20active%20dry,active%20dry%20yeast%20catches%20up.
My husband and I made this tonight, and we’ll definitely make it again! We used King Arthur Measure for Measure flour, and it turned out well. My husband has been gluten and dairy free for about 10 years, and he said this was the best gluten free pizza crust he’s ever had – has real pizza crust texture and flavor!!
A gluten-free pizza crust that’s light, chewy, and vegan is a game-changer! The simplicity of everyday ingredients making it in minutes adds to the appeal, making pizza nights inclusive and delightful for everyone.
A friend commented about what binds up a gluten free pizza. In exploring gluten free and dairy free pizza crust, I came across your site. You suggest Schar’s flour blend, so I looked into it. From their website, here are the ingredients in it: “Ingredients
maize starch , rice flour , vegetable fibres (psyllium, bamboo) , whole rice flour 3,8% , lentil flour 3,6% , dextrose , thickener: hydroxypropyl methyl cellulose ; salt . May contain traces of soya . LACTOSE-FREE (lactose<70ppm)"
To my mind, HPMC is a curious ingredient. I don't recognize it. I searched on it, and found…Hypromellose, short for hydroxypropyl methylcellulose, is a semi-synthetic, inert, viscoelastic polymer used in eye drops, as well as an excipient and controlled-delivery component in oral medicaments, found in a variety of commercial products.
This doesn't sound like food (nor medicine) to me. I thought you would want to know that that flour is made with semi-synthetic polymers. I do however, wish you success with your site and purpose. Best wishes.
This pizza recipe was SO good!! I had been struggling with finding a good gluten free pizza, and this recipe was almost better than the original stuff!! Thank you for this amazing recipe and I lob your blog! ❤️
I’m thrilled this was a hit, Asa!! Thank you so much for your feedback and recipe rating!
Could I bake the crust earlier in the day and then finish it off with the sauce and toppings for dinner? Would I refrigerate the baked crust or cover and leave out till dinner? Thanks.
Hi Valerie! I think that should be ok! I would cool store it on the counter maybe loosely covered with foil.
This looks great! I’ve been wondering about the Schar Mix It flour. I’ve seen it in only one grocery chain so far. I might give it a try.
Oh yeah — it’s pricy but so worth it in my opinion!!
Love this crust! Just a word for someone interested in making it… even though there’s yeast in the dough the baking powder makes it more of a biscuit crust. Not a deal breaker but a wee disappointing if expecting a yeast dough.
Hey B! I don’t necessarily agree that the crust has a biscuit texture. Especially with the Schar mix, this crust is light and yeasty and chewy!