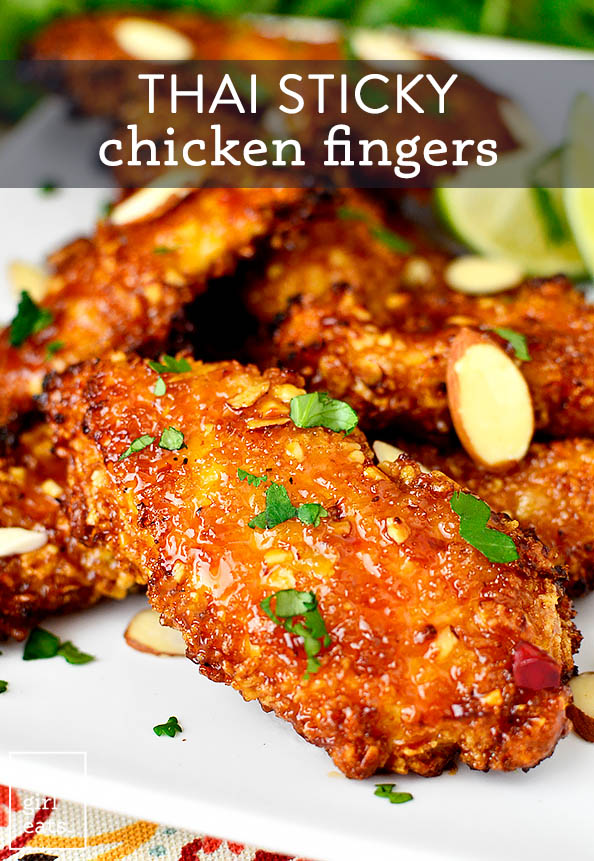
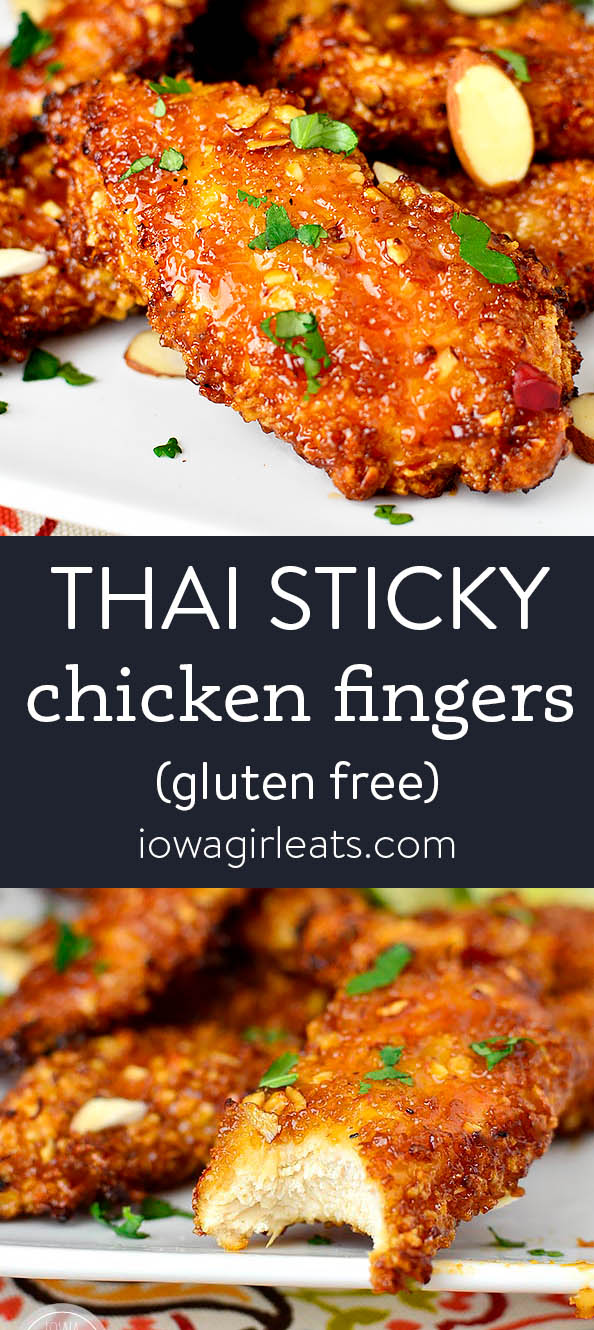
Thai Sticky Chicken Fingers are a crunchy, sticky, and irresistible recipe for any occasion. Absolutely addicting!
“I made these exactly as written and my family loved them! The breading technique works great – it adheres to the chicken and stays nice and crispy. The sauce has so much flavor. Thanks for a great new recipe for my rotation!”
Capital D-ying over the recipe for Thai Sticky Chicken Fingers, which are special enough to serve going to be a smash hit at your Super Bowl watch party (or dinner tonight)!
After learning which teams are going to the Super Bowl this year (and totally guilty of asking my husband for the sole purpose of creating a themed dish for you) I decided to throw a theme out the window and instead concentrate on creating a dish that you’re going to crave until you physically make then sink your teeth into, because that’s exactly how I’d describe Thai Sticky Chicken Fingers – craveable!
Watch How to Make Them
What are Thai Sticky Chicken Fingers?
Chicken breasts sliced into strips are coated in a gluten-free breading that’s spiked with sliced almonds for a spectacular crunch that, get this, actually stays on the chicken fingers!
How many times have you made homemade chicken fingers or chicken breasts only to have the breading fall off after pulling them out of the oven?
I’ll show you my secret to making sure it stays firmly in place.
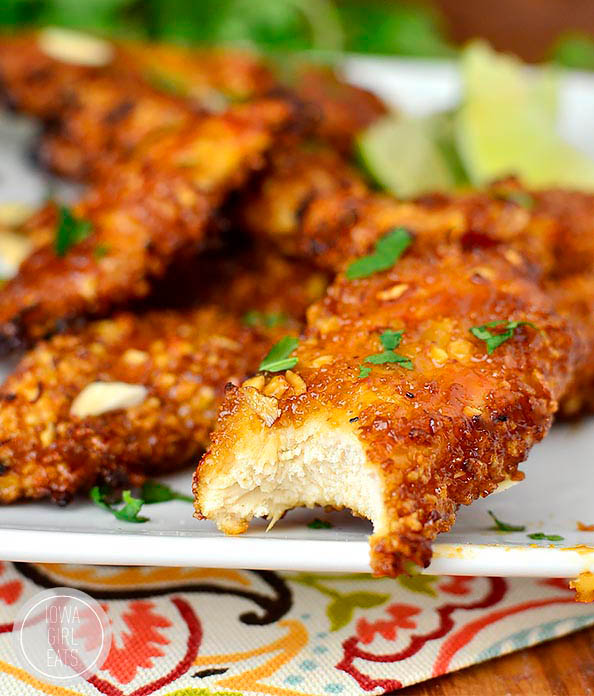
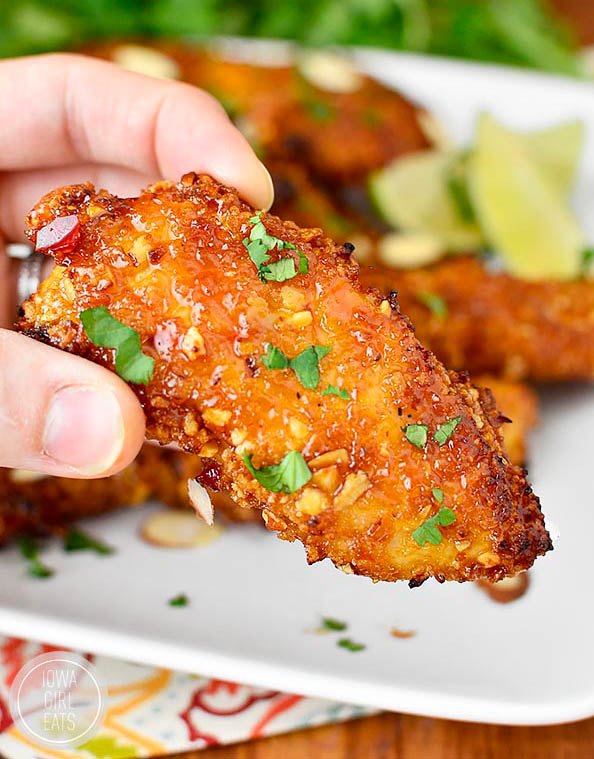
After baking, the chicken strips are tossed in a sticky-savory-sweet, Thai-inspired sauce then placed back in the oven for a few minutes to create a fabulous tacky coating.
These chicken fingers are going to knock your socks off. A little sweet, a little heat, and perfectly crunchy and sticky. Grab a wet wipe.
I recently heard that pizza is the #1 food people eat during the Super Bowl but seriously, ditch the grease and make a batch of these bad boys instead. You won’t regret it!
How to Make This Recipe
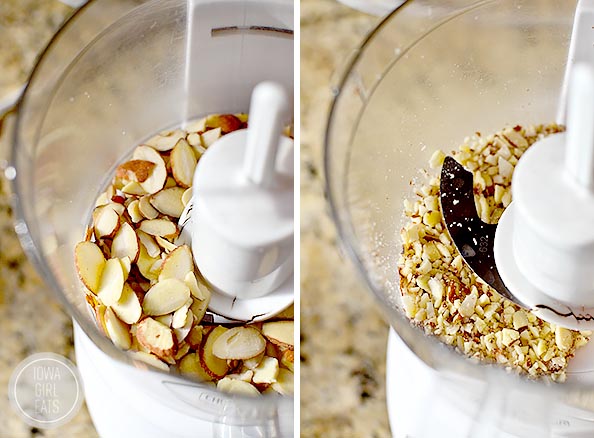
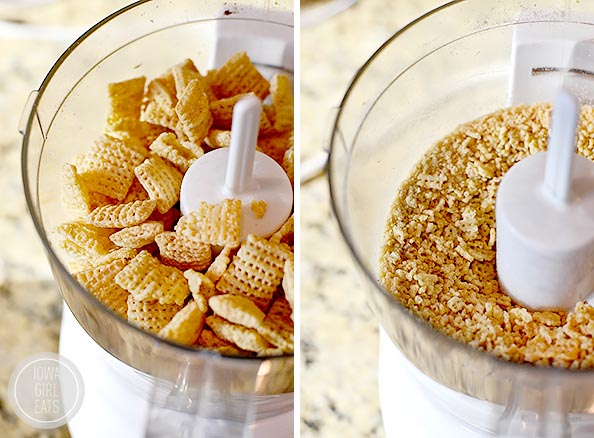
Start by pulverizing 1/2 cup sliced almonds in a food processor until they’re mostly crumbs, like the photo below, then add to a shallow dish like an 8×8 baking dish.
Next, process 4 cups Rice Chex to create 2 cups crumbs OR measure out 2 cups panko-style gluten free bread crumbs. I like Schar brand!
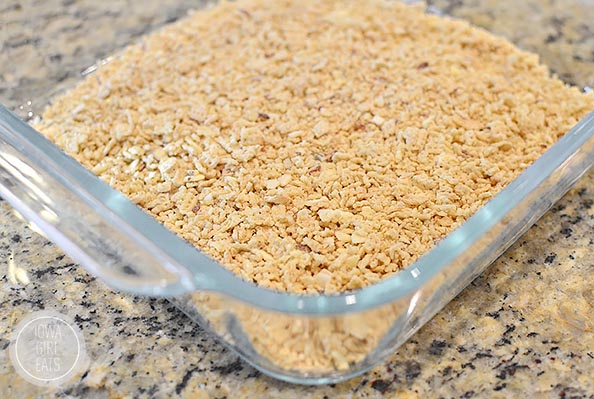
Add the crumbs to the almonds in the shallow dish then season lightly with salt and pepper and set aside.
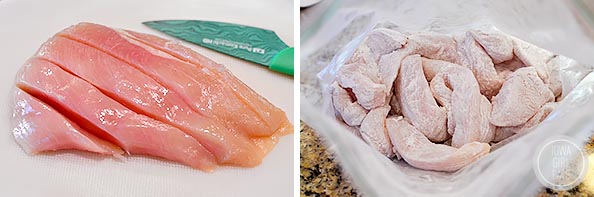
Next get the chicken ready. Chicken tenders work great for this recipe, but they are SO expensive. Chicken strips are a cinch to make from chicken breasts!
That said, slice 1-3/4lbs chicken breasts into 1″ strips then add them to a gallon size Ziplock bag with 1/2 cup gluten-free flour (or AP flour if not GF) plus 3/4 teaspoon salt and 1/2 teaspoon pepper then shake until well coated.
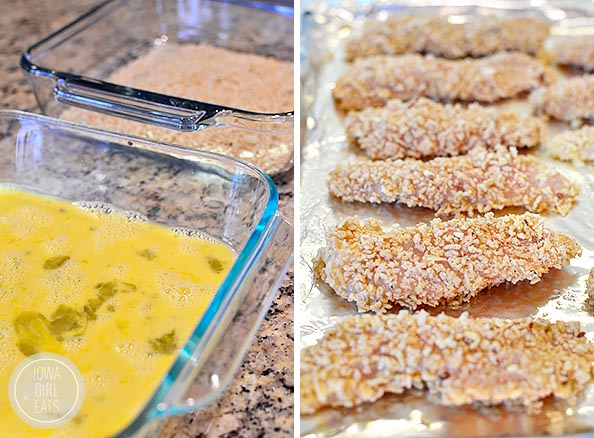
Working in batches, shake any excess flour from the chicken strips then dunk them in a shallow dish with 2 eggs whisked with 2 Tablespoons milk, then roll in the crumbs, pressing to make sure they stick to the chicken strips.
Place the chicken strips on 2 baking sheets that have been lined with parchment paper, or foil sprayed VERY well with nonstick spray.
How to Make Your Chicken Breading Stick
Now, this is the important part!
Place the baking sheets into the refrigerator for 20-30 minutes to give the breading a chance to adhere to the chicken strips. This is what will prevent it from falling off the chicken fingers once they’re baked. Miracle secret revealed!
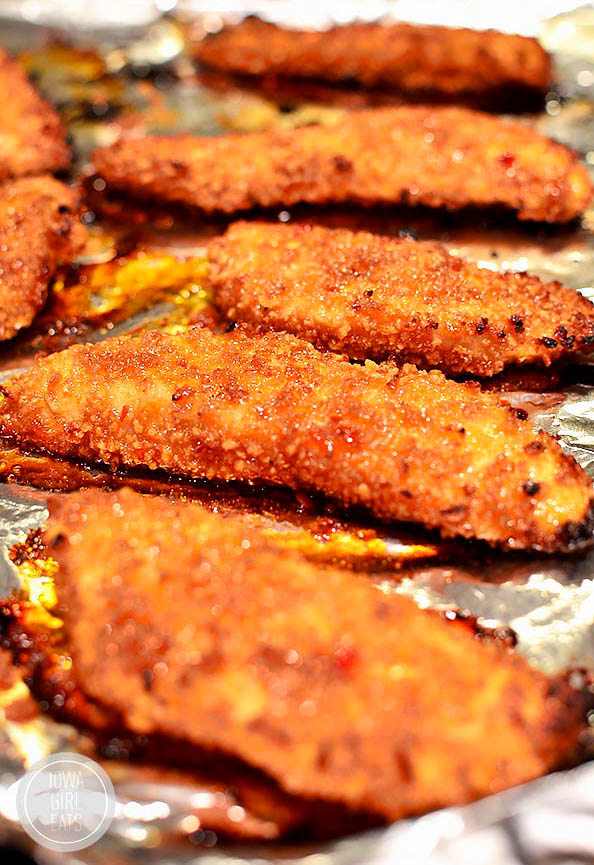
After the resting period, spray the tops of the chicken strips with nonstick spray or olive oil then bake for 10 minutes at 425 degrees. Turn the strips over, spray the tops with nonstick spray, then place back into the oven, flipping and rotating the baking sheets to ensure even cooking. Bake for 7-9 more minutes or until the chicken fingers are golden brown and cooked through.
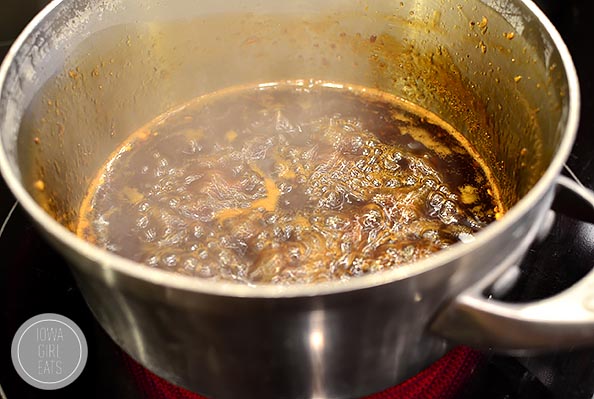
Meanwhile, get the sticky Thai sauce cooking!
To a saucepan add 1/2 cup each sweet chili sauce and water, 1/4 cup each brown sugar and gluten-free Tamari, 2 Tablespoons each rice vinegar and lime juice, 1/2 teaspoon ground ginger, 1/4 teaspoon red chili pepper flakes, and 1 microplaned or minced garlic clove. Honestly it sounds like a lot of ingredients but I usually have 99% of them on hand.
Bring the sauce to a boil then reduce the heat to medium and simmer until slightly thickened and reduced, 5-6 minutes.
Pour the sauce into a large bowl then dunk the chicken fingers in using tongs until well coated and place back onto the baking sheet. Bake for 4-5 more minutes, watching carefully to avoid burning, then pull them out.
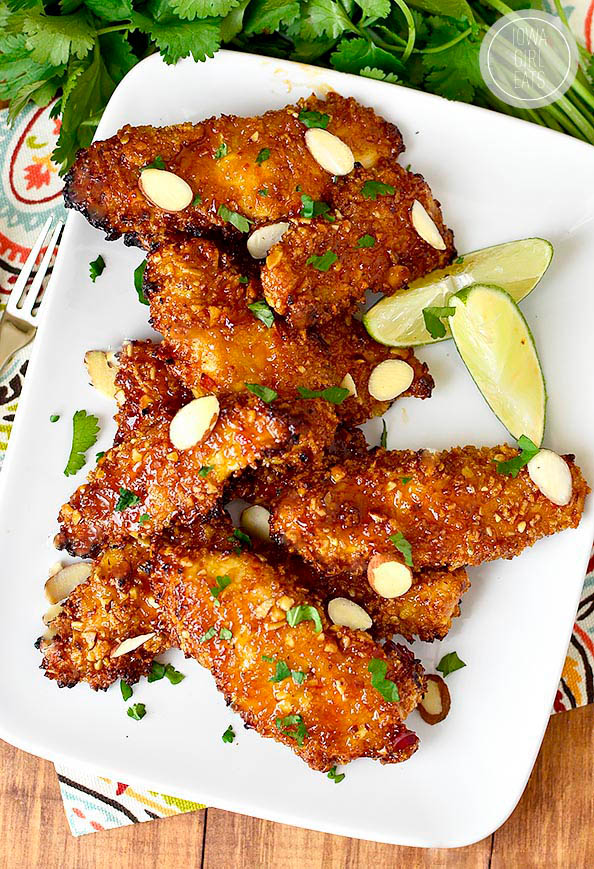
Transfer the chicken fingers to a platter then sprinkle with more sliced almonds and chopped cilantro for freshness and color, then feast!
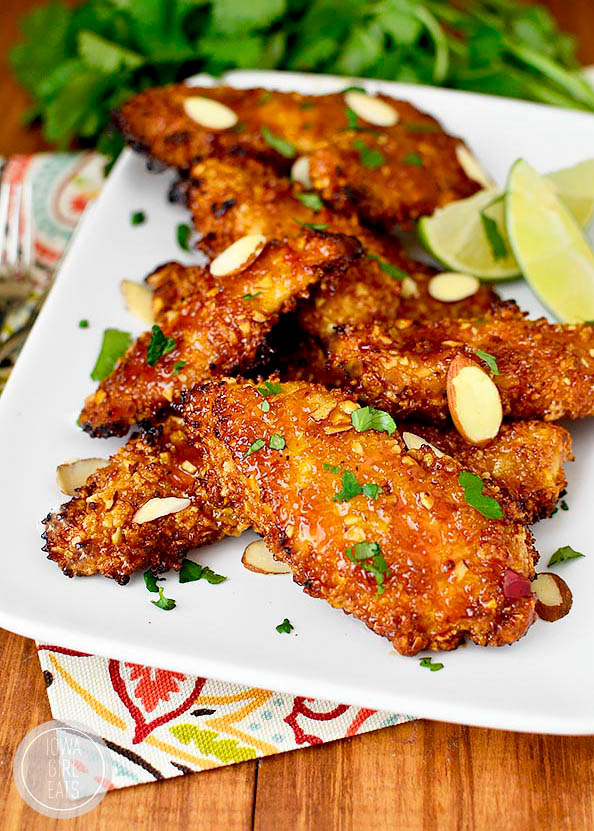
Crunchy, sweet, salty, STICKY – you’re going to love these chicken fingers on game day or any day! Serve with rice and steamed broccoli to make it a meal or place on a platter to nibble on throughout the game. Enjoy!
More Craveable Chicken Recipes
- Crispy Gluten-Free Chicken Cutlets
- Simple Grilled Chicken Thighs
- Chicken Pad Thai
- Chicken Fried Rice
- Gnocchi Chicken Pot Pie
- Pizza Chicken
- BBQ Chicken Quesadillas
- Baked Chicken Thighs

Ingredients
- 1-3/4 lbs chicken breasts, cut into 1” thick strips
- 1/2 cup gluten free flour, or AP flour if not GF
- salt and pepper
- 2 eggs
- 2 Tablespoons milk, any kind
- 4 cups gluten-free Rice Chex pulverized into 2 cups crumbs OR 2 cups gluten free bread crumbs
- 3/4 cup sliced almonds, divided
- 1/4 cup cilantro, chopped
For the sauce:
- 1/2 cup sweet chili sauce
- 1/2 cup water
- 1/4 cup brown sugar
- 1/4 cup gluten free reduced-sodium Tamari, or soy sauce if not GF
- 2 Tablespoons rice vinegar
- 2 Tablespoons fresh lime juice
- 1/2 teaspoon ground ginger
- 1 clove garlic, pressed or minced
- 1/4 teaspoon red chili pepper flakes, or more or less
Directions
- Line 2 half sheet pans with parchment paper or foil then spray very well with nonstick spray and set aside.
- Whisk eggs and milk in a shallow dish. Add 1/2 cup almond slices to a food processor then process until mostly fine crumbs and then pour into another shallow dish. Add Rice Chex to food processor then process until fine crumbs and then add to almond crumbs (omit step if using store bought bread crumbs). Season almond + bread crumb mixture with salt and pepper.
- Add flour, 3/4 teaspoon salt, and 1/2 teaspoon pepper to a large Ziplock bag then toss with chicken fingers until well coated. In batches, shake excess flour from chicken fingers then dunk into egg mixture, and then roll in almond + bread crumb mixture, pressing to make sure crumbs stick. Place onto prepared baking sheets then refrigerate for 20-30 minutes to let breading fully adhere – don’t skip this step or breading will fall off.
- Preheat oven to 425 degrees. Spray tops of chicken fingers with extra virgin olive oil or nonstick spray then bake for 10 minutes. Flip then spray tops of chicken fingers again with nonstick spray. Place back into the oven, flipping and rotating baking sheets, and then bake for 7-9 more minutes or until chicken fingers are golden brown and cooked through.
- Meanwhile combine ingredients for sauce in a small saucepan then bring to a simmer over medium-high heat. Lower heat to medium then simmer until sauce is reduced and slightly thickened, 5-6 minutes. Pour into a wide bowl then dunk baked chicken fingers into sauce using tongs and place back onto baking sheets. Bake for 4-5 more minutes, watching closely to avoid burning, then serve sprinkled with remaining 1/4 cup sliced almonds and chopped cilantro.
Nutrition
Nutritional values are estimates only. Please read our full nutrition information disclaimer.


Like Alton Brown said, CHICKENS DON’T HAVE FINGERS! hahaha
But delicious as heck, how do you come up with these ideas? Great job!
I’m so glad you loved them, Yale!!
Can I use almond flour instead of having to pulverize the almonds myself or would that be too fine?
Hi Linds! The pulverized almonds still have quite a bit of crunchy texture, so I’d use them over almond flour!
My neighbor was talking with my husband on our deck, smelled the sauce simmering, and invited himself to dinner. It’s an understatement to say these were a hit! All through dinner my family kept thinking of new ways to use the sauce. And the breading on the chicken tenders was top notch too! Super crispy and did not fall off the chicken. I did use a minced Thai chili pepper instead of red pepper flakes in the sauce, only because we had several on hand that I needed to use.
Oh my gosh this made my day, Cindi! Love that the scent alone was enough to bring a guest to the table. :) Thank you so much for your feedback and recipe rating!
I made these exactly as written and my family loved them! The breading technique works great – it adheres to the chicken and stays nice and crispy. The sauce has so much flavor. Thanks for a great new recipe for my rotation!
SO glad this recipe was a hit, Kelly! Thank you so much for your feedback and recipe rating!